
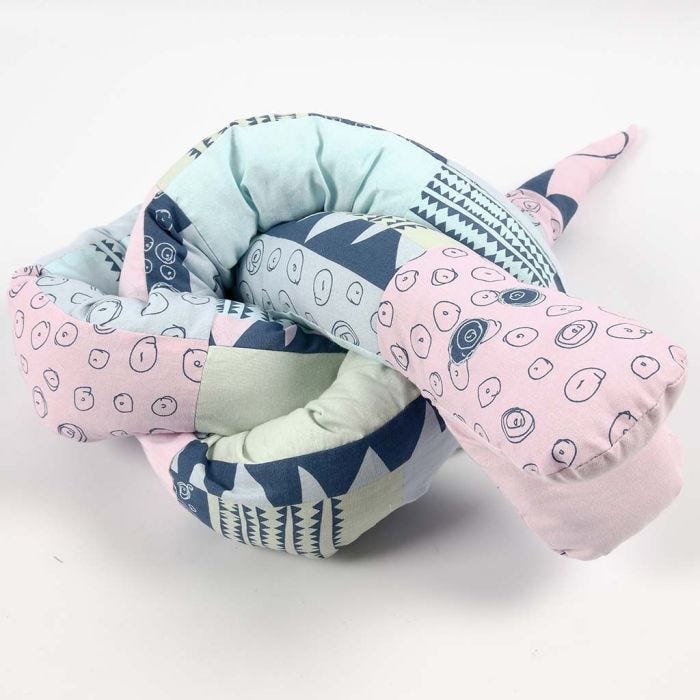
A Snake made from patterned Fabric
#v14592
This snake is made from high quality 100% cotton, using patterned fabric from Glad Design and plain fabric. It is stuffed with polyester wadding.
#v14592
How to do it Download the templates/recipes
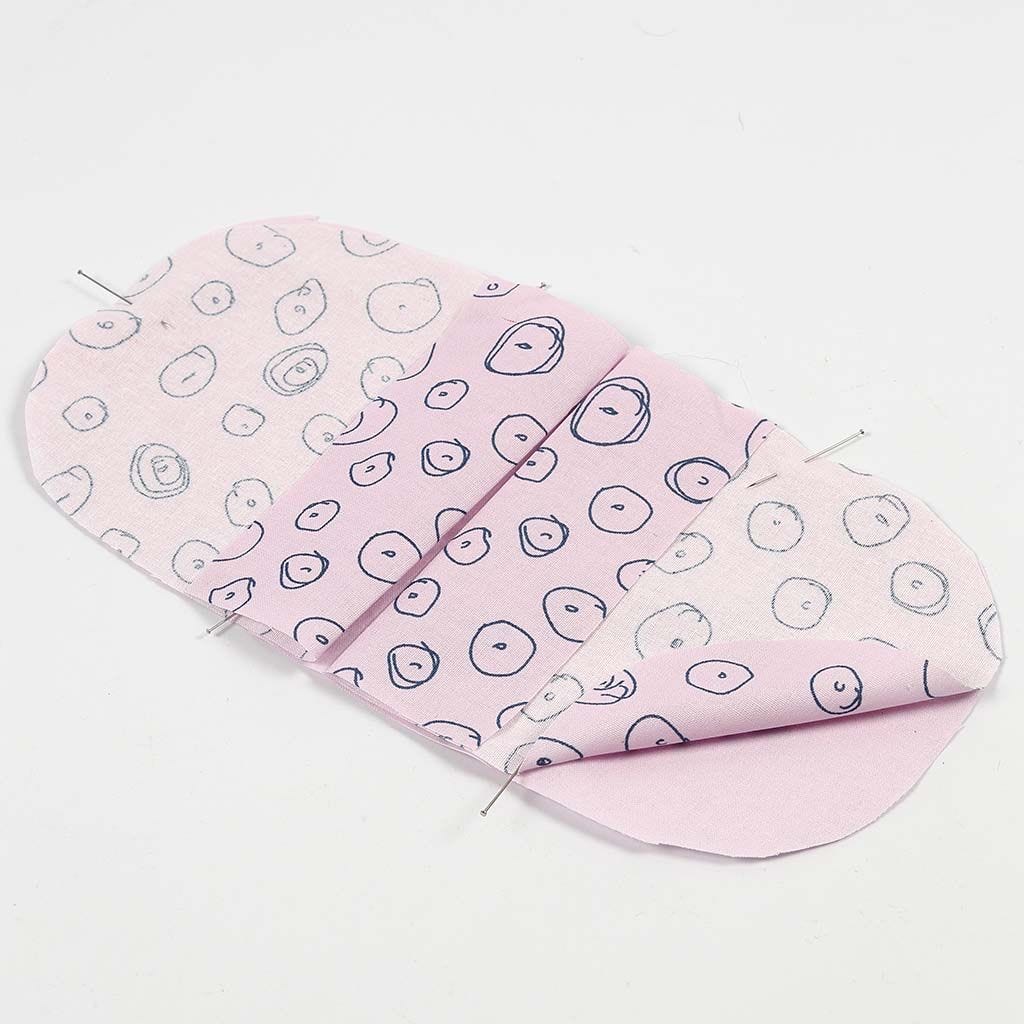
1 Print and cut out the parts from the template available as a separate PDF file for this idea. Copy the template parts onto fabric and cut out: head x 2, mouth x 1. Place the mouth part on the table (outer side up). Place the two head parts on top (outer side down). Fold the edges (see the photo). Hold together with pins.
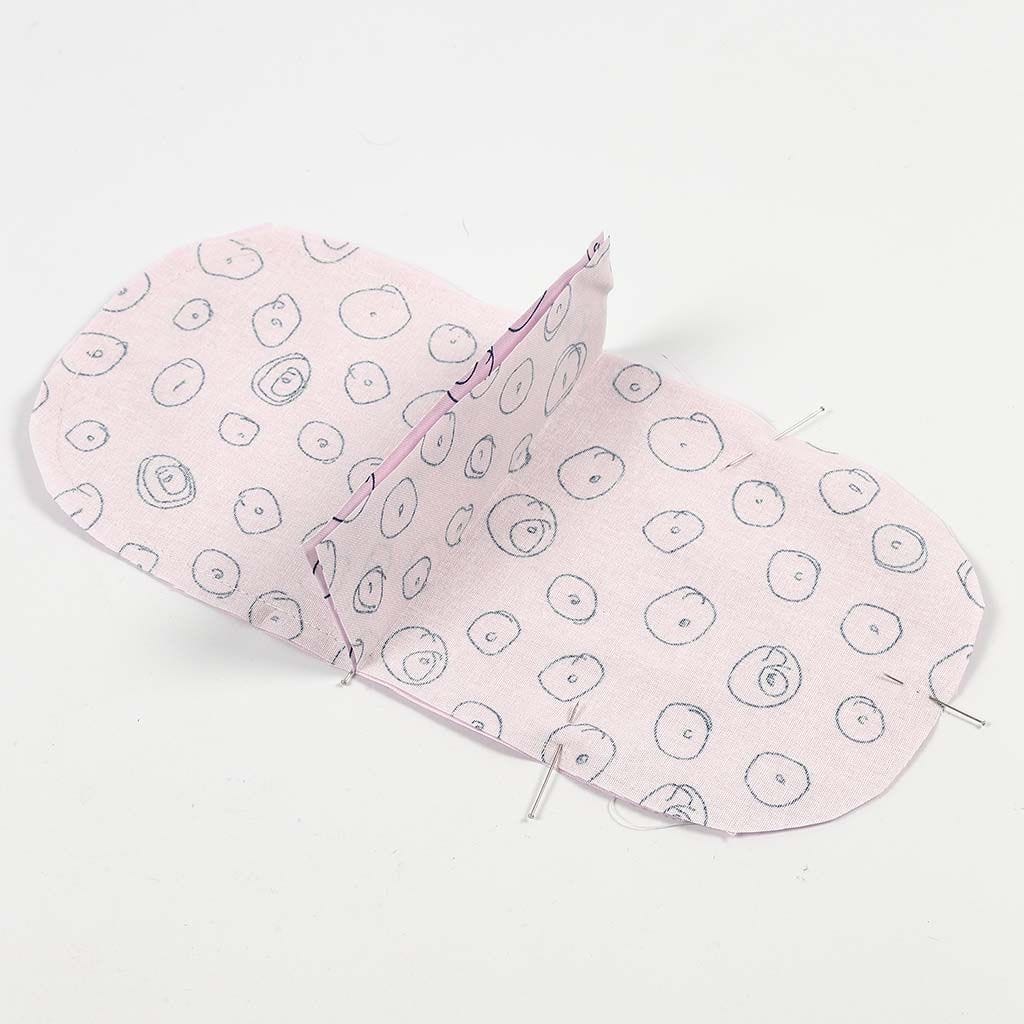
2 Sew along each side from one edge to the other. Lift up the fold to gather the pieces of fabric together.
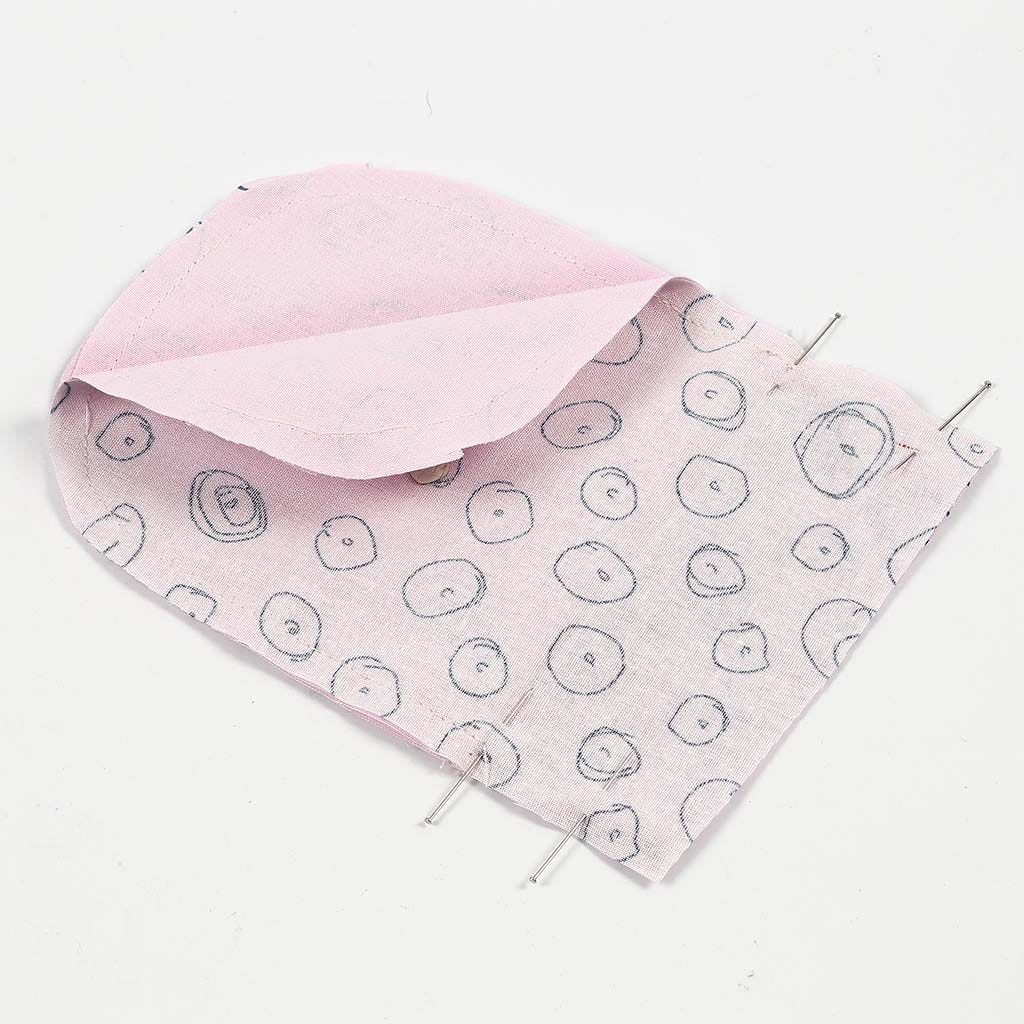
3 Sew the remaining 5 cm of the fold together along each side.
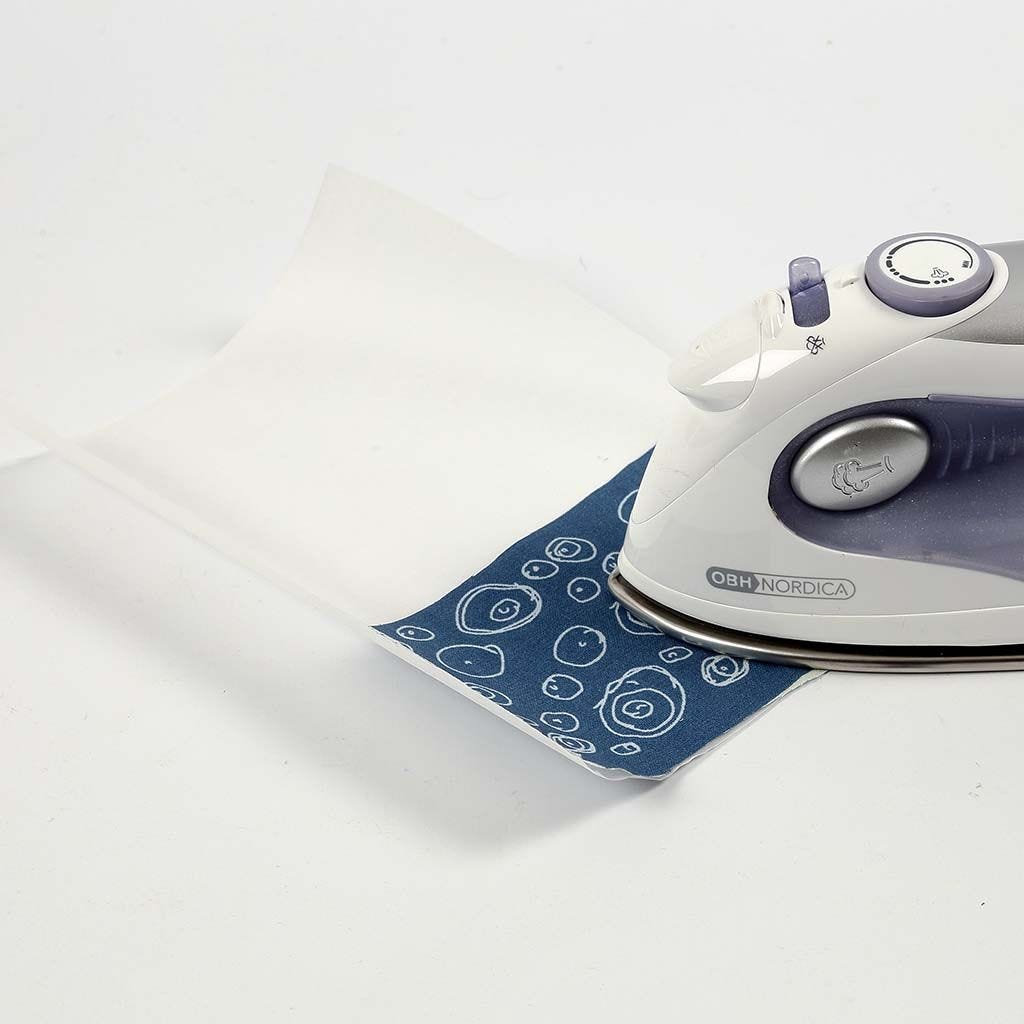
4 Eyes: Iron a piece of fabric onto vliesofix and cut out eyes (here the design on the fabric is ideal).
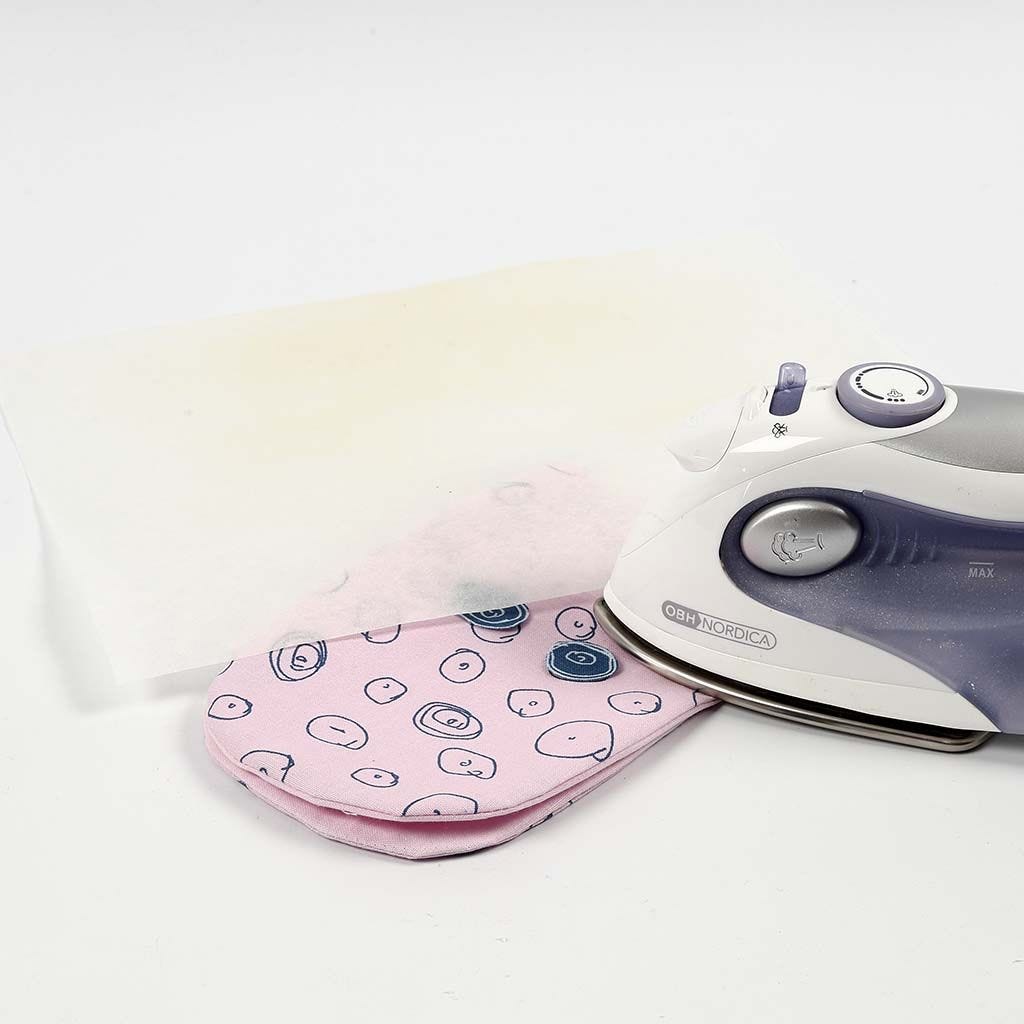
5 Remove the protective paper, place the eyes onto the snake's head (outer side up) and iron.
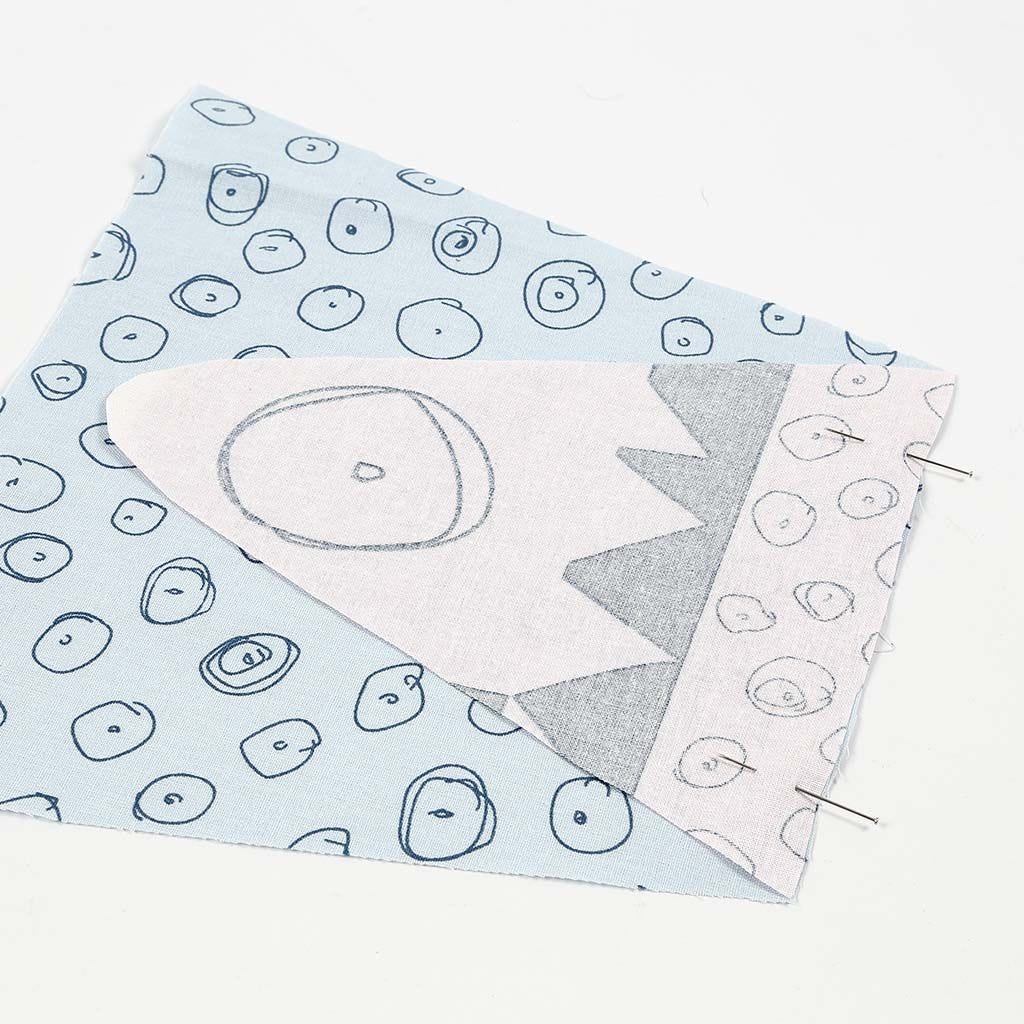
6 Tail: Copy the tail parts onto the fabric and cut out both tail parts. Place the parts (2 x 2 pieces) outer side against outer side, pin together and sew the 2 x 2 tail pieces together to make one long piece.
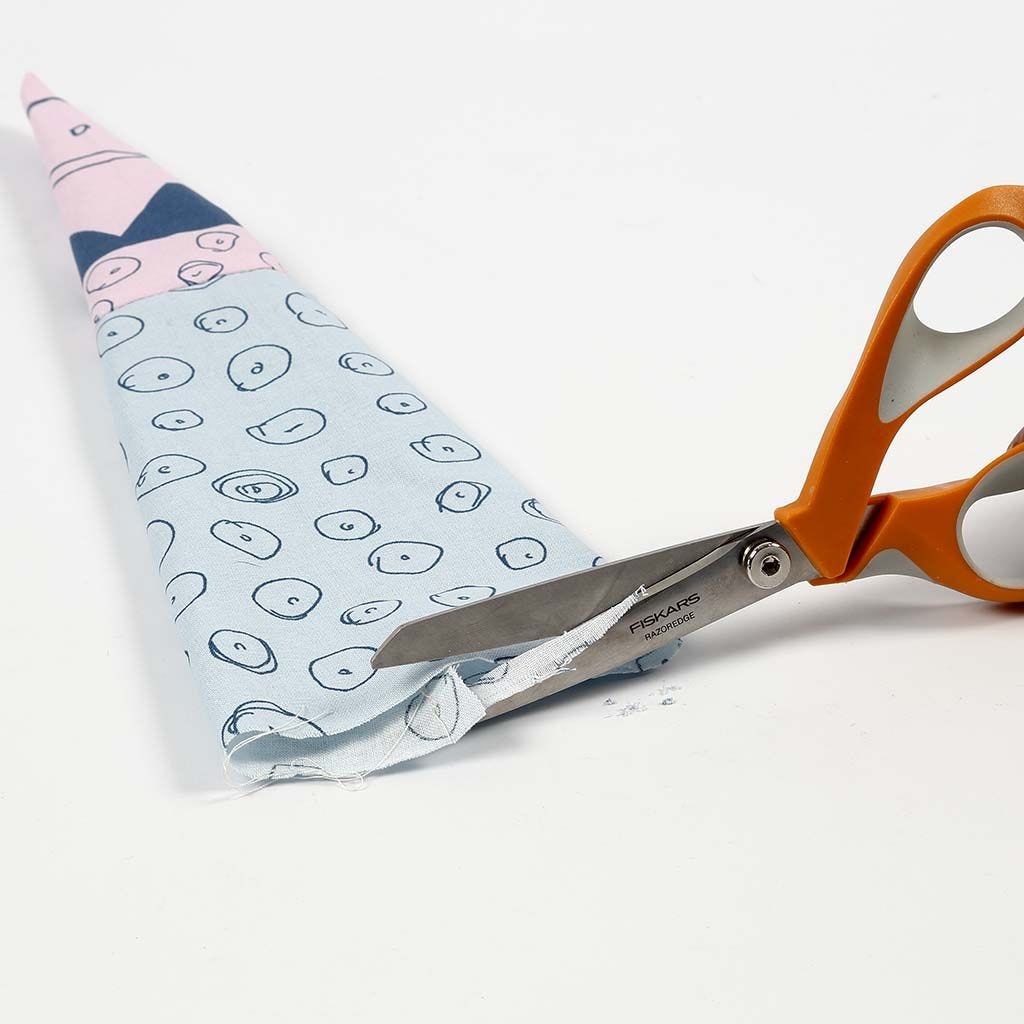
7 Assemble the sewn tail along the long side and sew together. Trim at the end to make it straight.
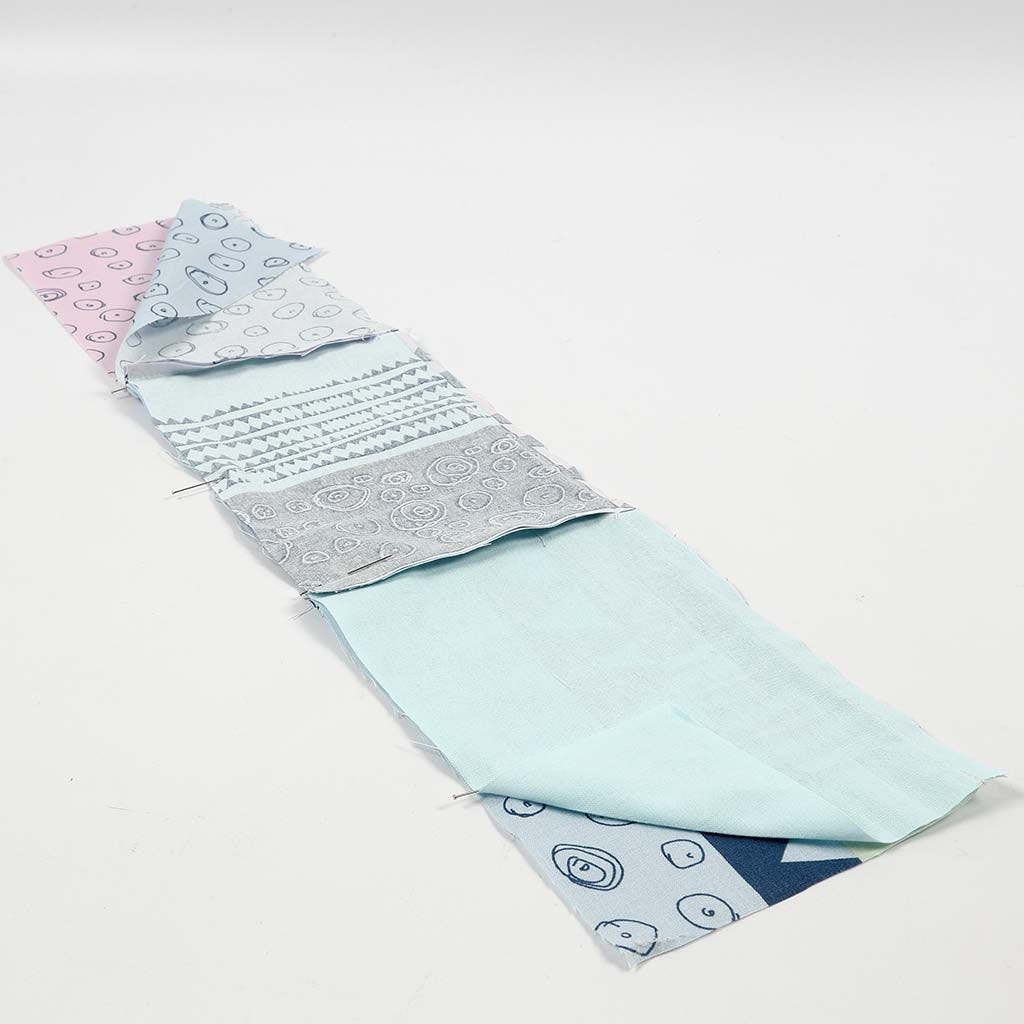
8 Body: Cut 16 pieces of fabric each measuring 13.5 x 21 cm to make the snake's joints. Fix 3 x 2 pieces together twice. i.e. make two long pieces by sewing three pieces together along the narrow side. Place these on top of each other (outer side against outer side) and sew together to form a long thin tube. (For the remaining 2 x 2 pieces which are not sewn together completely, see steps 12-13).
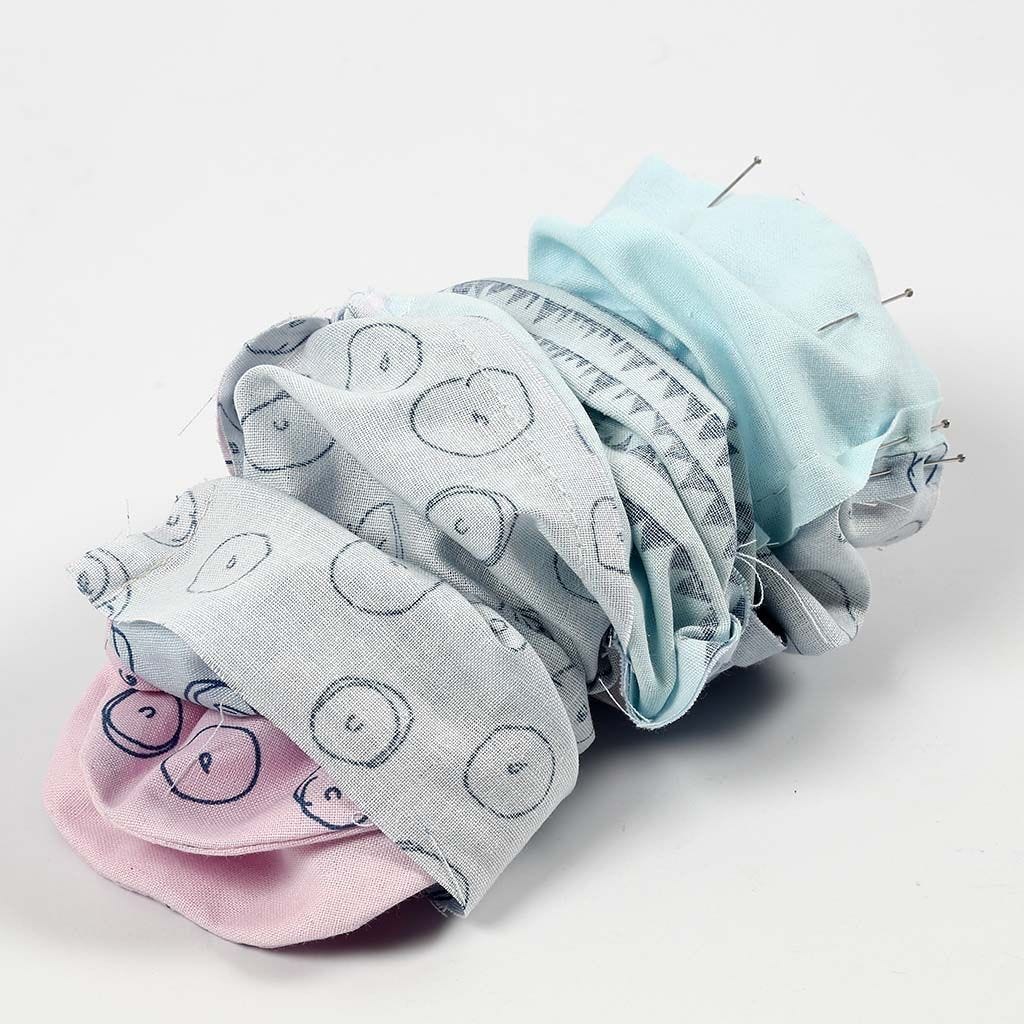
9 Pull one of the two long tubes over the snake's head and pin together where the edges meet. Sew together, outer sides against outer sides.
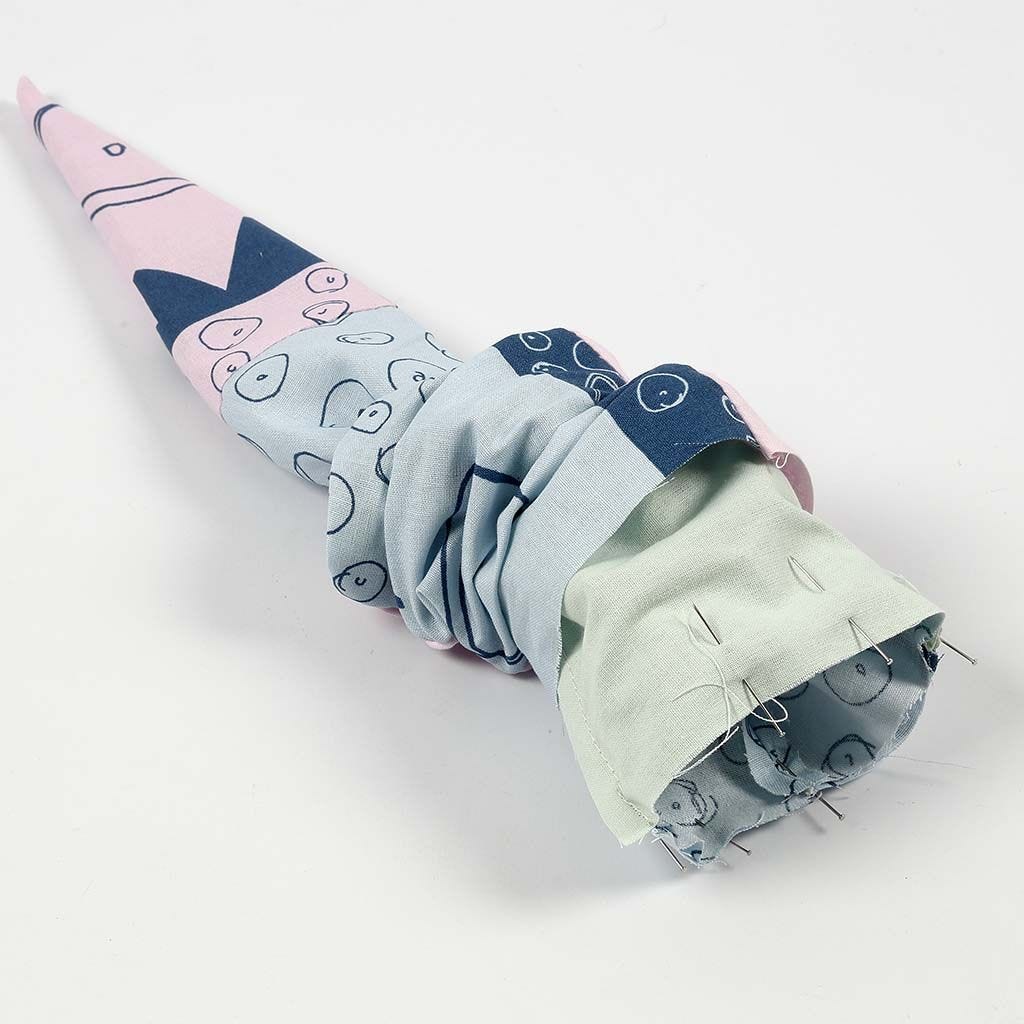
10 Using the same procedure as mentioned above, sew the other long tube onto the tail.
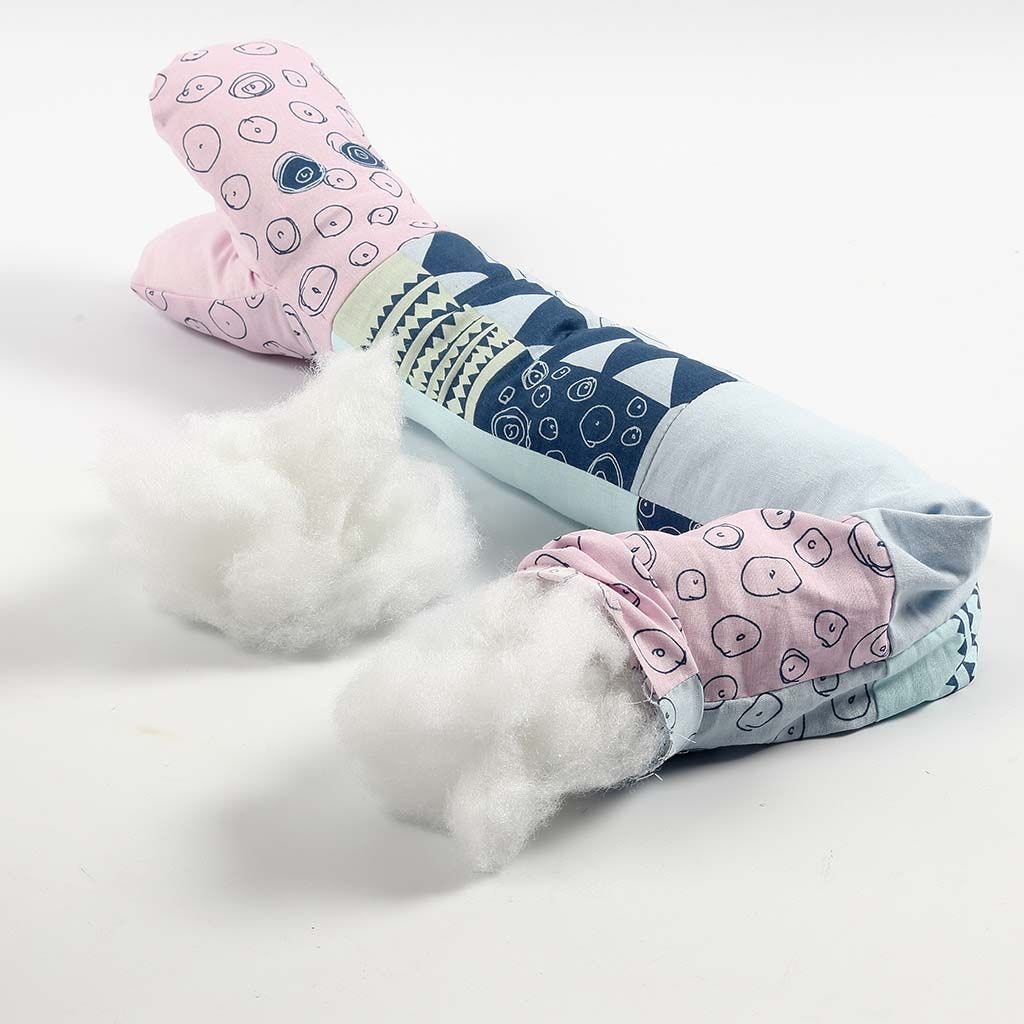
11 Stuff the two parts of the snake with polyester wadding. NB: Don't use too much as this will make the snake inflexible.
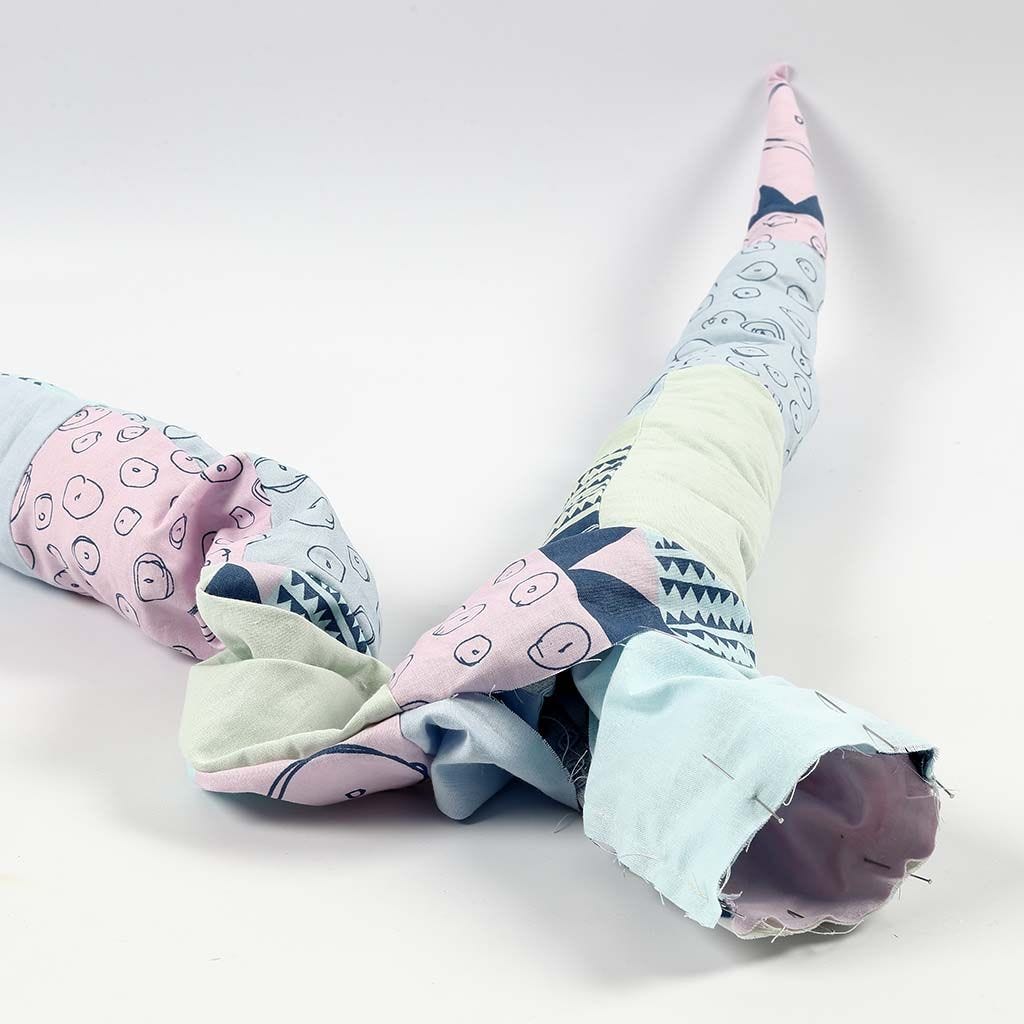
12 Place the tube with the lengthwise opening outer side out. Pull the inner side of the tube through the opening in order to sew the part together outer side against outer side with the head. Follow the same procedure at the other end and sew the tail onto the tube.
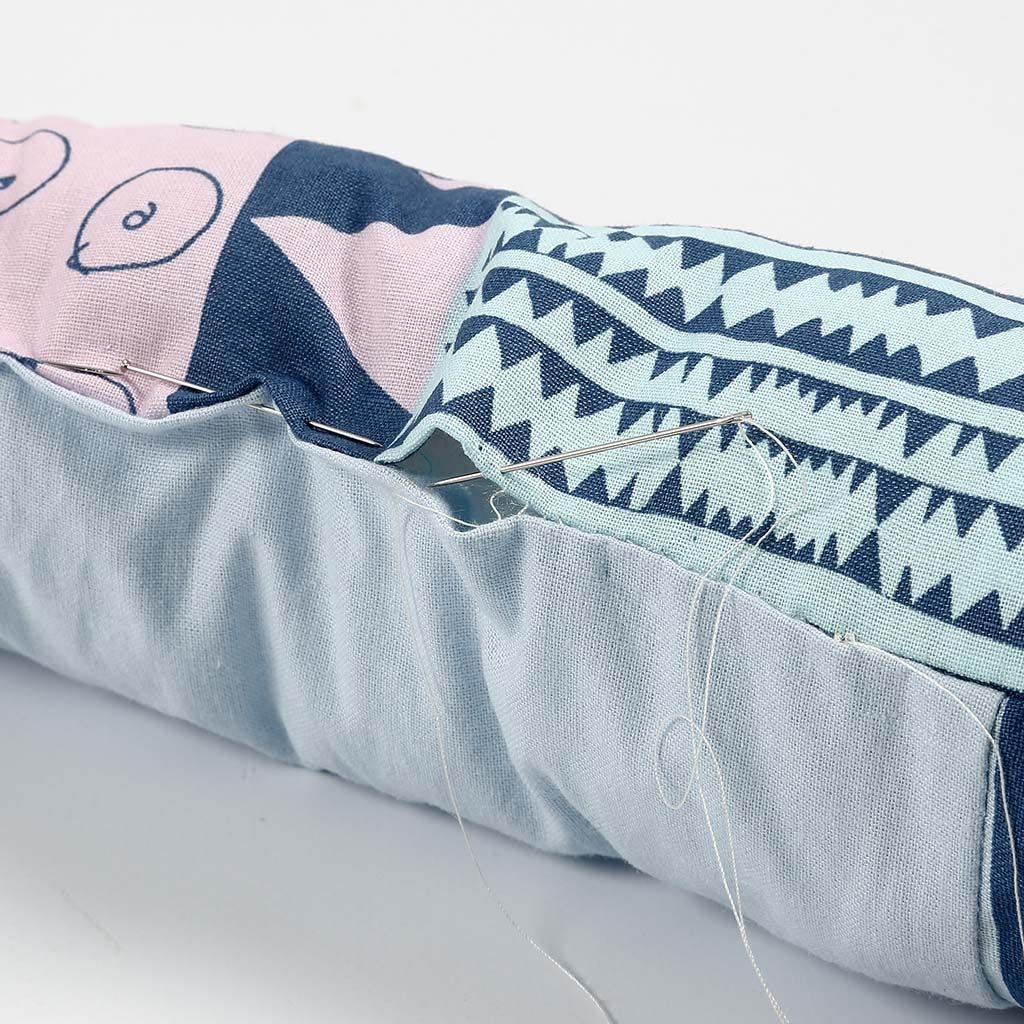
13 Place more polyester wadding inside the snake, close the hole with small stitches using a needle and thread.

Already signed up? Download the template
Also go exploring in
