
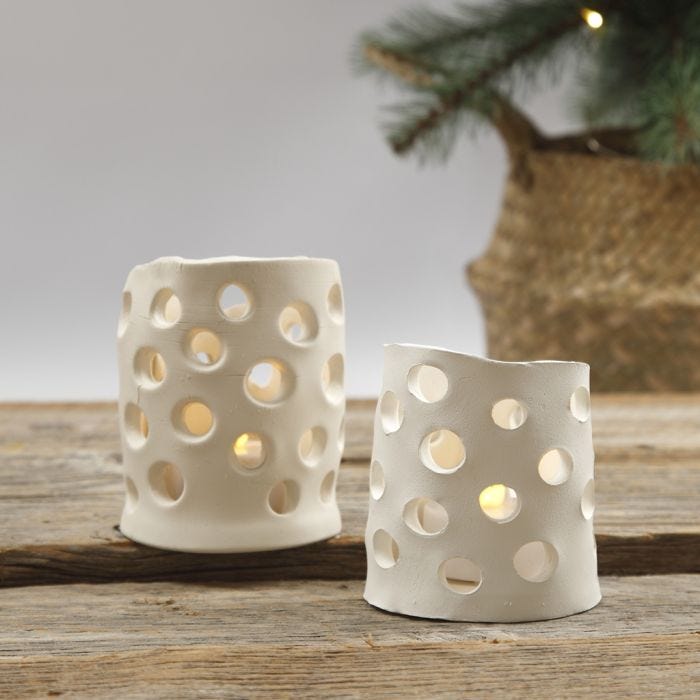
Lanterns from self-hardening clay with punched-out holes
#v15733
Make these lanterns from self-hardening clay by first cutting out the circular base with a shape cutter. Roll the side section (like a waistband) flat and make small holes with a round cookie cutter by pushing down the plunger on top. Assemble the circular base and the side section (waistband) and leave to dry.
#v15733
How to do it Download the templates/recipes

1 Roll self-hardening clay flat and make the base by cutting a circle with a round shape cutter in a suitable size.
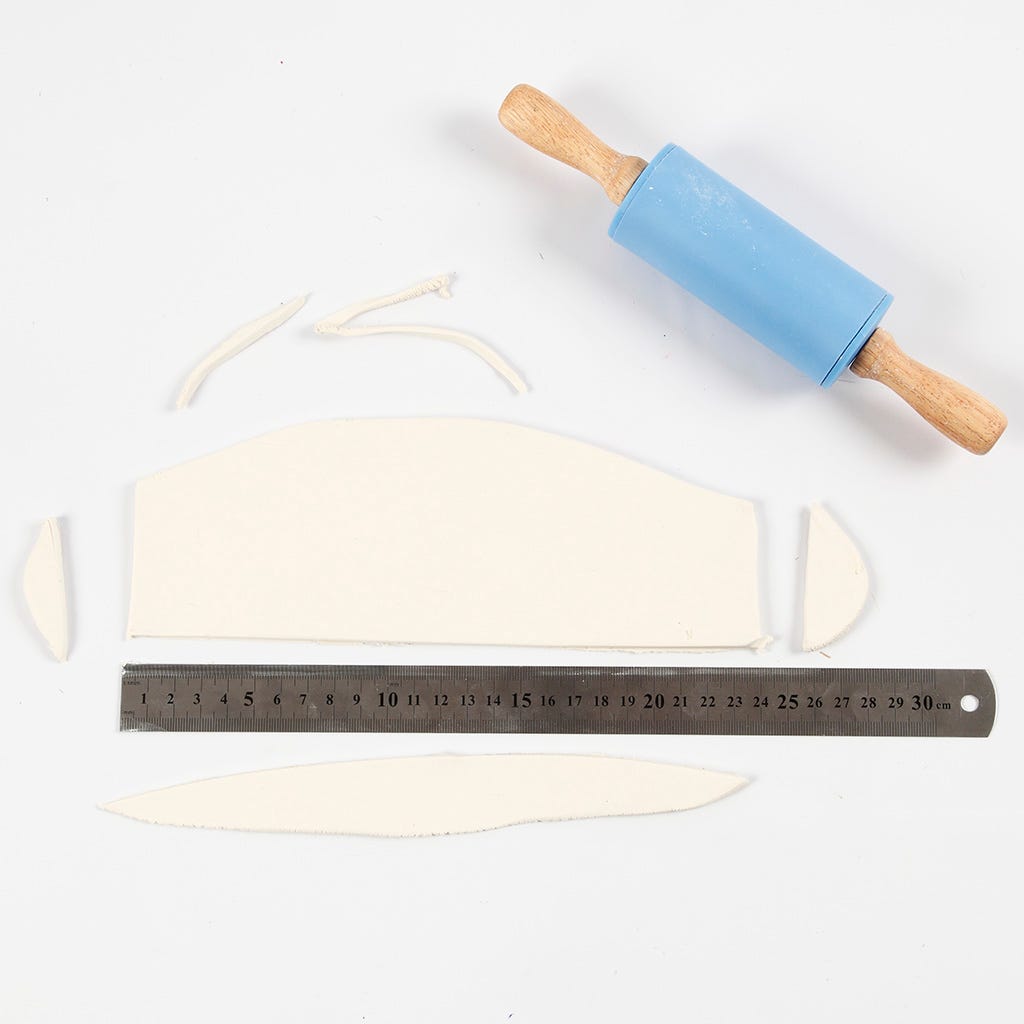
2 Calculate the circumference of the lantern in order to make the outside (side section) of the lantern; i.e. multiply the diameter of the circular base (here 6 cm) by pi (3.14).
The calculation in this case is 6 x 3.14 cm = 19 cm. Add another couple of cm for the overlap in order to join the lantern around the circular base. Roll the clay flat and cut out the circular base and the 21 cm long rectangular section (like a waistband). The height can be set according to your preference.

3 Use a round cookie cutter for making holes in the rectangular section of the lantern by pushing down the plunger on top of the cookie cutter.
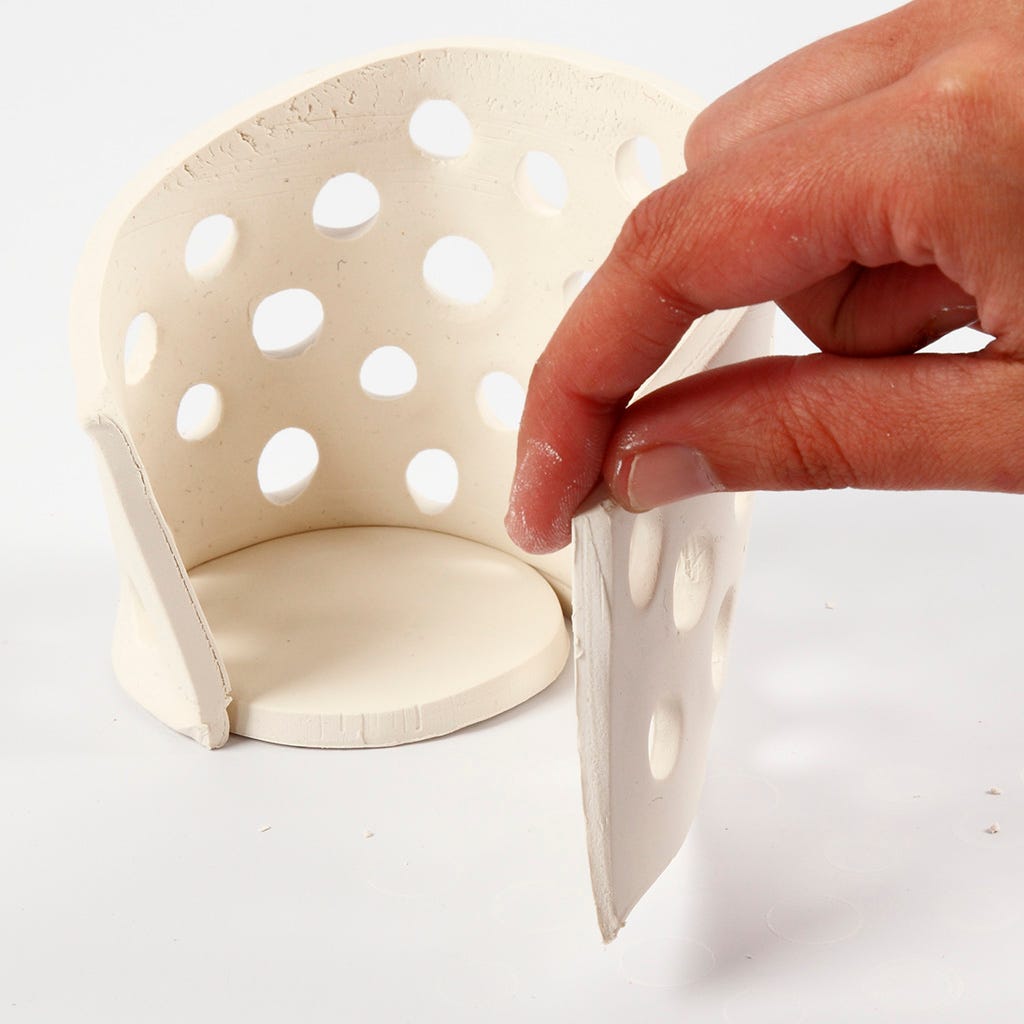
4 Squeeze the lantern's outer side (the rectangular section) firmly around the circular base ensuring it sticks firmly. Fold over the ends.

5 A tip: If the clay overlaps the holes, use the round cookie cutter to re-make the holes by pushing down the plunger through both layers of clay.
Already signed up? Download the template
Also go exploring in
