

A Shaker Card with a Circle Design and matching Envelope from handmade Paper
#v15596
Make your own shaker card and matching envelope from coloured card with pearlescent effect and handmade paper. Decorate the greeting card with a punched-out flower wreath and a transparent hard foil circle with glitter behind.
#v15596
How to do it Download the templates/recipes
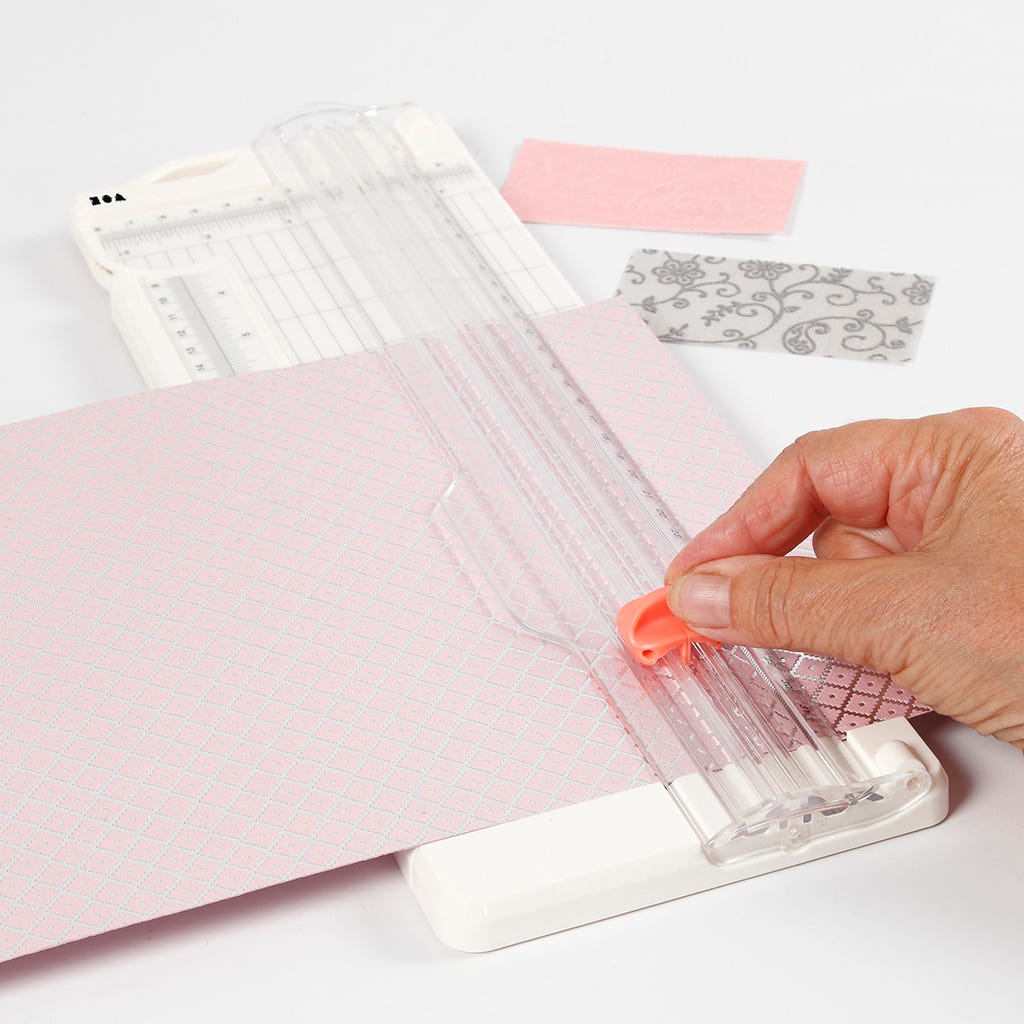
1 Use a paper trimmer for cutting strips from handmade paper, matching the dimensions of the front of the greeting card.
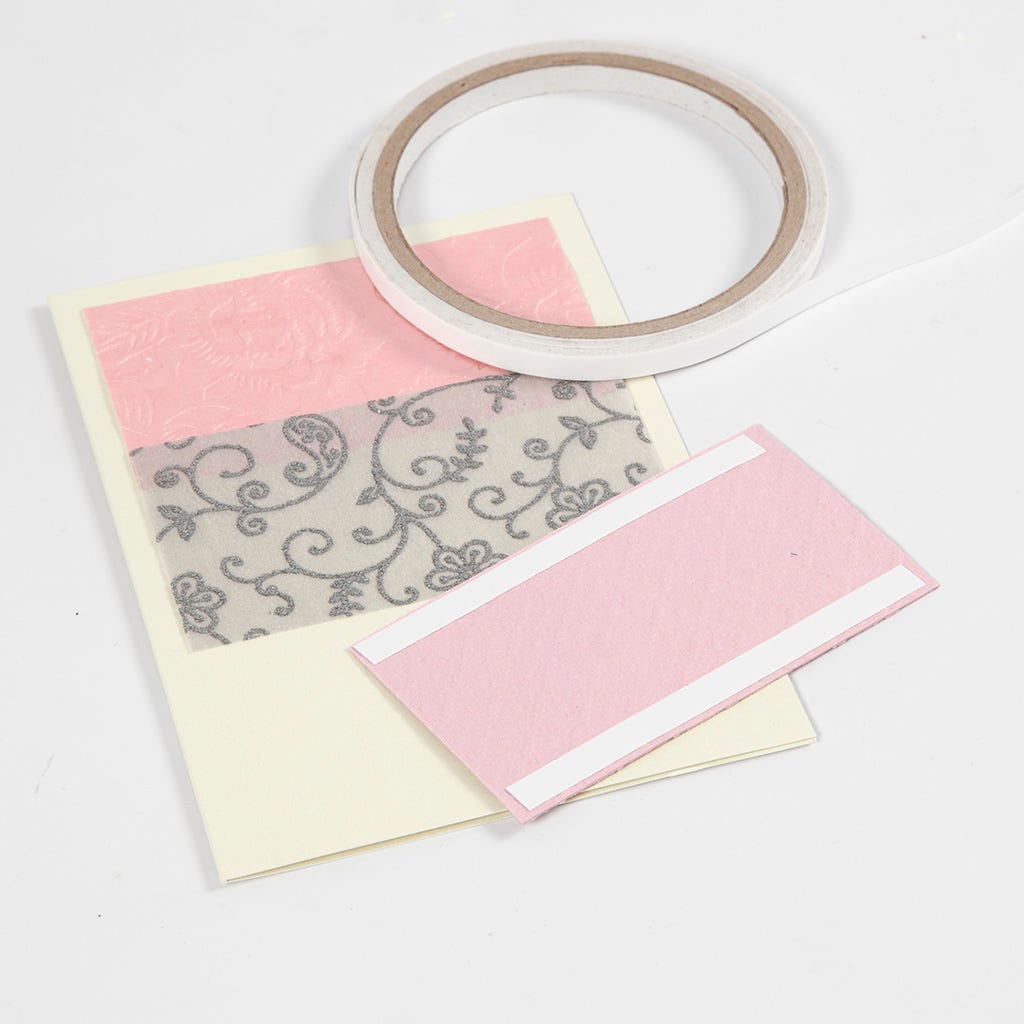
2 Attach the strips onto the front of the greeting card using double-sided adhesive tape.
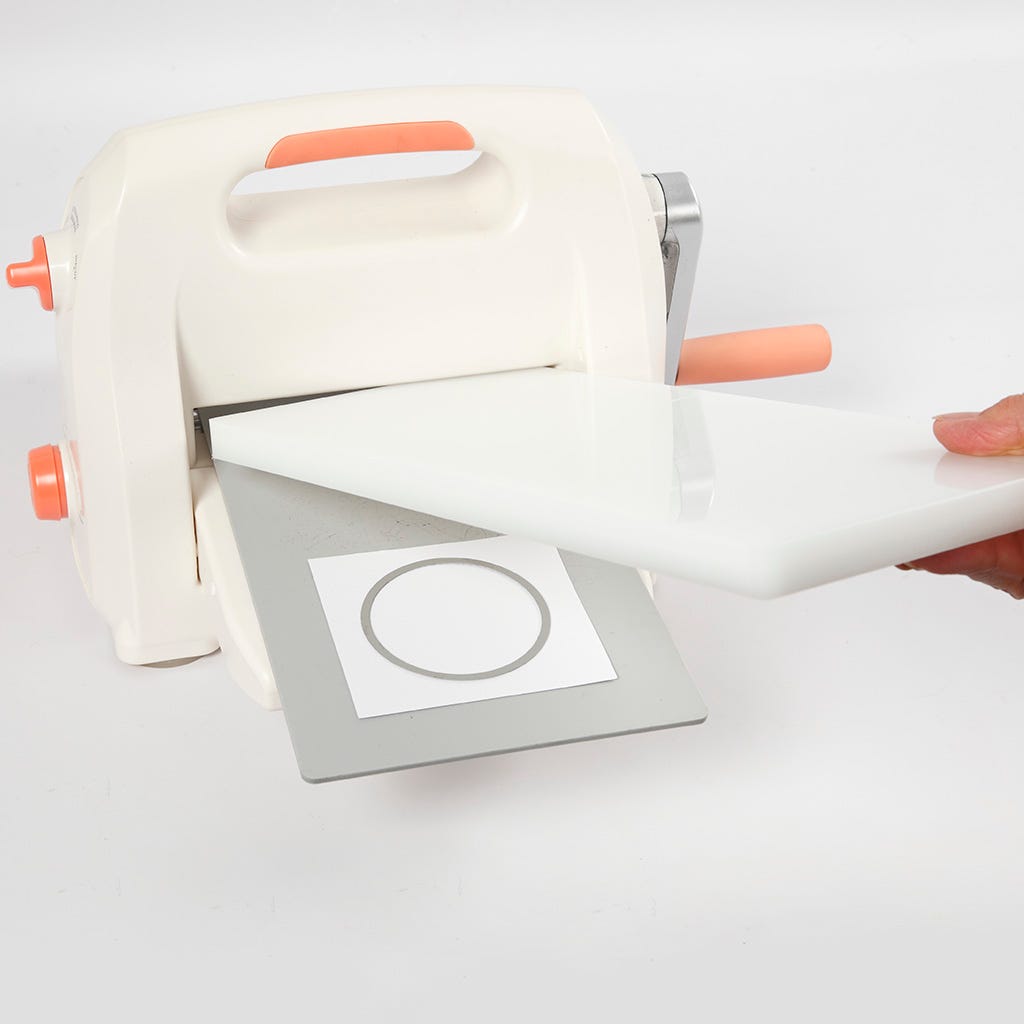
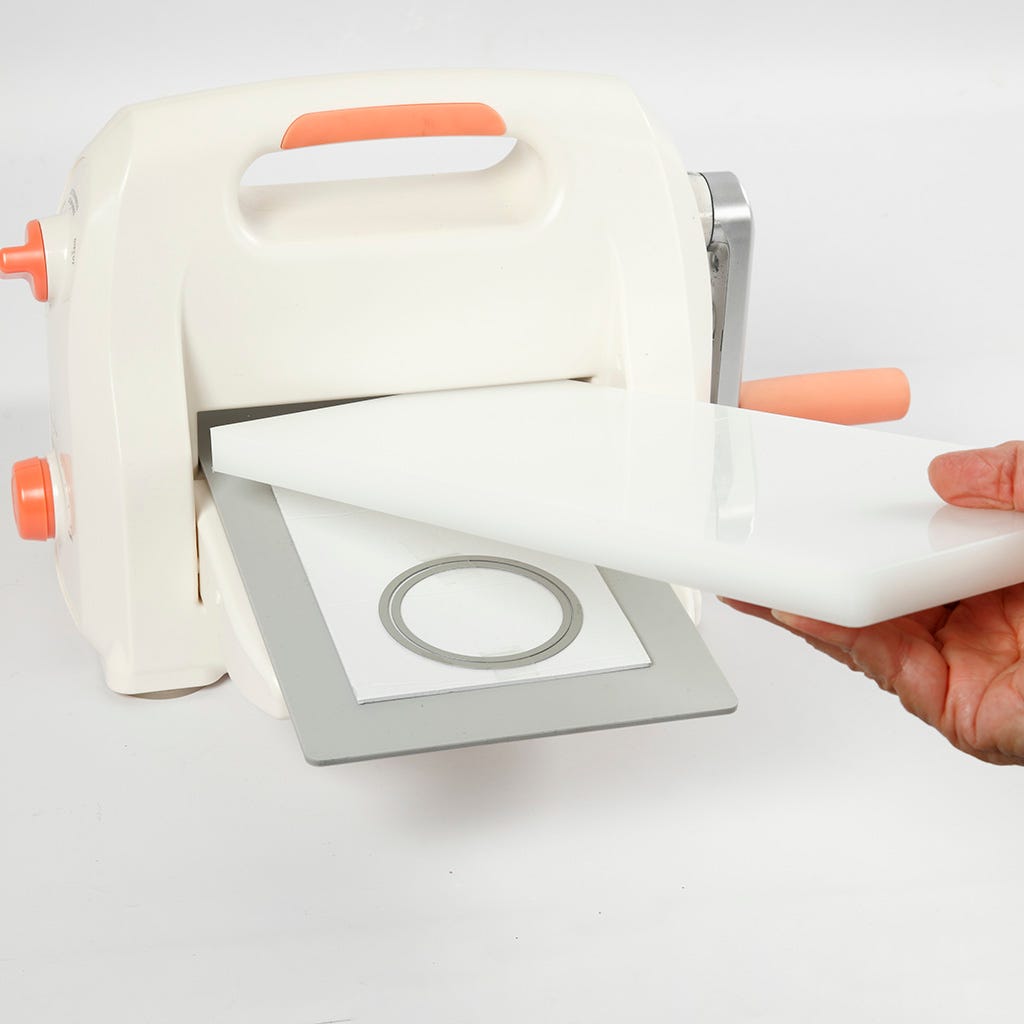
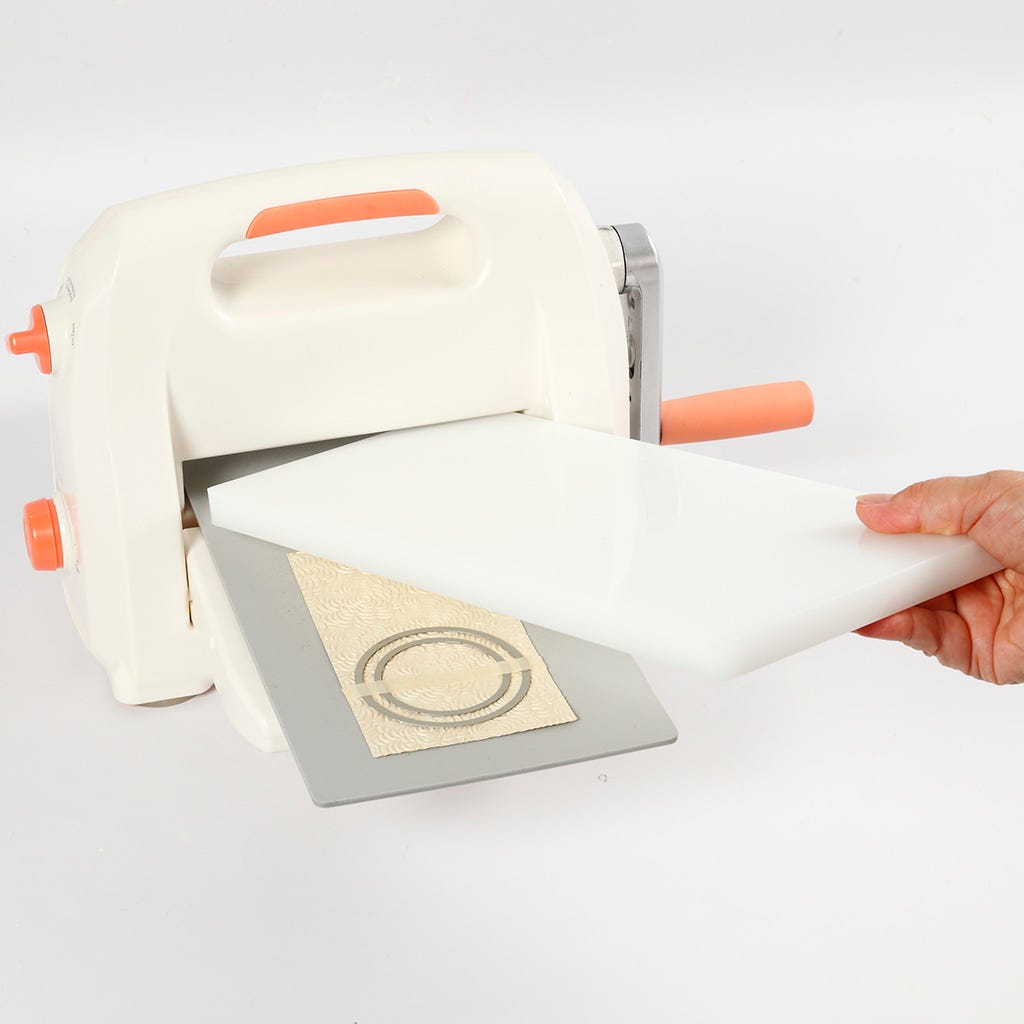
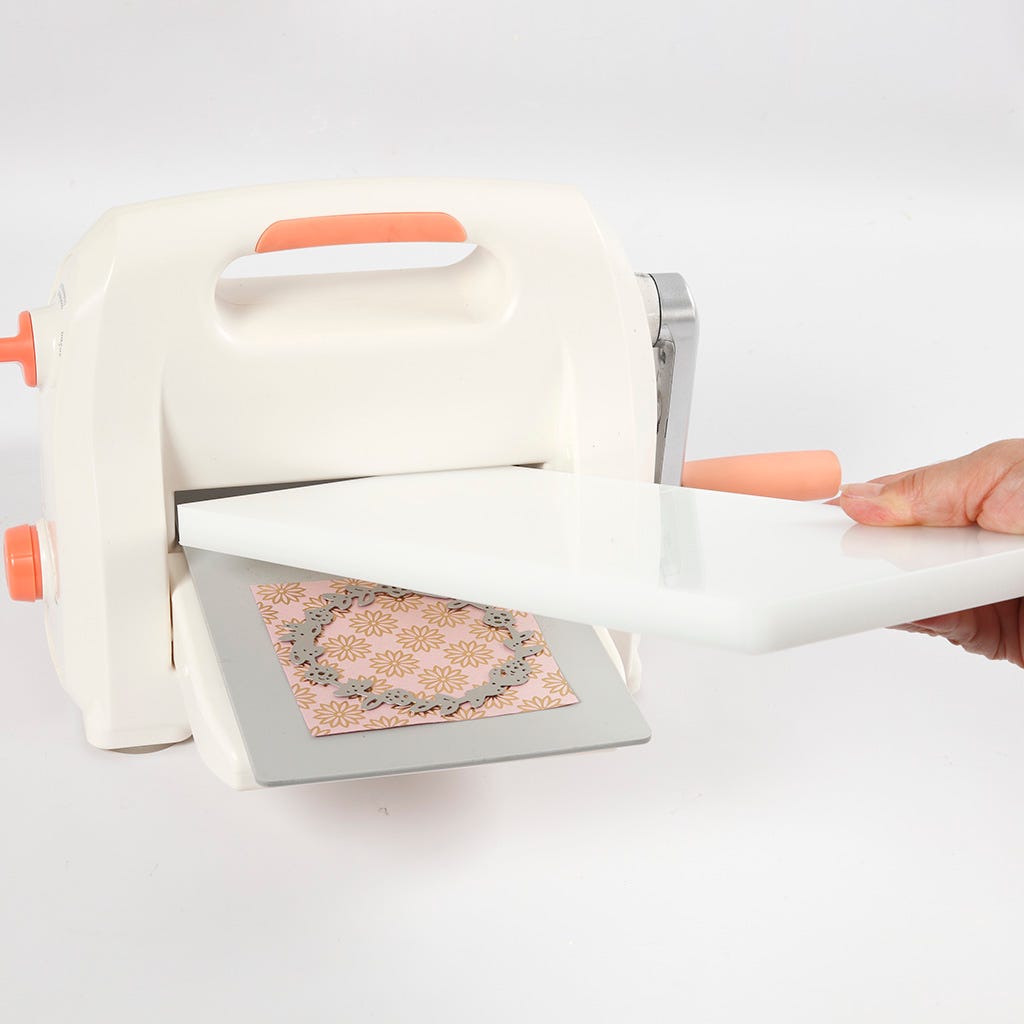
3 Punch out an oval from a piece of card using the largest die. Load the die-cutting machine as follows: "Cutting Mat" at the bottom, card, die and finally "Platform" at the top.
4 Punch out circular frame from a double-sided adhesive 3D foam pad by placing the second largest die inside the largest die. Make sure that the dies don't slide out of position by attaching them to each other with a couple of pieces of tape.
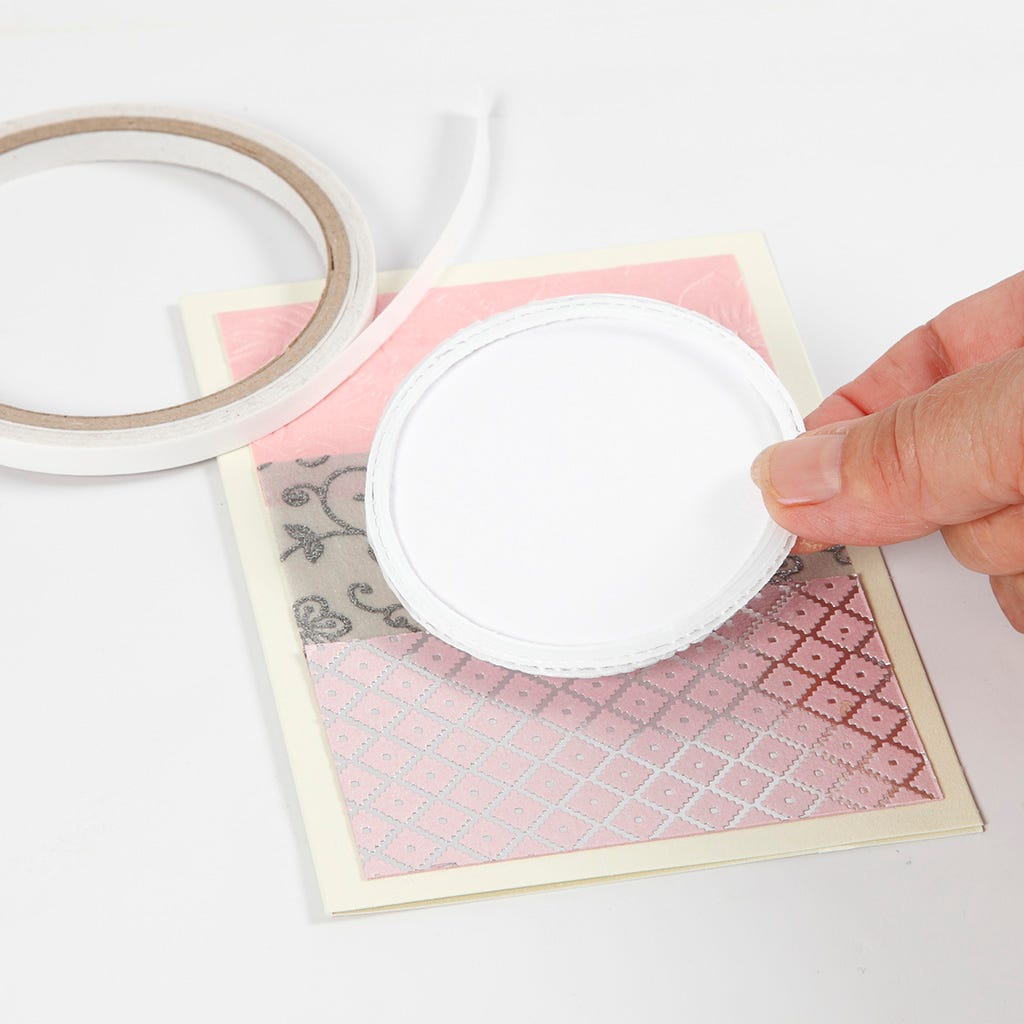
5 Attach the circular double-sided adhesive 3D foam pad frame onto the greeting card by removing the protective layer.
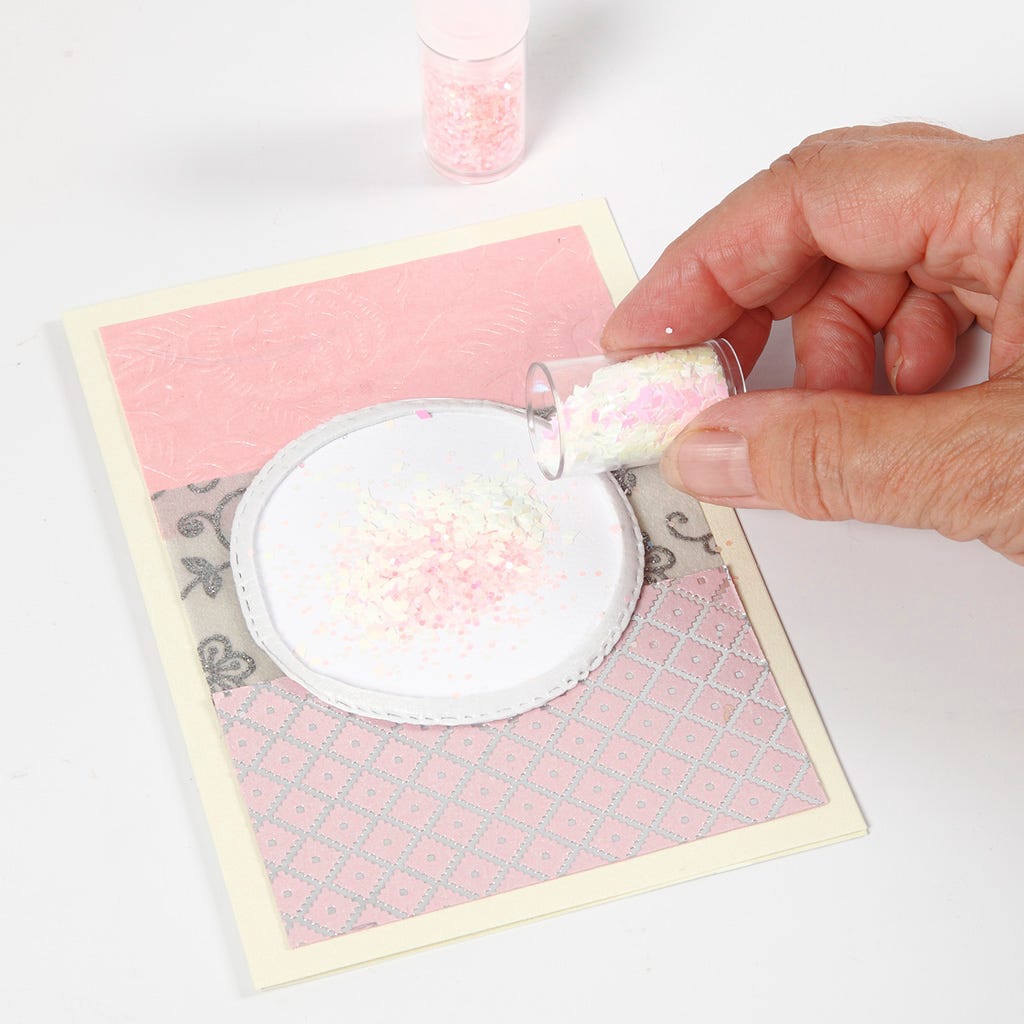
6 Sprinkle glitter and sequins inside the framed circle.

7 Use the second largest die as a template for cutting out a hard foil circle.
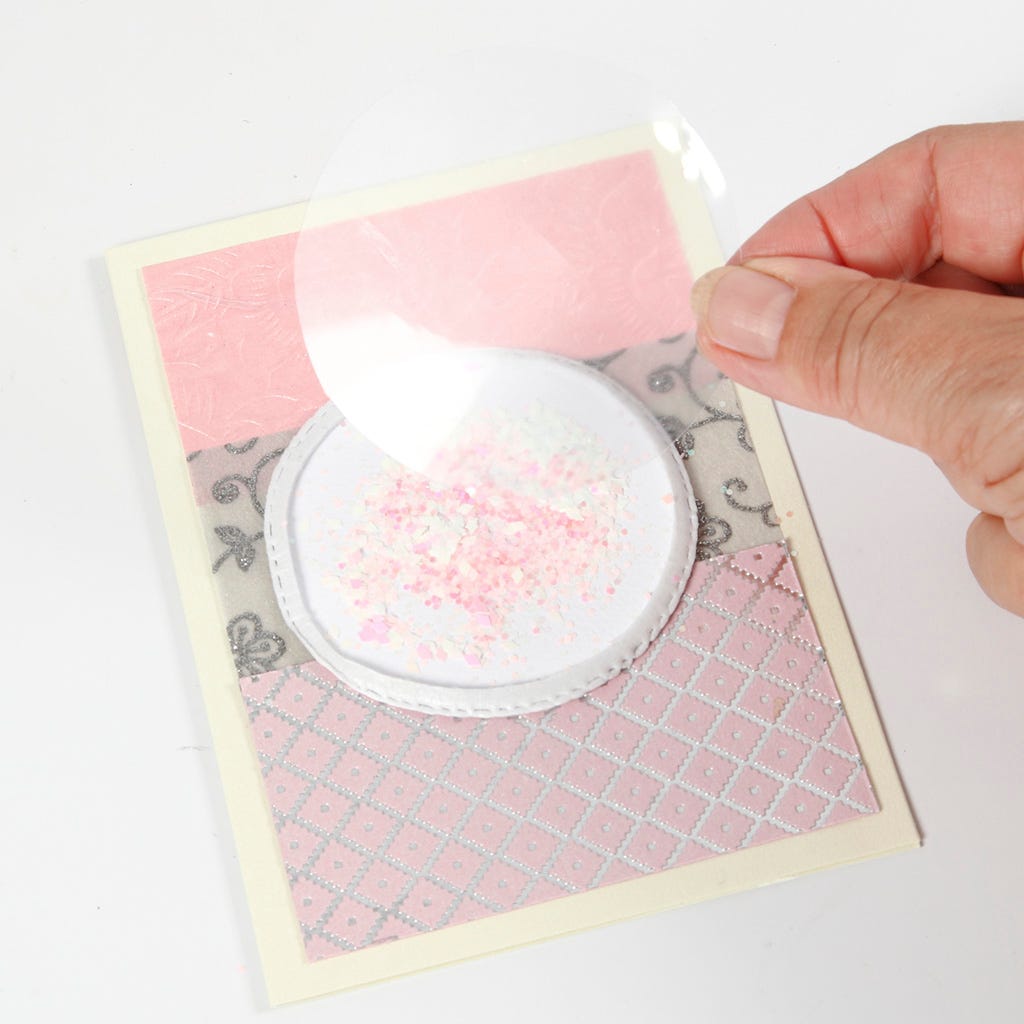
8 Remove the other protective layer from the double-sided adhesive foam pad frame. Place the hard foil circle on top.
9 Punch out a circular frame from handmade paper using the same procedure as described in step 4.

10 Attach the paper frame on top of the hard foil circle using double-sided adhesive tape.
11 Punch out a wreath from handmade paper.
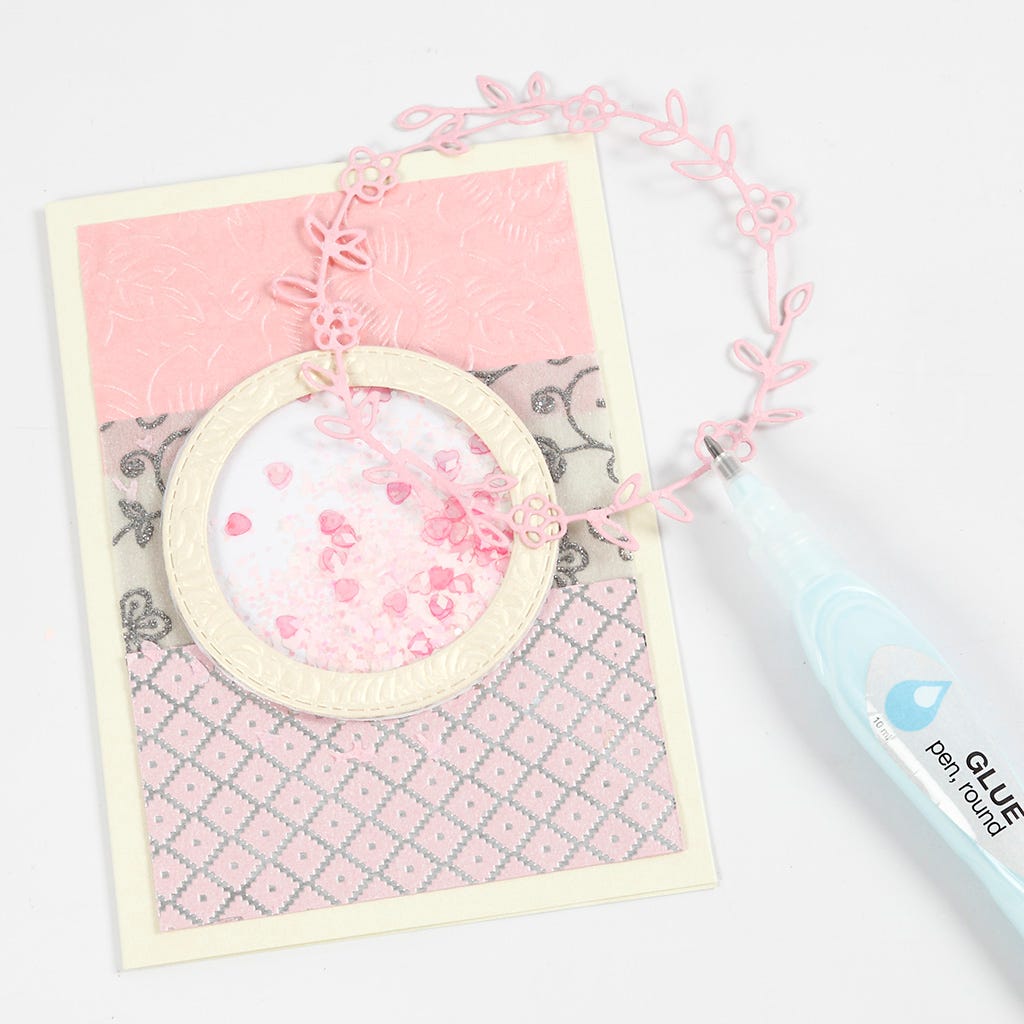
12 Attach the flower wreath onto the front of the greeting card with small dots of glue from a glue pen.
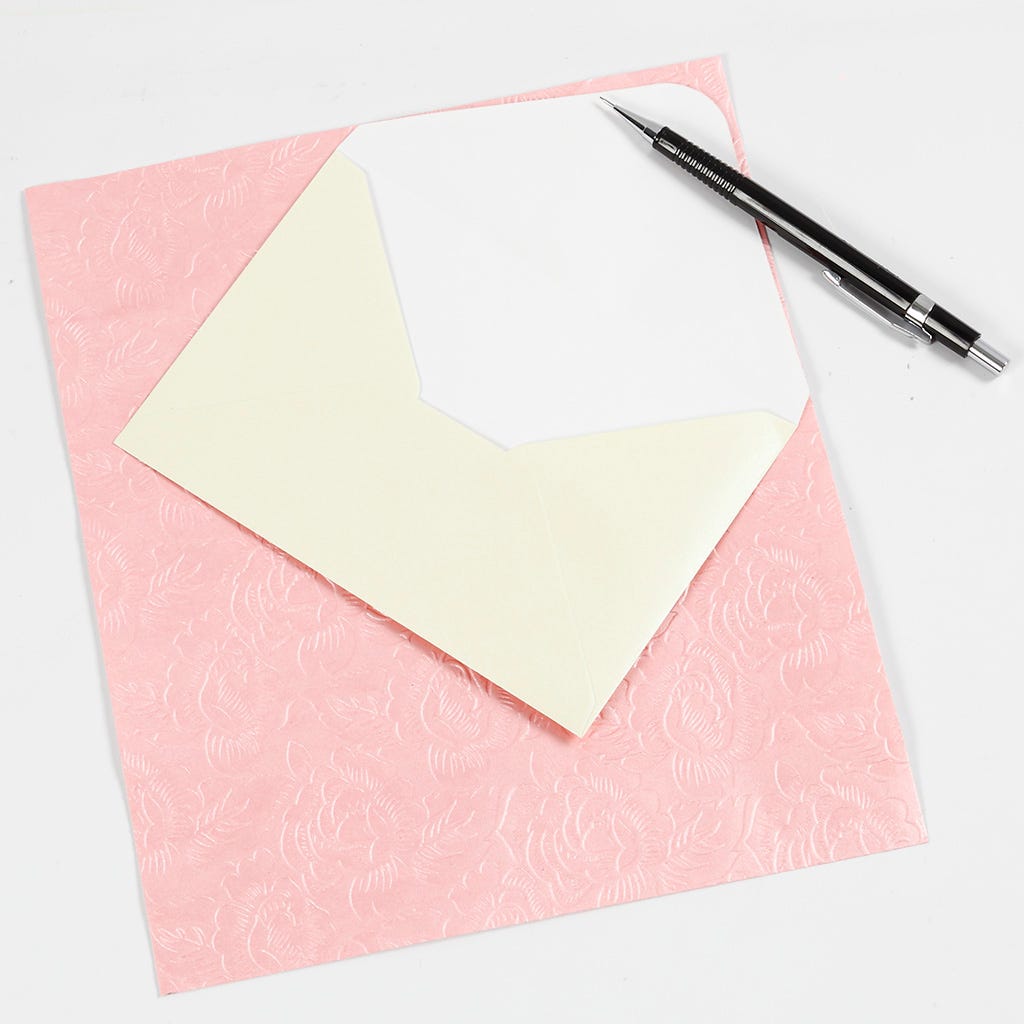
13 Make a template from handmade paper to fit inside the envelope.
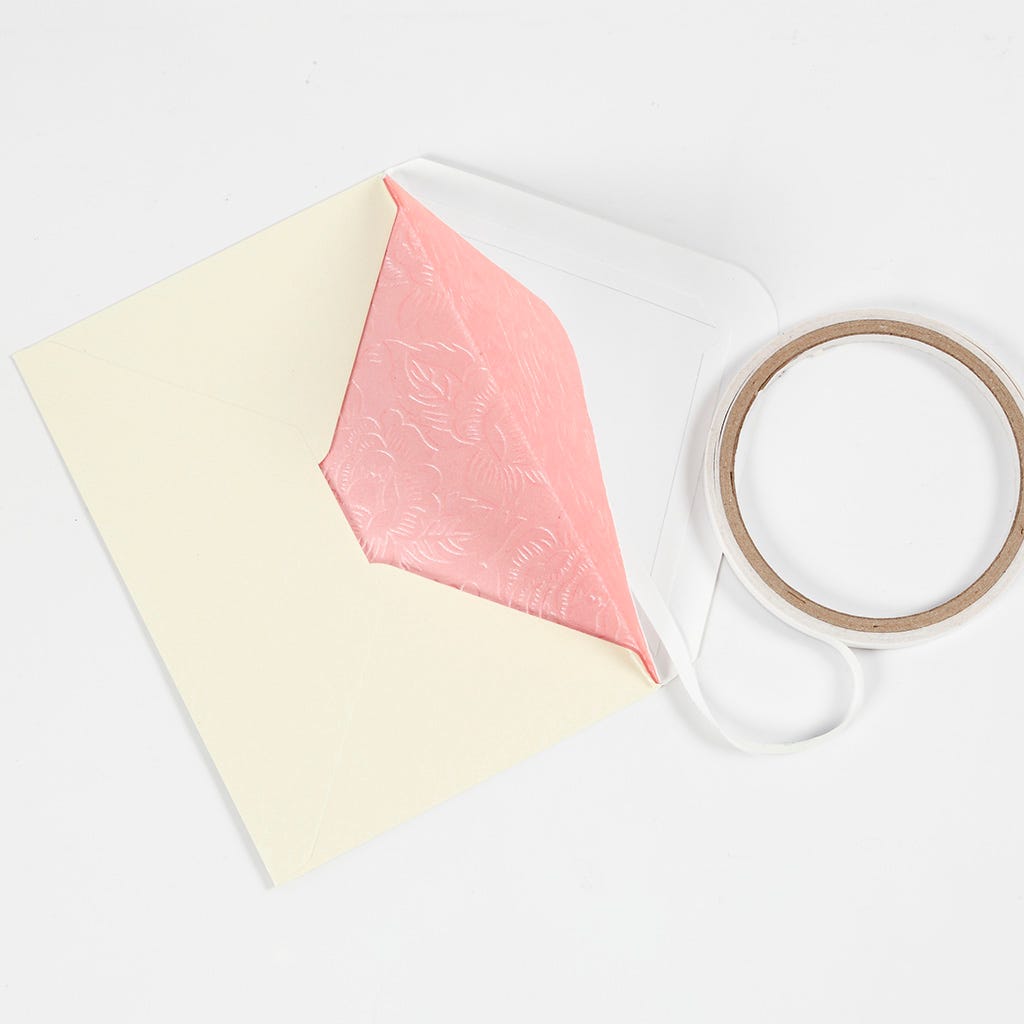
14 Attach the paper inside the envelope using double-sided adhesive tape.
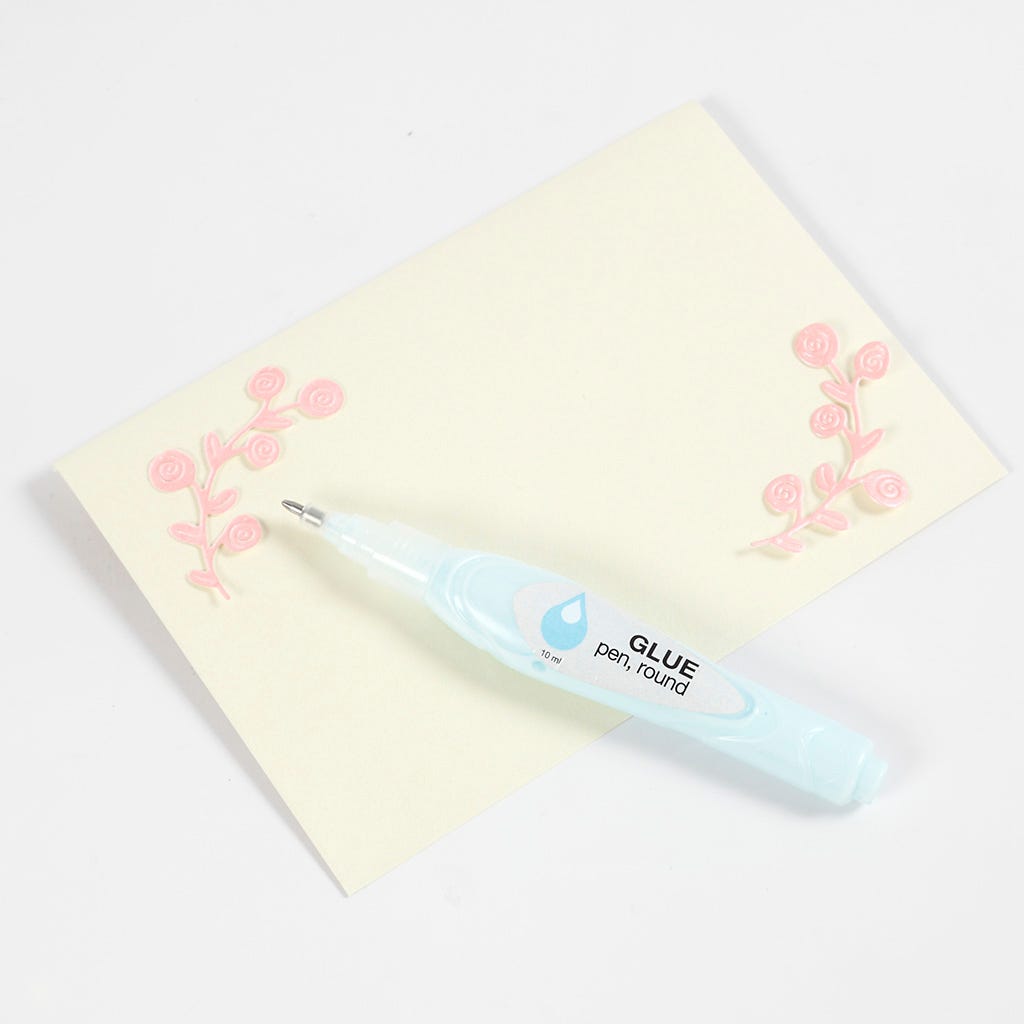
15 Punch out two flower designs and attach them onto the front of the envelope using a glue pen.
Already signed up? Download the template
Also go exploring in
