

New
Creative idea
Socks decorated with embroidery
#v17227
Embroider directly onto socks using smart embroidery stickers and colourful embroidery thread. You choose a design, attach it to the sock and then embroider on top. When you’re done, rinse off the sticker and enjoy a personal and trendy design on your socks.
#v17227
How to do it Download the templates/recipes
1 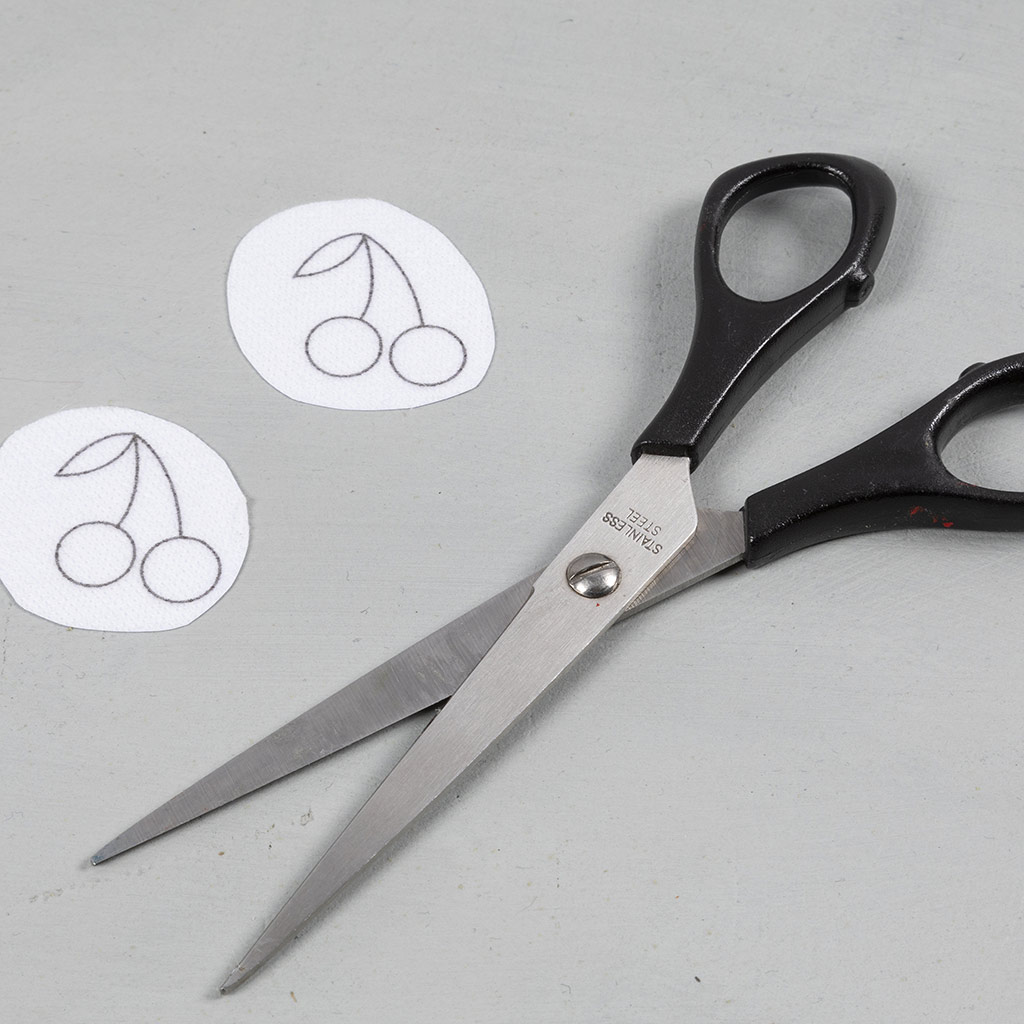 Cut out the illustrations you want to use, as shown in the picture.
Cut out the illustrations you want to use, as shown in the picture.2 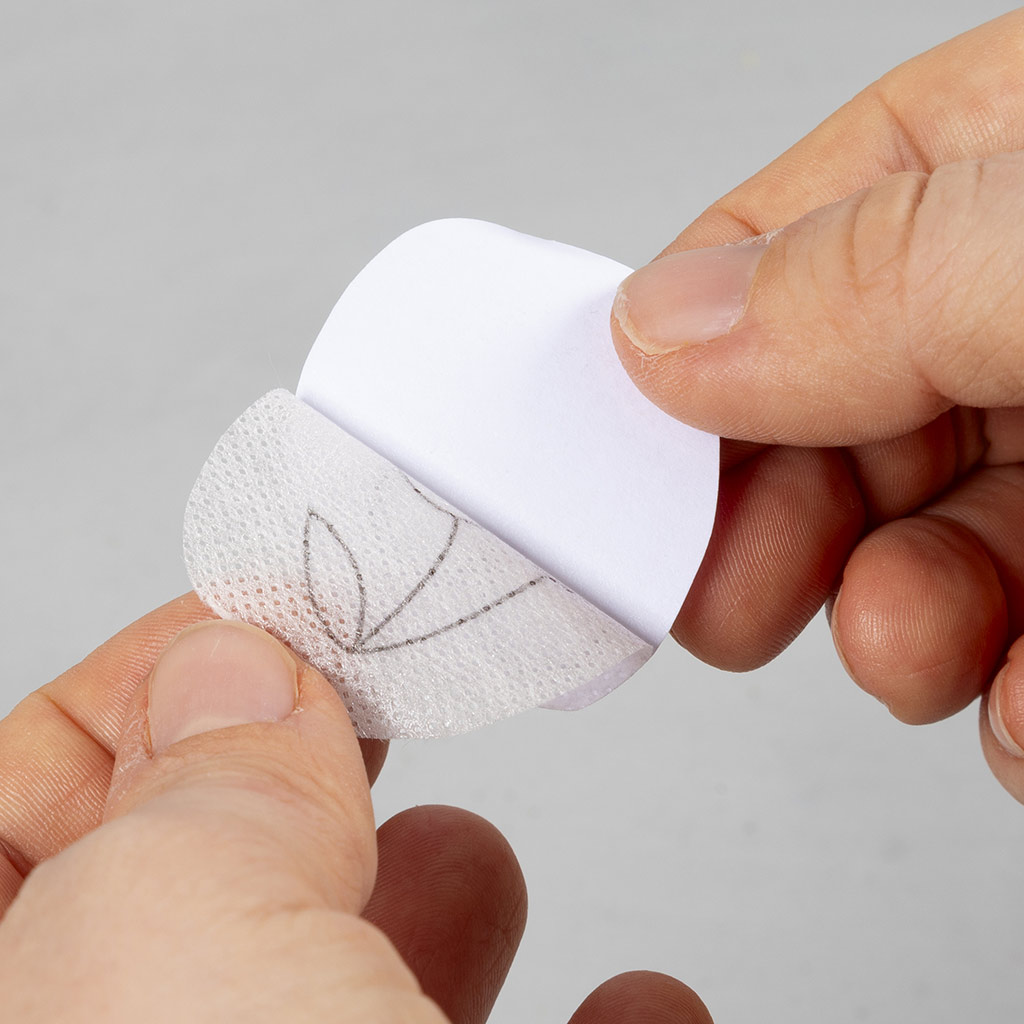 Remove the paper from the sticker.
Remove the paper from the sticker.3 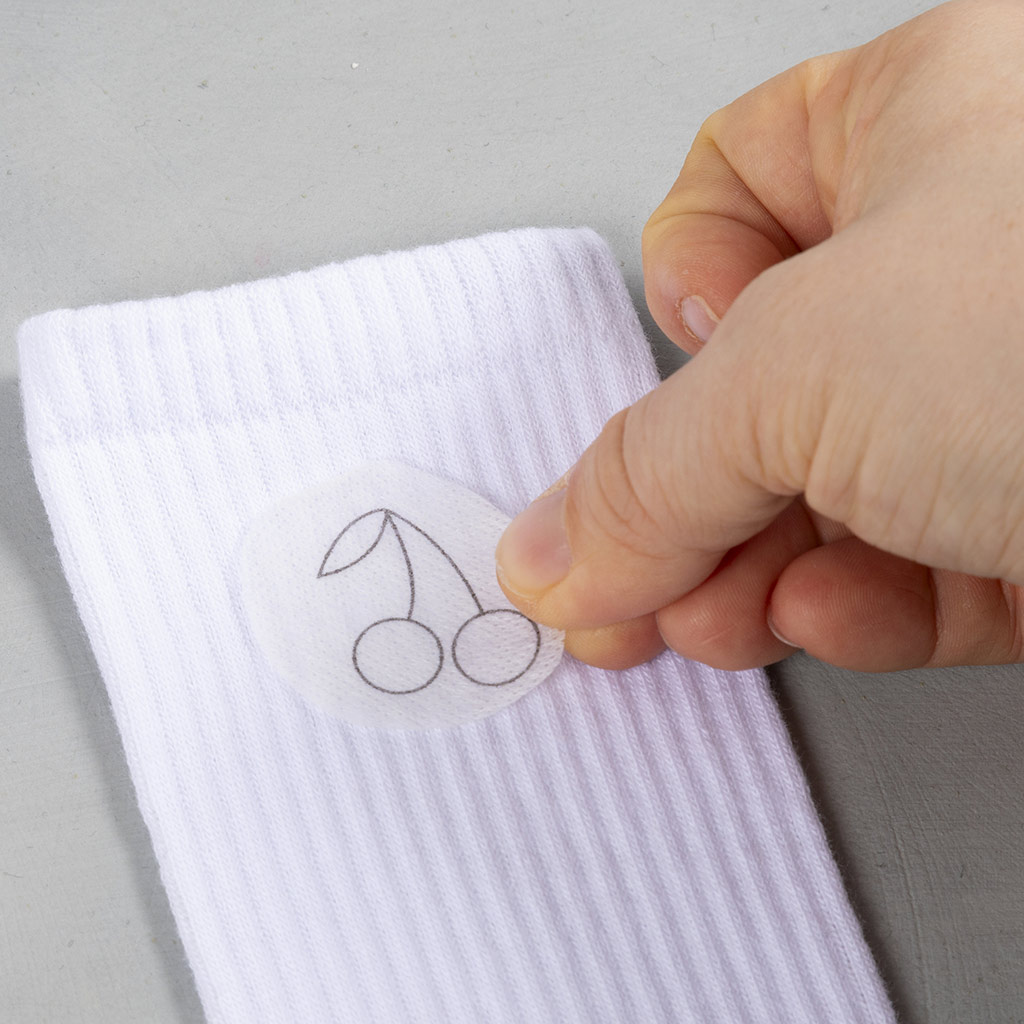 Place the sticker where you want and press firmly with the palm of your hand.
Place the sticker where you want and press firmly with the palm of your hand.4  In the example, the embroidery is placed so that when you put on the socks, the design faces outwards.
In the example, the embroidery is placed so that when you put on the socks, the design faces outwards.5 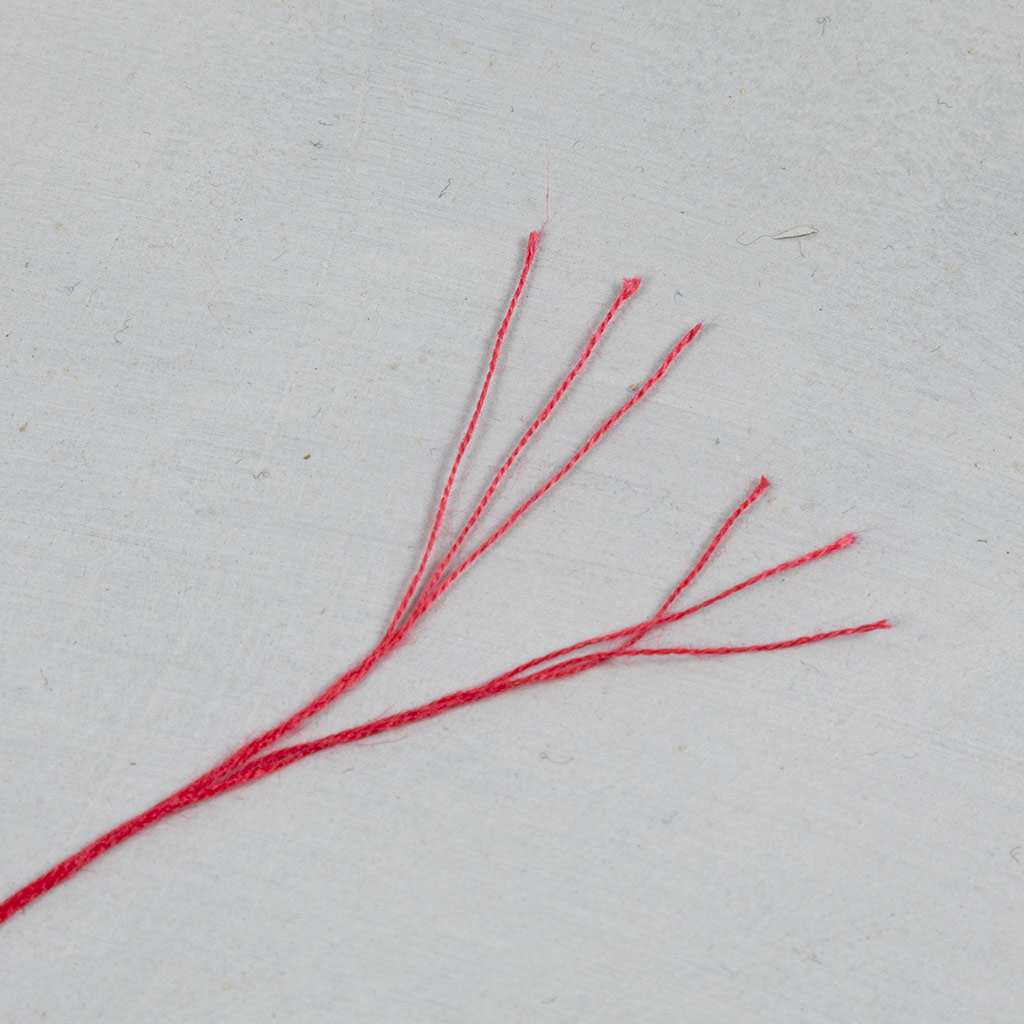 The embroidery thread consists of six threads. Divide the thread in half so that each part consists of three threads.
The embroidery thread consists of six threads. Divide the thread in half so that each part consists of three threads.6 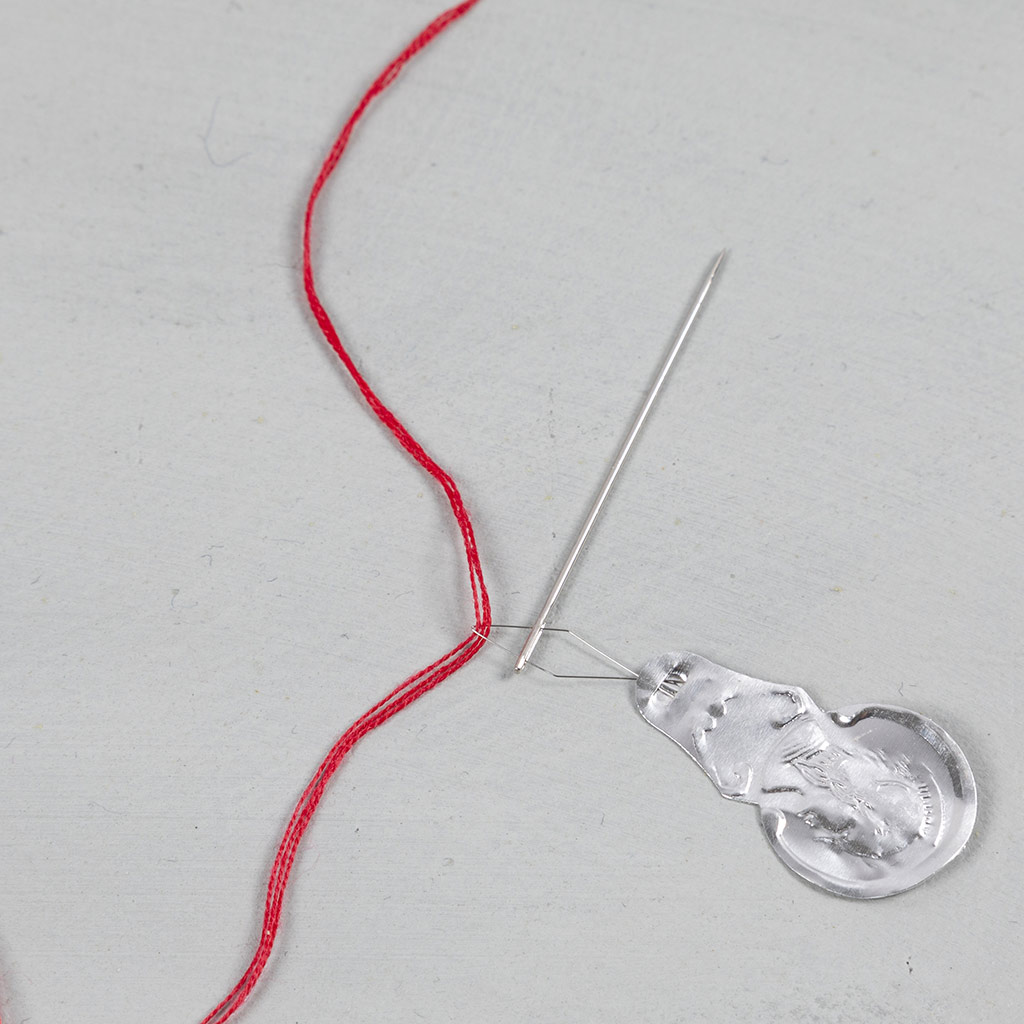 Pull the needle threader through the needle eye and then pull the embroidery thread through, as shown in the picture.
Pull the needle threader through the needle eye and then pull the embroidery thread through, as shown in the picture.7 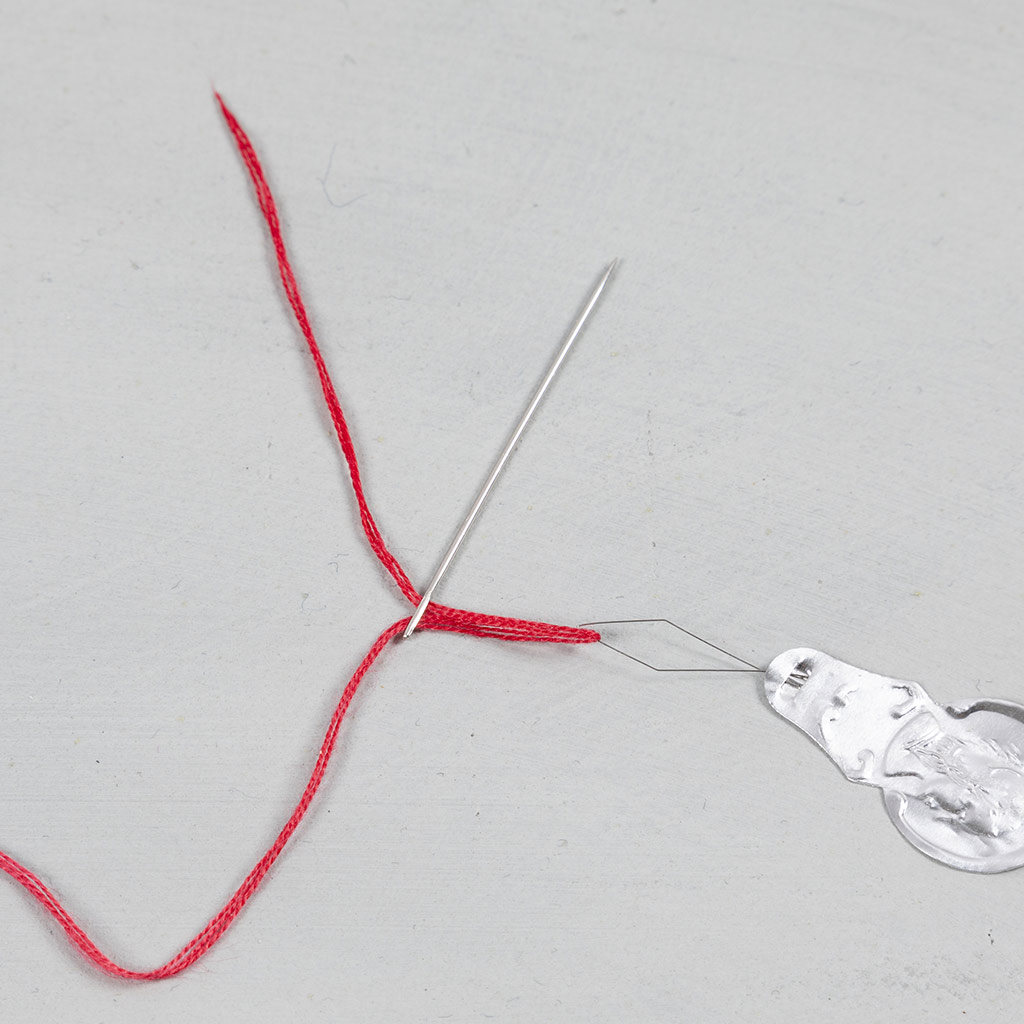 Now pull the needle out with the embroidery thread, as shown in the picture.
Now pull the needle out with the embroidery thread, as shown in the picture.8 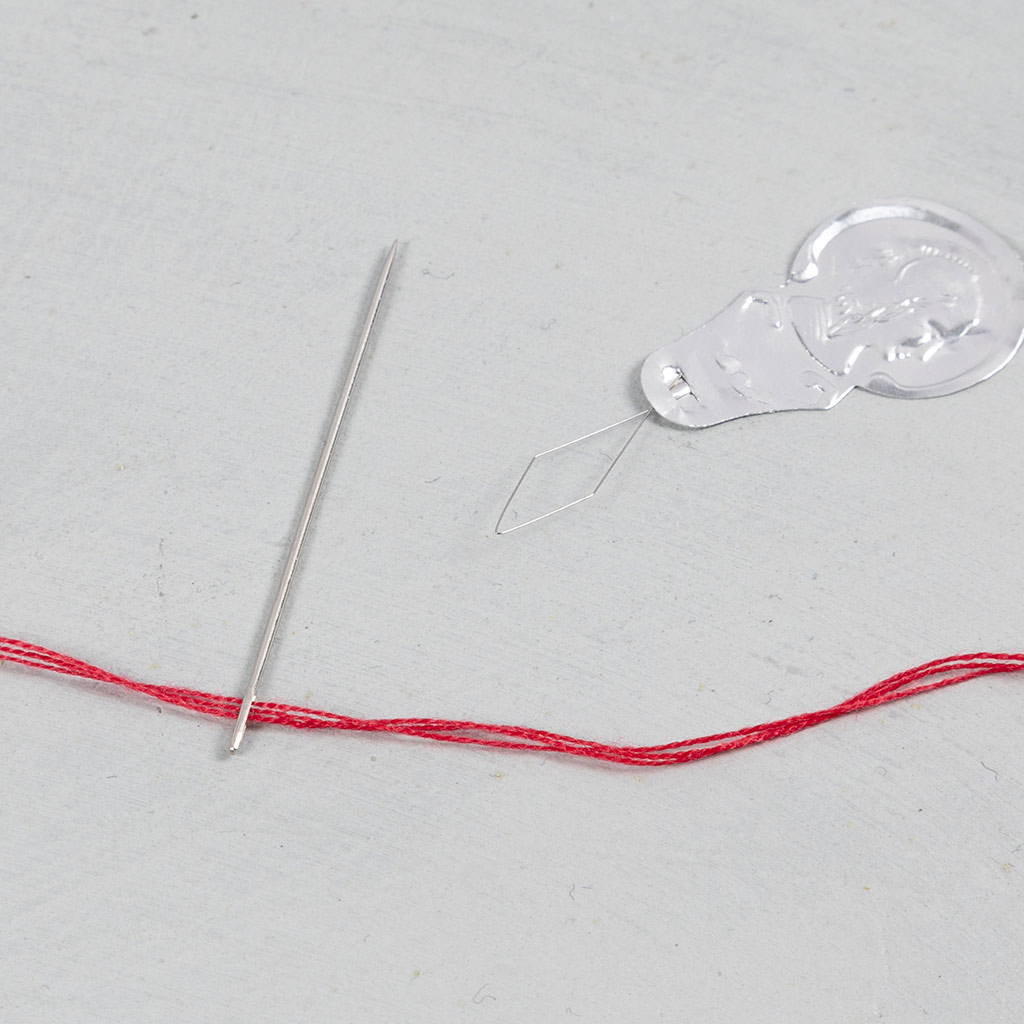 Remove the needle threader.
Remove the needle threader.9 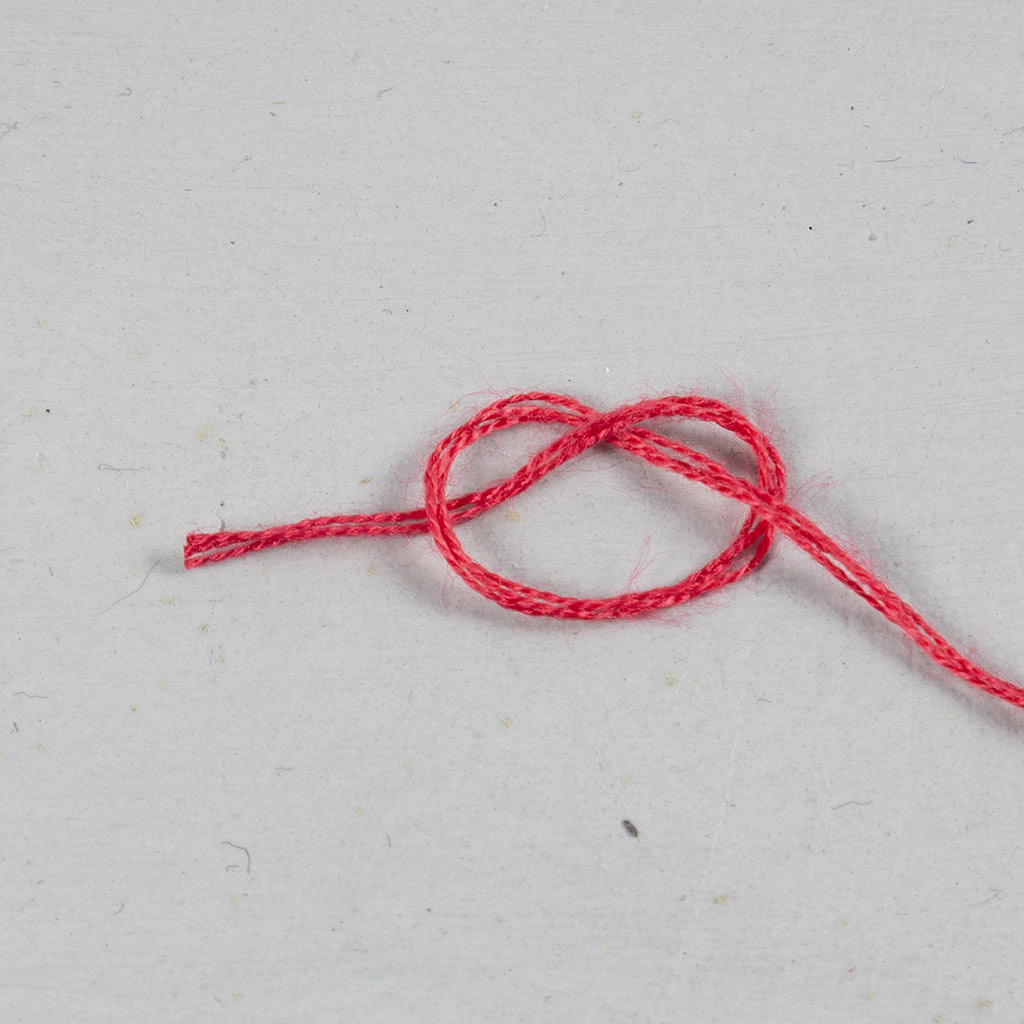 Tie a knot as shown in the picture.
Tie a knot as shown in the picture.10 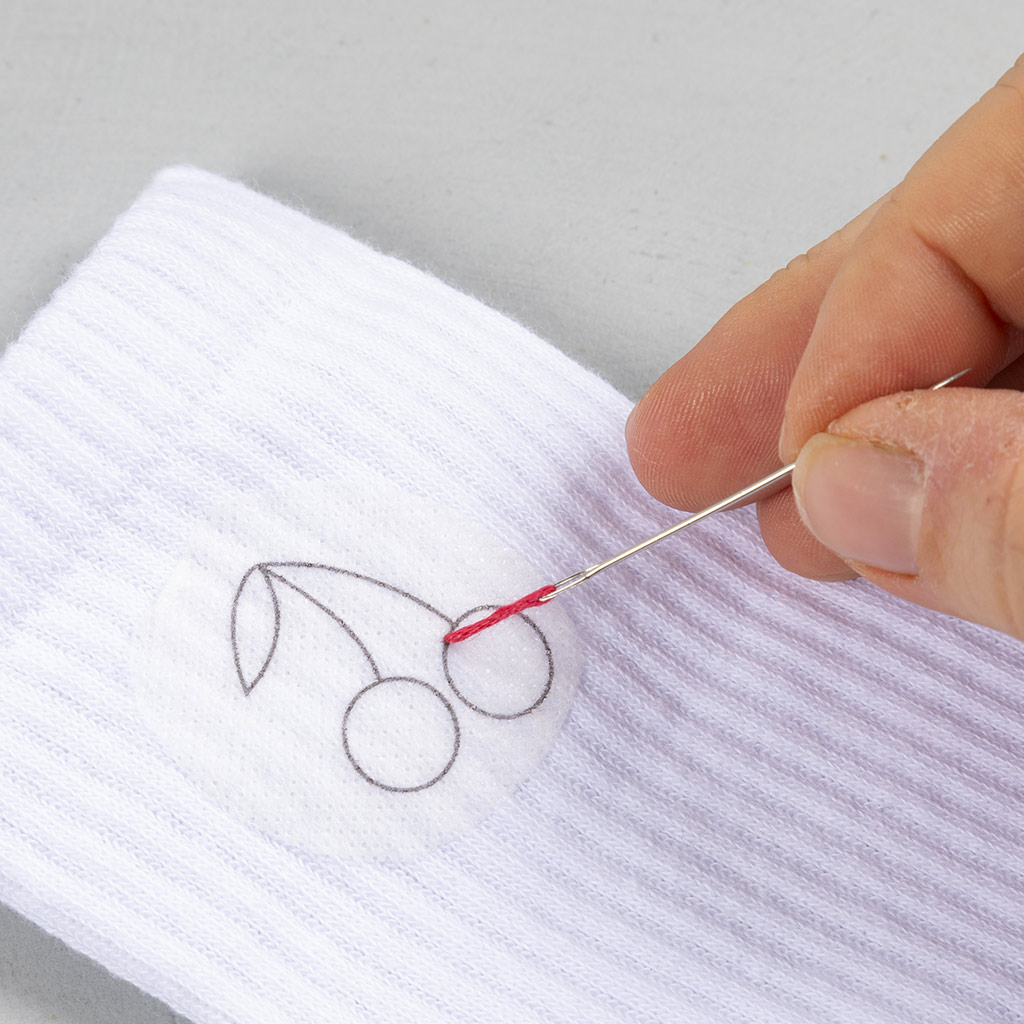 Now insert the needle from the inside of the sock.
Now insert the needle from the inside of the sock.11 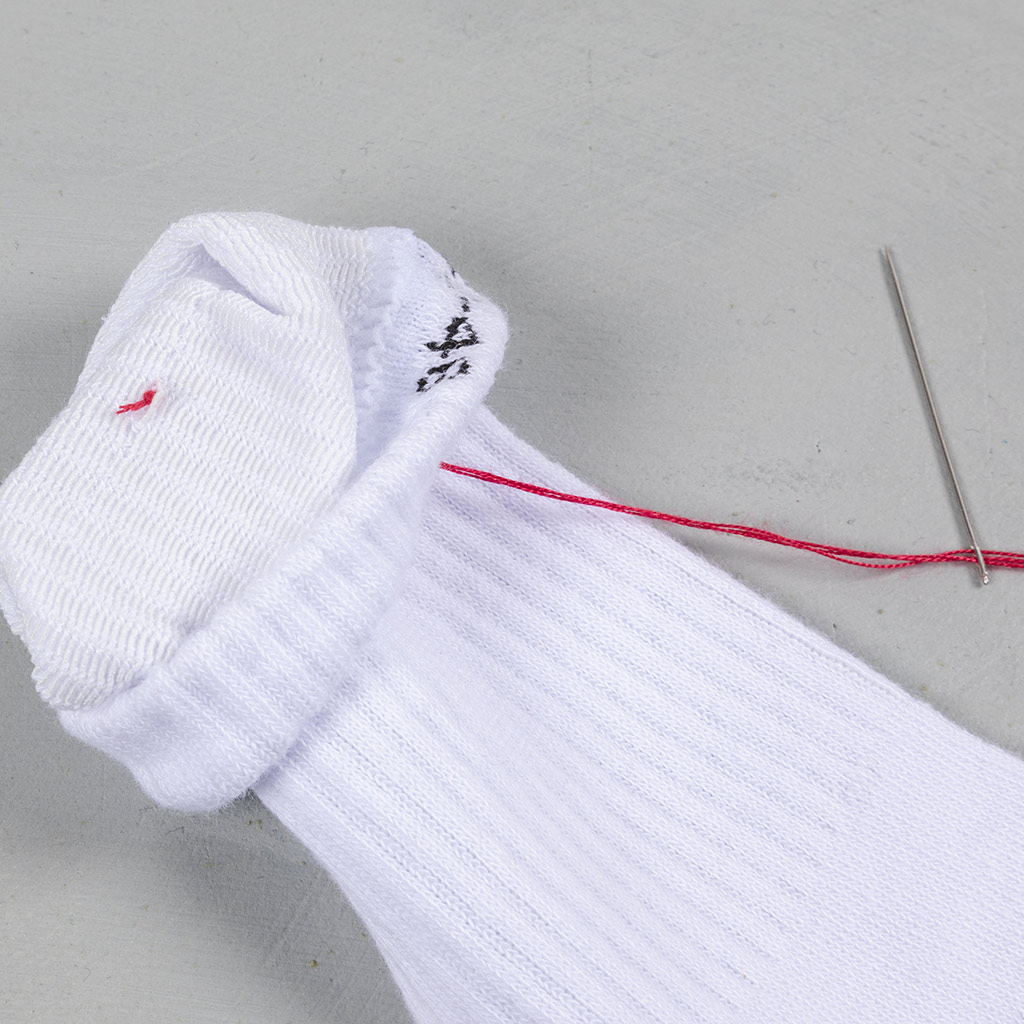 The knot keeps the thread in place.
The knot keeps the thread in place.12 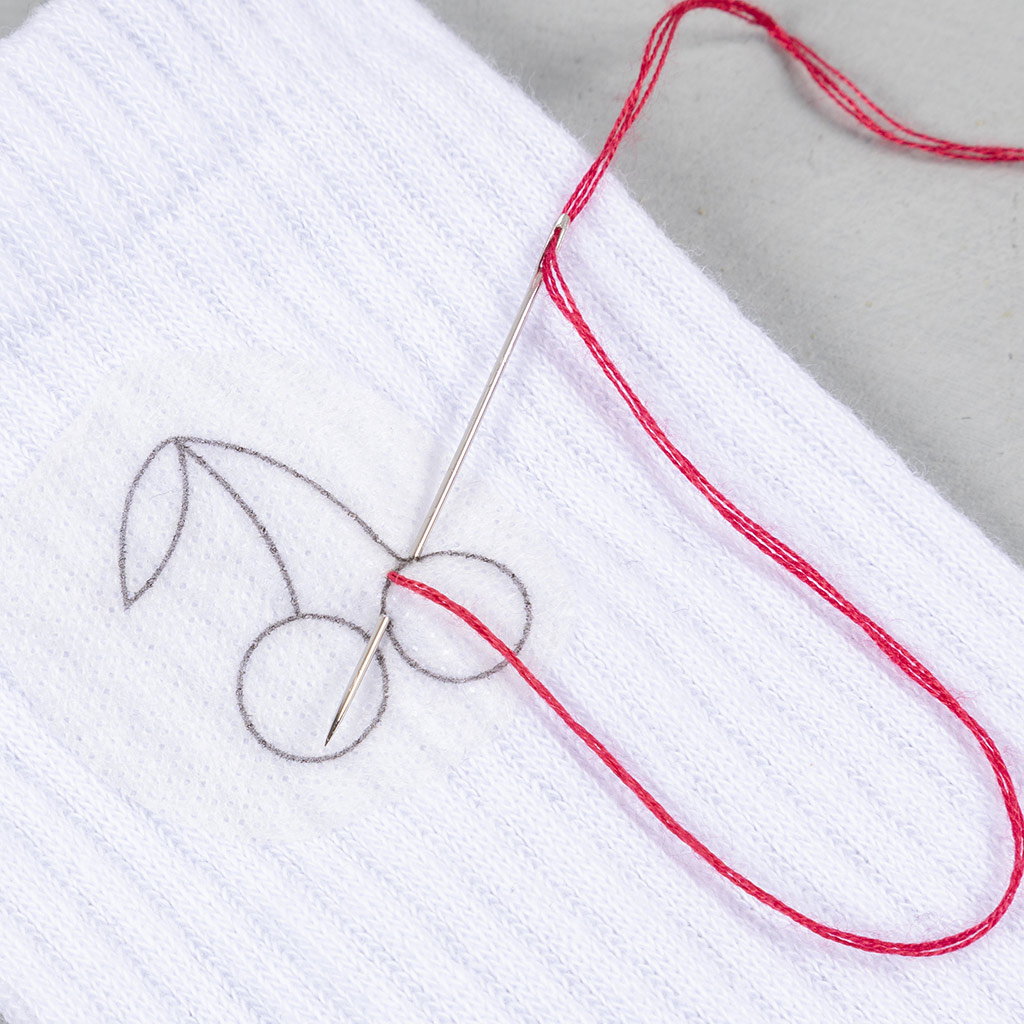 Now start embroidering using a backstitch
Insert the needle as shown.
Now start embroidering using a backstitch
Insert the needle as shown.
Now start embroidering using a backstitch
Insert the needle as shown.13 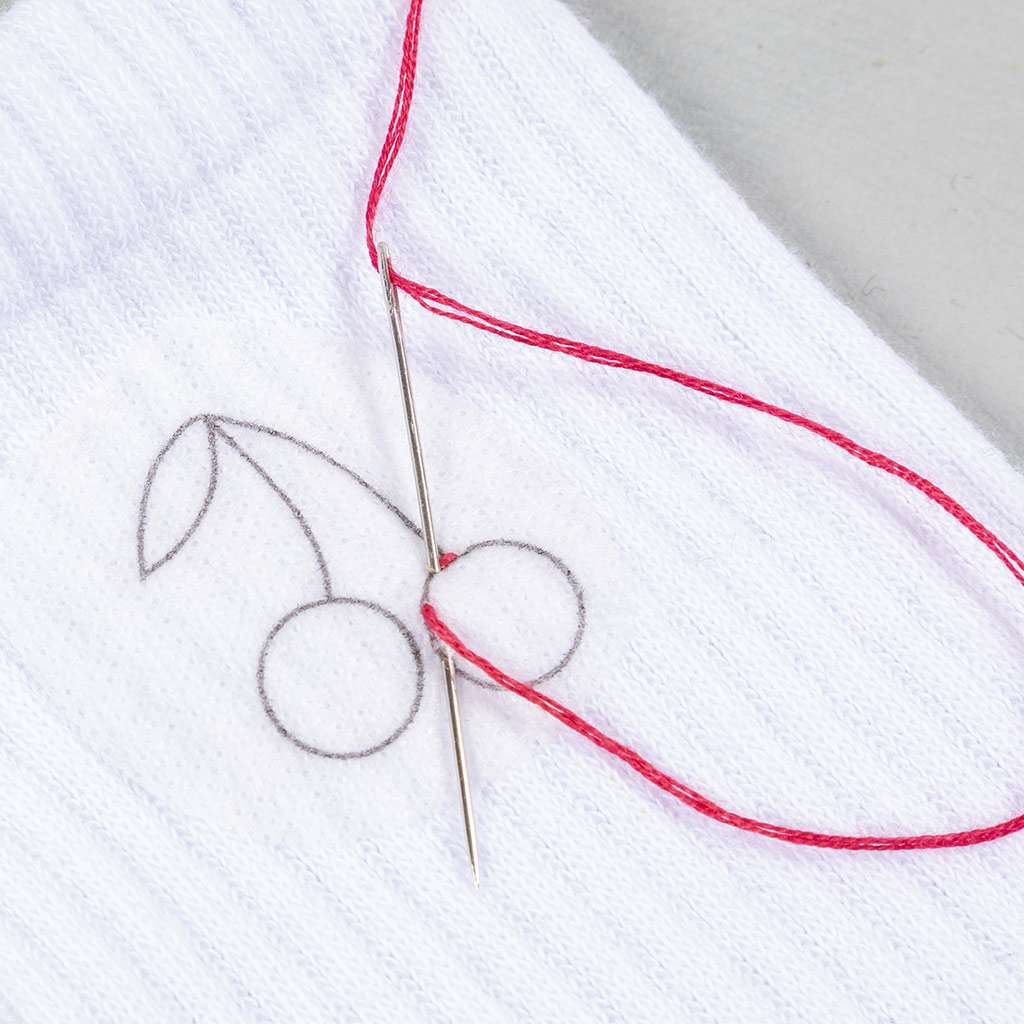 Continue the same technique all the way around.
Continue the same technique all the way around.14 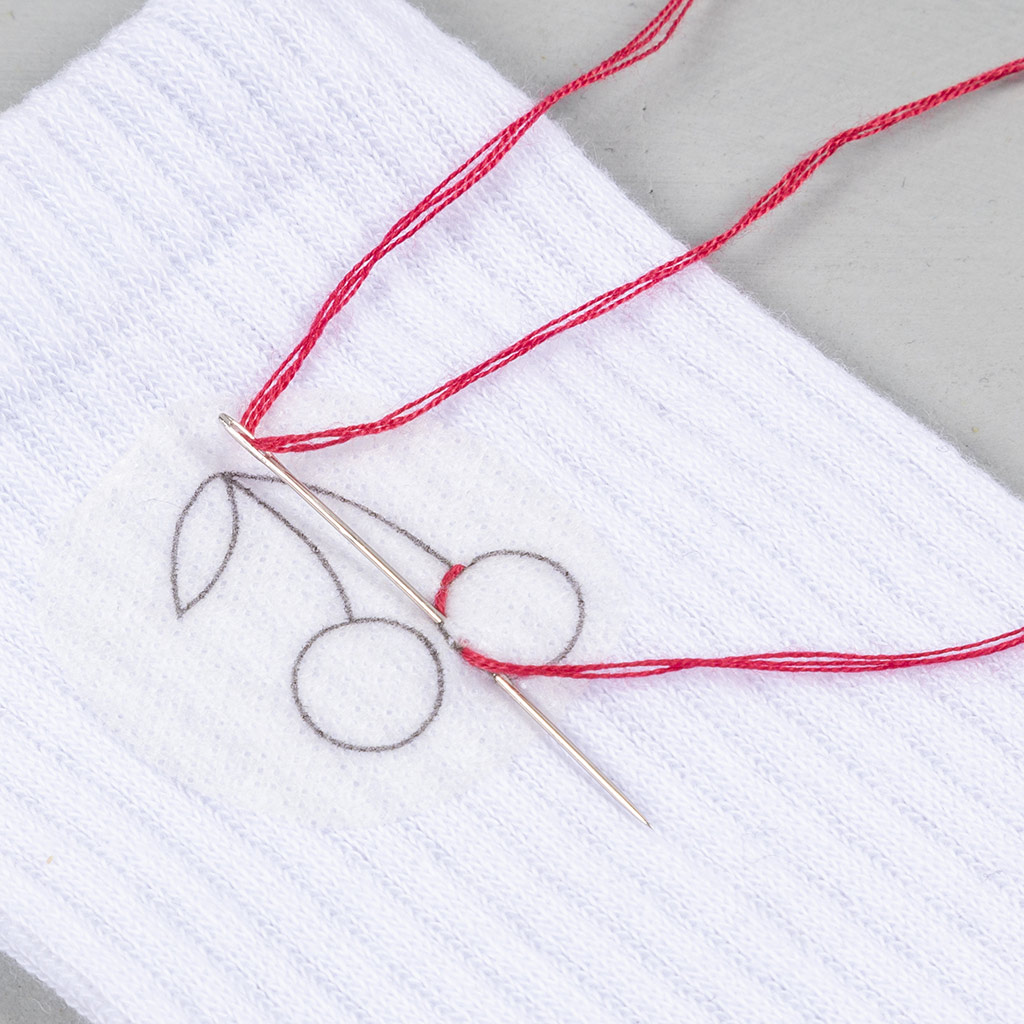 Once you have reached all the way around the berry, switch to a satin stitch.
This should help give your berry volume.
Once you have reached all the way around the berry, switch to a satin stitch.
This should help give your berry volume.
Once you have reached all the way around the berry, switch to a satin stitch.
This should help give your berry volume.15 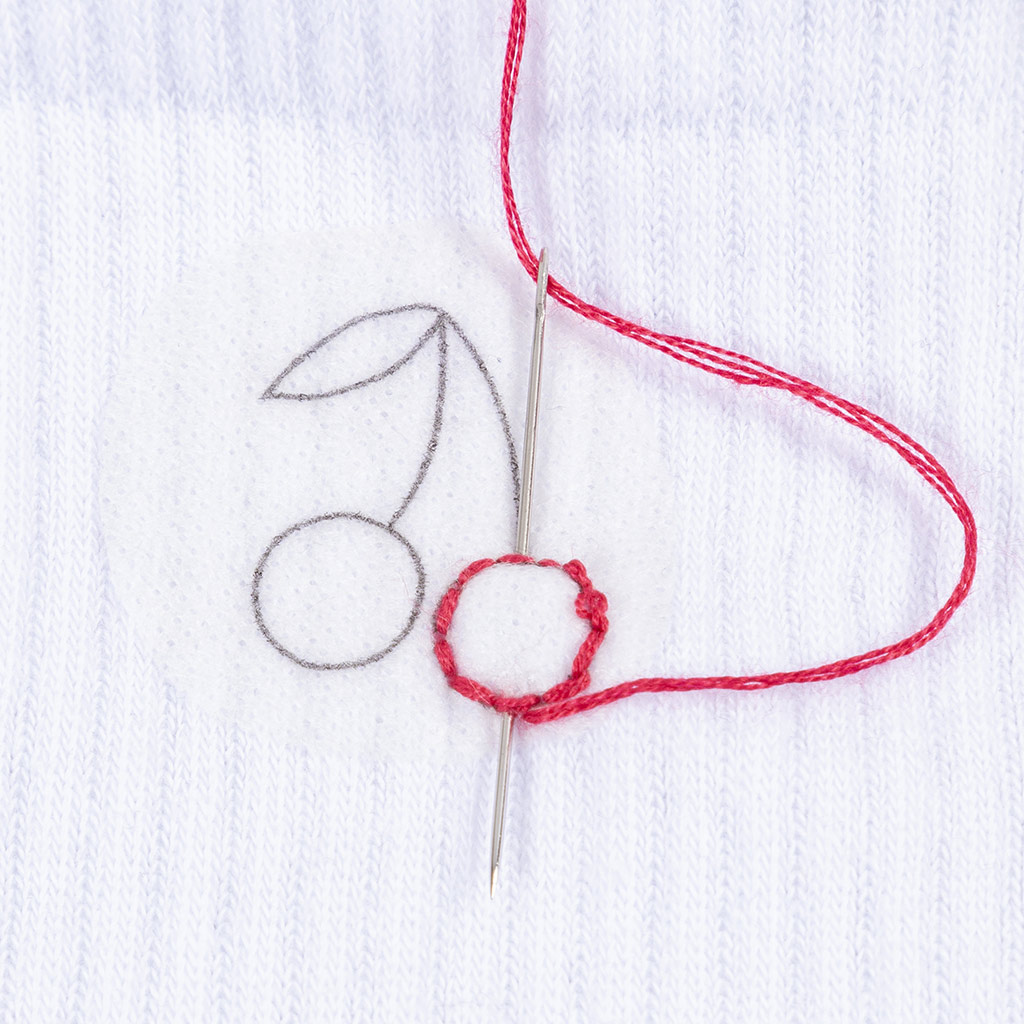 Start with a satin stitch by pulling the needle from one outer edge of the berry to the other, as shown in the picture.
Start with a satin stitch by pulling the needle from one outer edge of the berry to the other, as shown in the picture.16 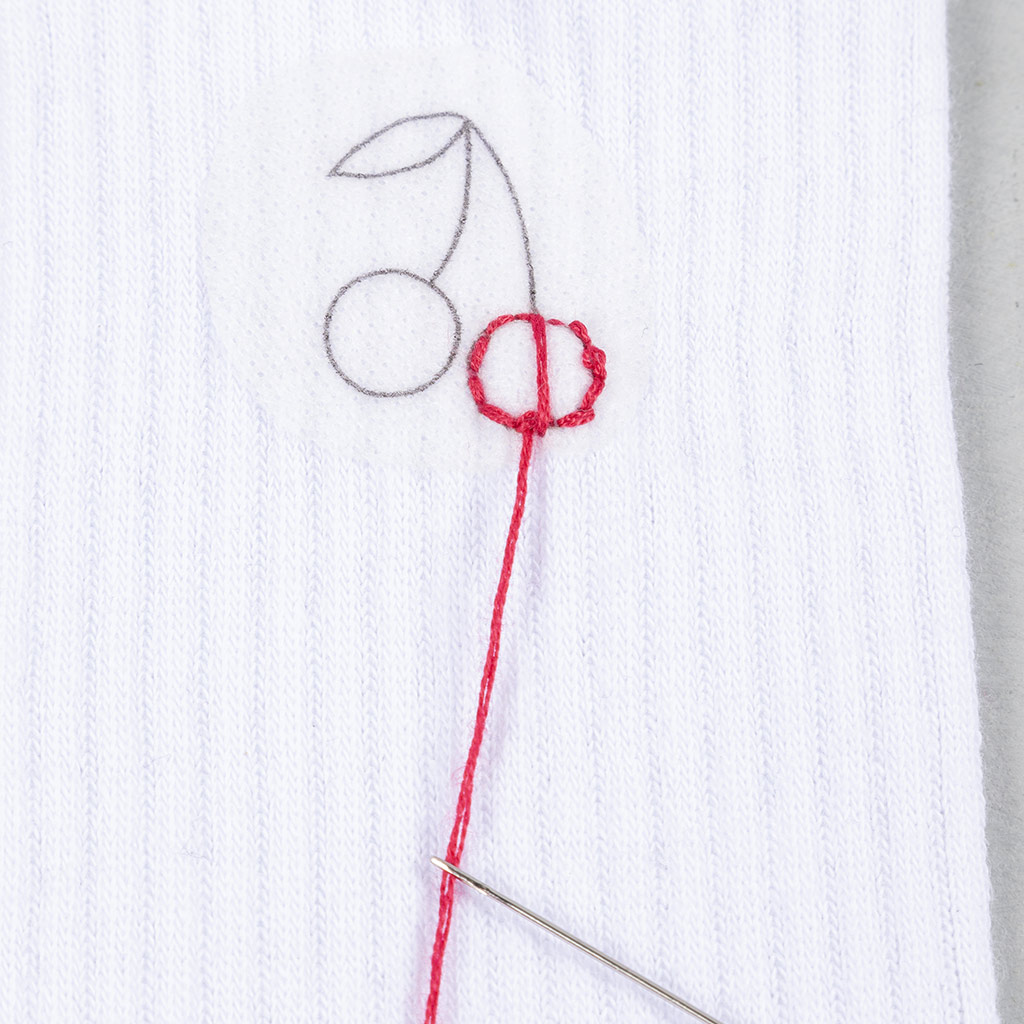 Gently tighten the thread, so that the berry maintains its shape.
Gently tighten the thread, so that the berry maintains its shape.17 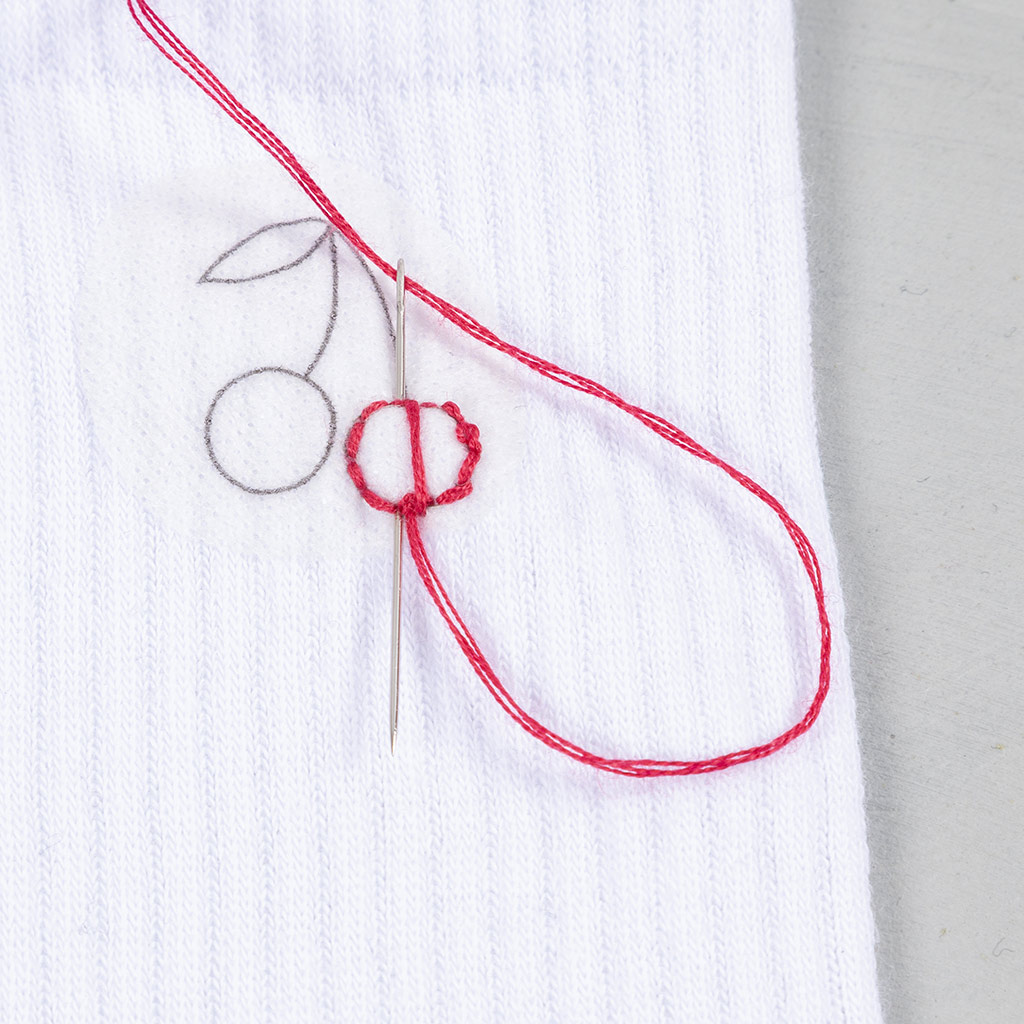 Repeat the process.
Repeat the process.18 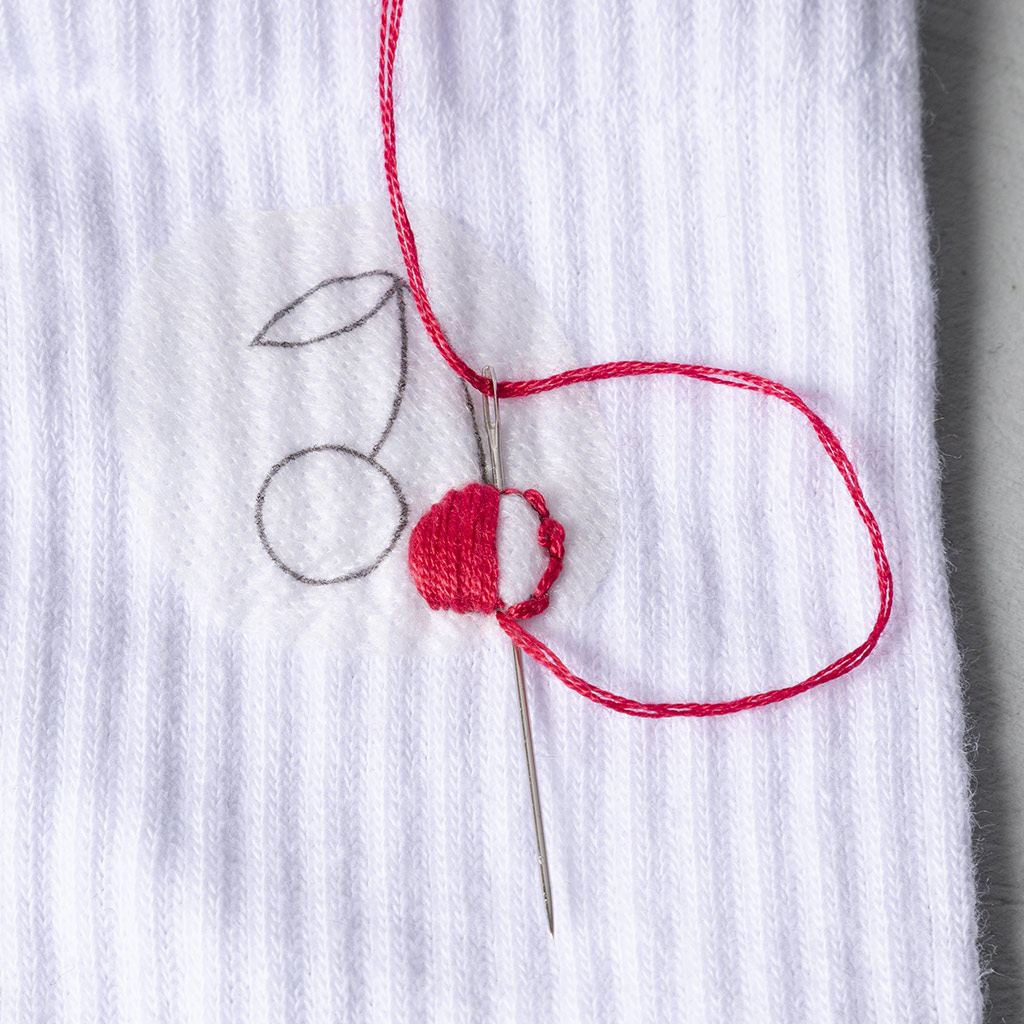 When one sock is finished, do the other one.
When one sock is finished, do the other one.19 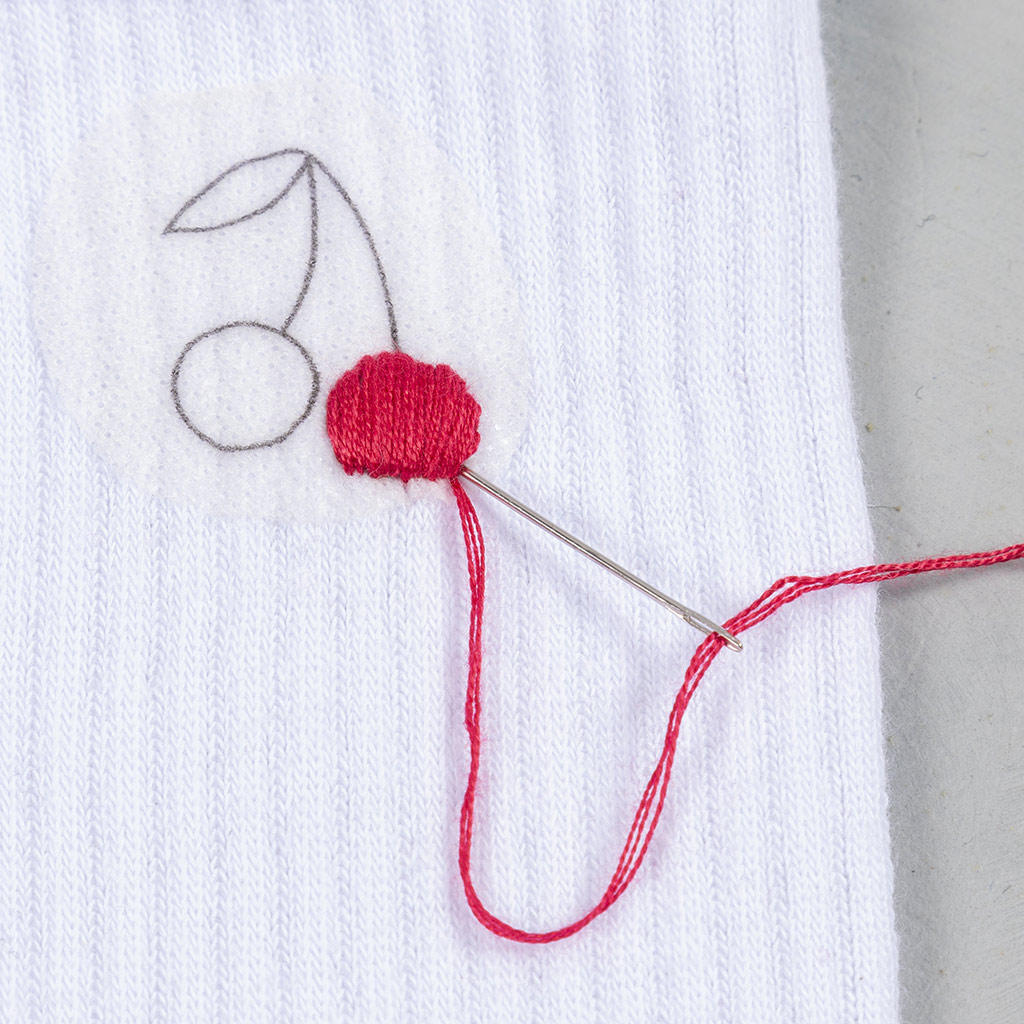 Once your berry is filled with satin stitches, pull the needle through the front and to the inside.
Once your berry is filled with satin stitches, pull the needle through the front and to the inside.20 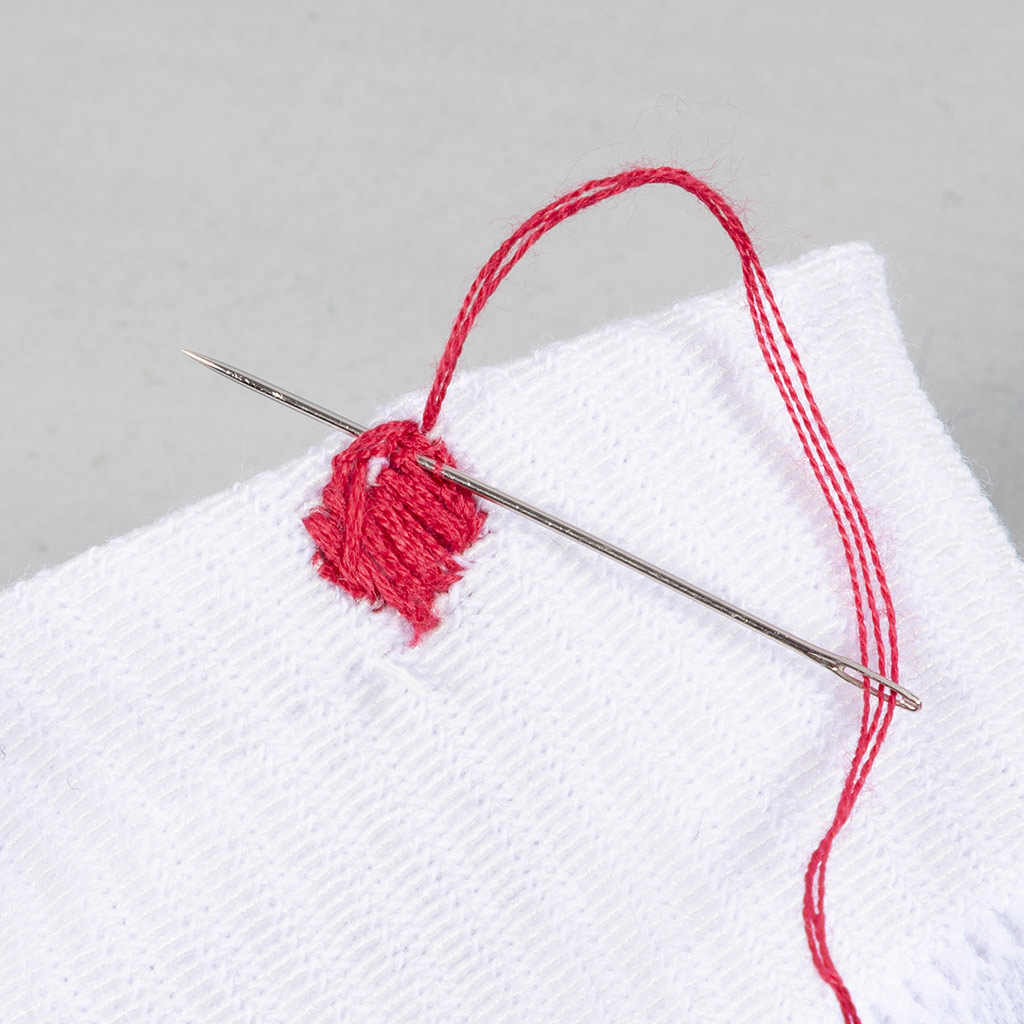 Secure on the back by pulling the needle through one of the stitches, as shown in the picture.
Secure on the back by pulling the needle through one of the stitches, as shown in the picture.21 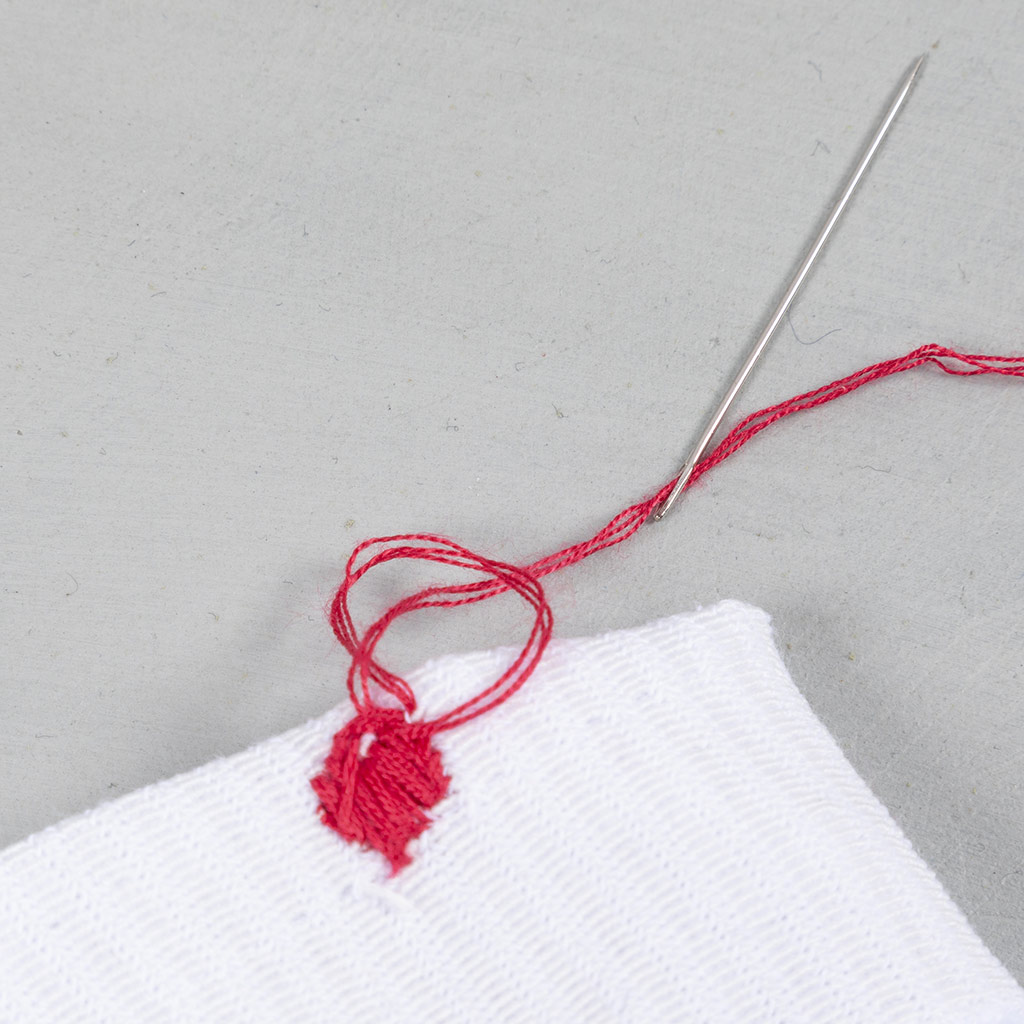 Before fully tightening the thread, pull the needle through the loop that is formed. Now tighten and cut off the excess embroidery thread. Do the same with the other berry.
Before fully tightening the thread, pull the needle through the loop that is formed. Now tighten and cut off the excess embroidery thread. Do the same with the other berry.22  Repeat steps 5-21 to embroider the stems and leaves.
Repeat steps 5-21 to embroider the stems and leaves.23 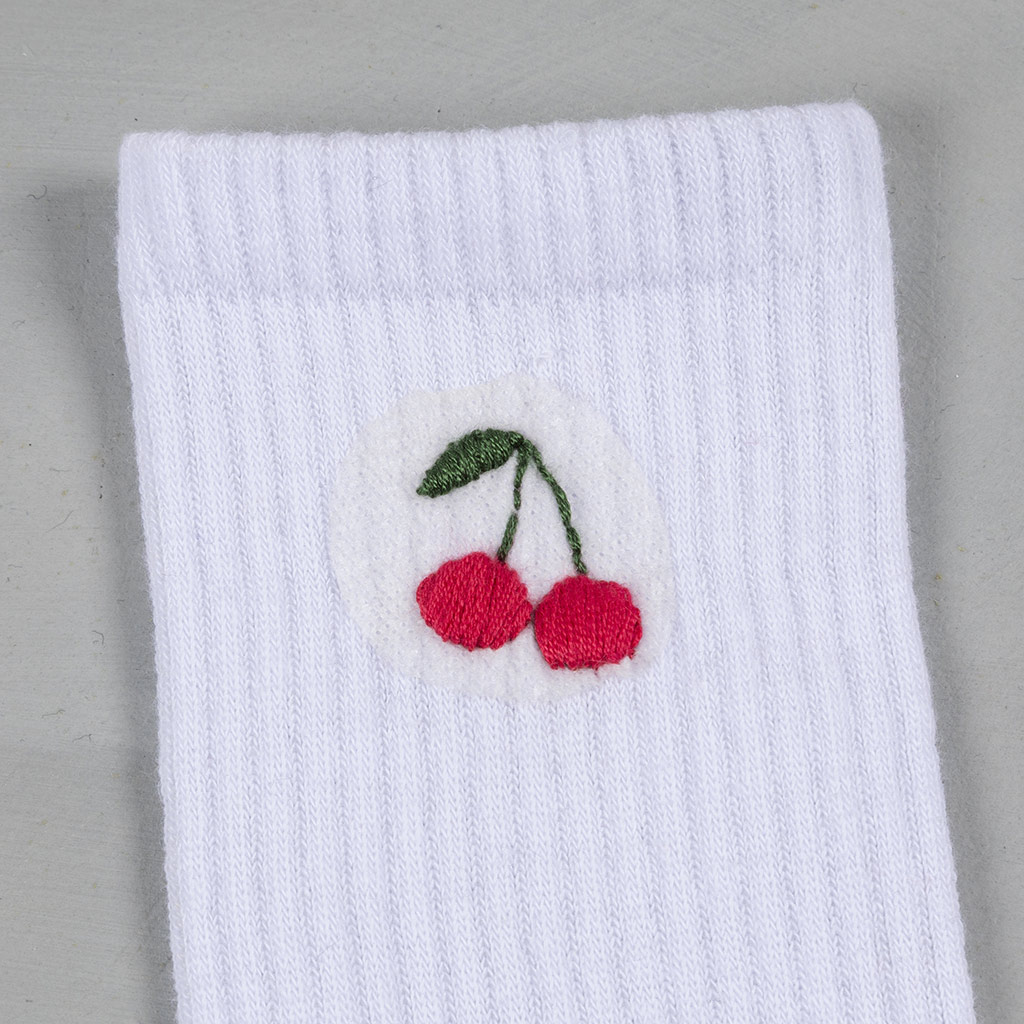 Here you can see the finished cherry embroidery. Now simply remove the sticker.
Here you can see the finished cherry embroidery. Now simply remove the sticker.24  Fill a tub with lukewarm water.
Fill a tub with lukewarm water.25 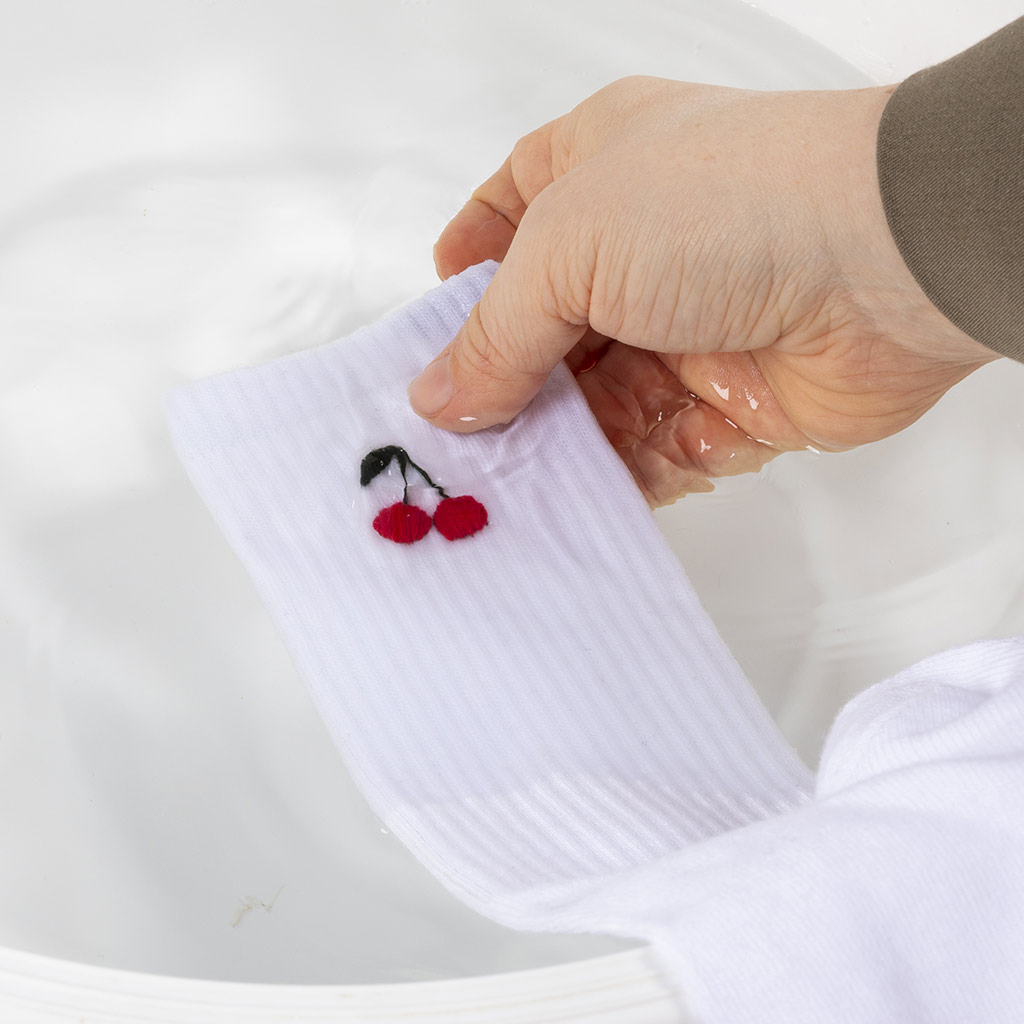 Soak the embroidery for around 15 minutes. If necessary, use your hands to gently rub away the remaining sticker residue. Hang the sock to dry (without twisting the embroidery). Once the sock is dry, it is ready for use.
Soak the embroidery for around 15 minutes. If necessary, use your hands to gently rub away the remaining sticker residue. Hang the sock to dry (without twisting the embroidery). Once the sock is dry, it is ready for use.Already signed up? Download the template
Also go exploring in
