

New
Creative idea
Soap with multicoloured pattern
#v17239
Make these beautiful soaps using three different techniques. Experiment with marbling, a drip effect and a distinct graphic effect. Each technique results in stylish soaps that are synonymous with self-indulgence and well-being.
#v17239
How to do it
Soap with drip effect 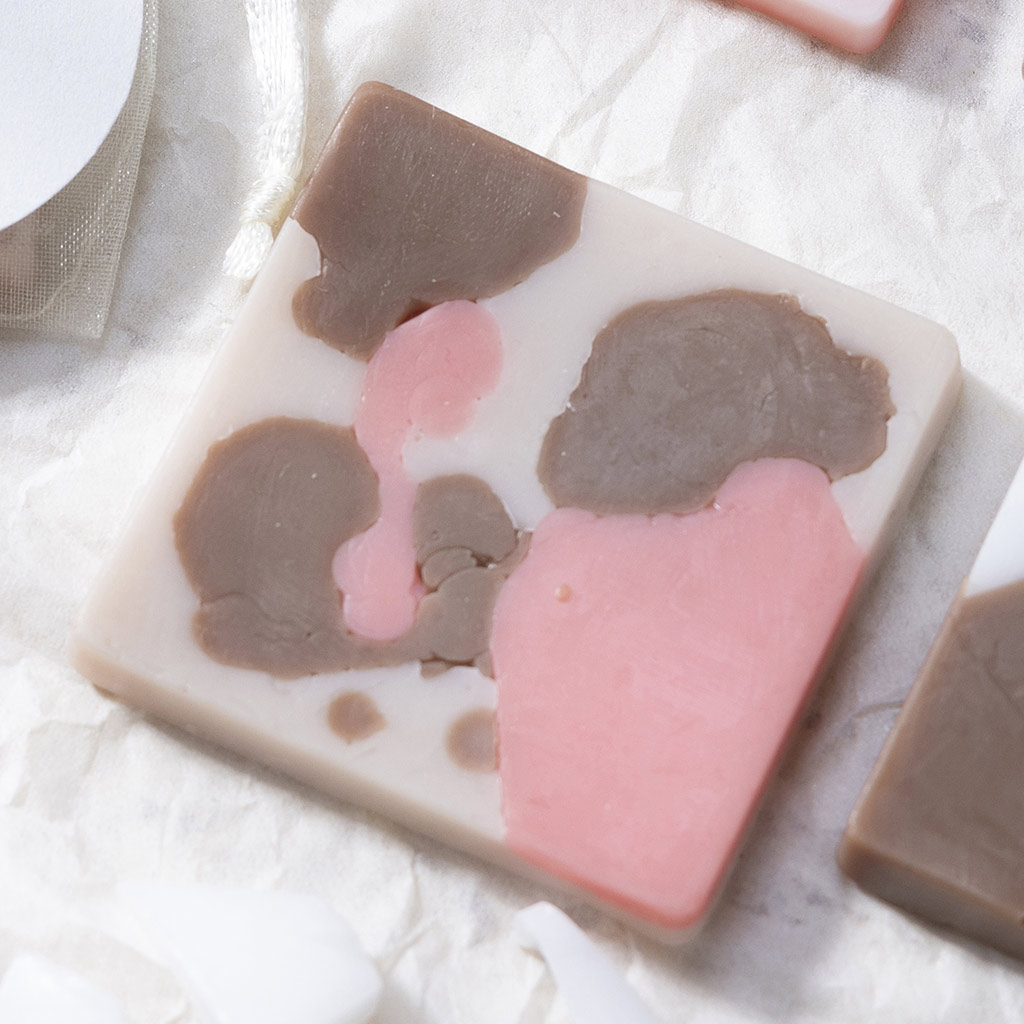 Instructions for 3 pieces of soap with drip effect.
Instructions for 3 pieces of soap with drip effect.1 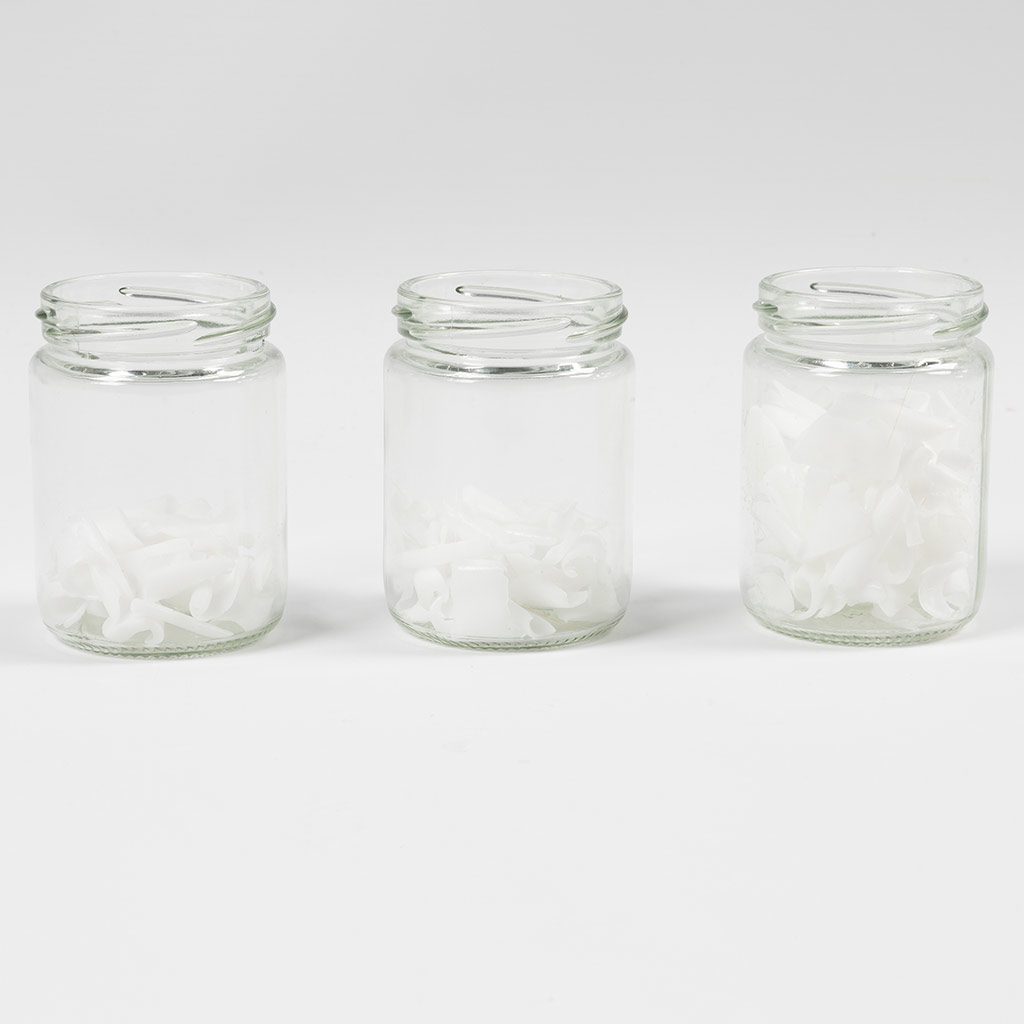 Measure the soap into three batches: 2 x 10 g and 1 x 70 g white soap base.
Measure the soap into three batches: 2 x 10 g and 1 x 70 g white soap base.2 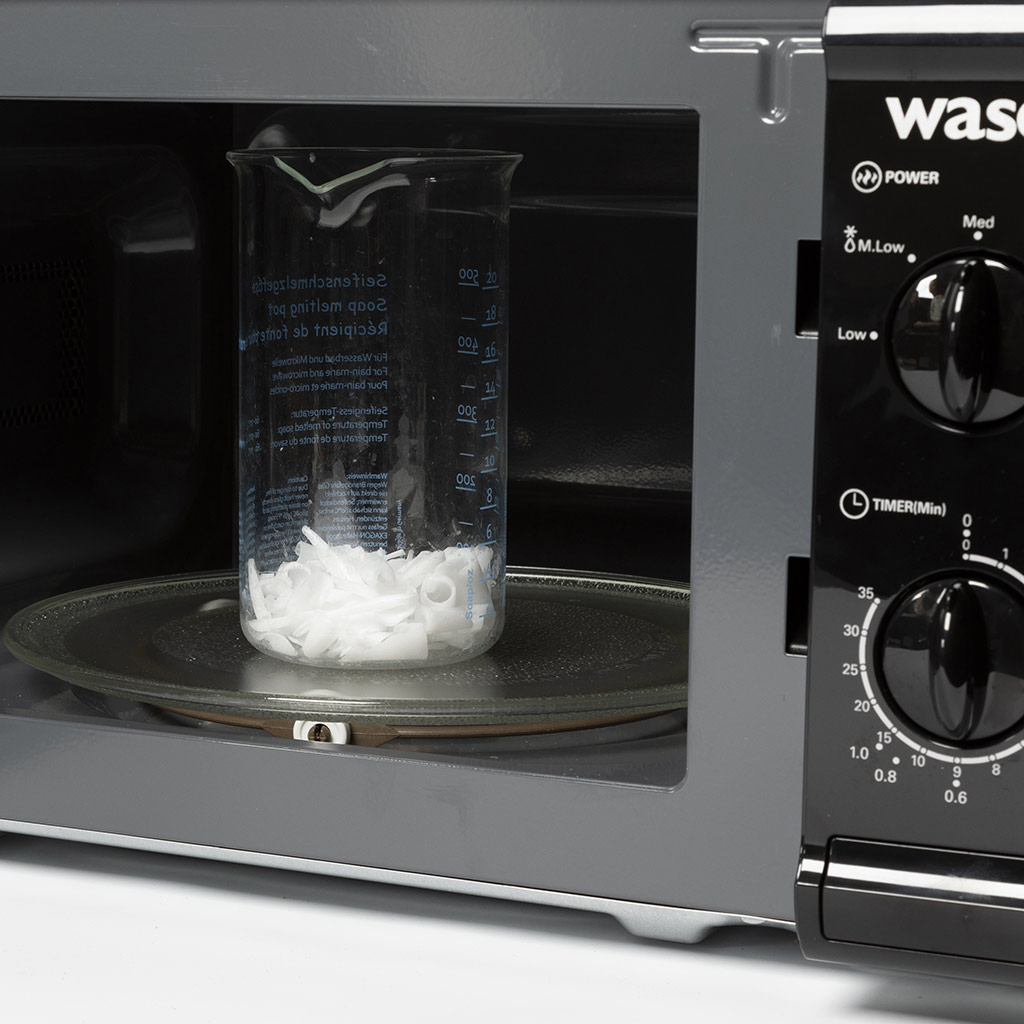 Put the soap base in a heat-resistant container. Melt the soap in the microwave at 80% power for around 30 seconds. If the soap is not completely melted, heat it for 5 seconds at a time until it is completely liquid.
Put the soap base in a heat-resistant container. Melt the soap in the microwave at 80% power for around 30 seconds. If the soap is not completely melted, heat it for 5 seconds at a time until it is completely liquid. 3 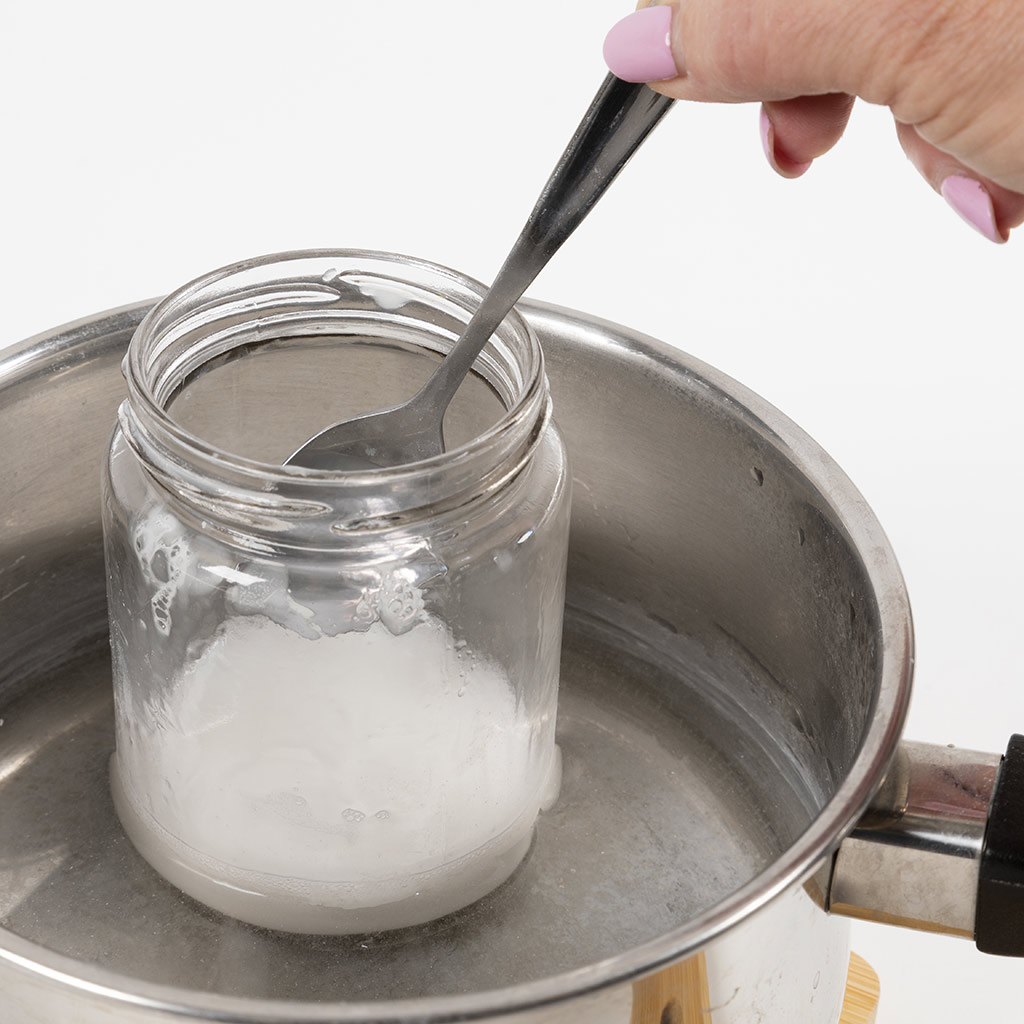 If you do not have a microwave, you can melt the soap base in a water bath at 50-70 °C. Do not allow the water to boil. Stir the soap while melting.
If you do not have a microwave, you can melt the soap base in a water bath at 50-70 °C. Do not allow the water to boil. Stir the soap while melting.4 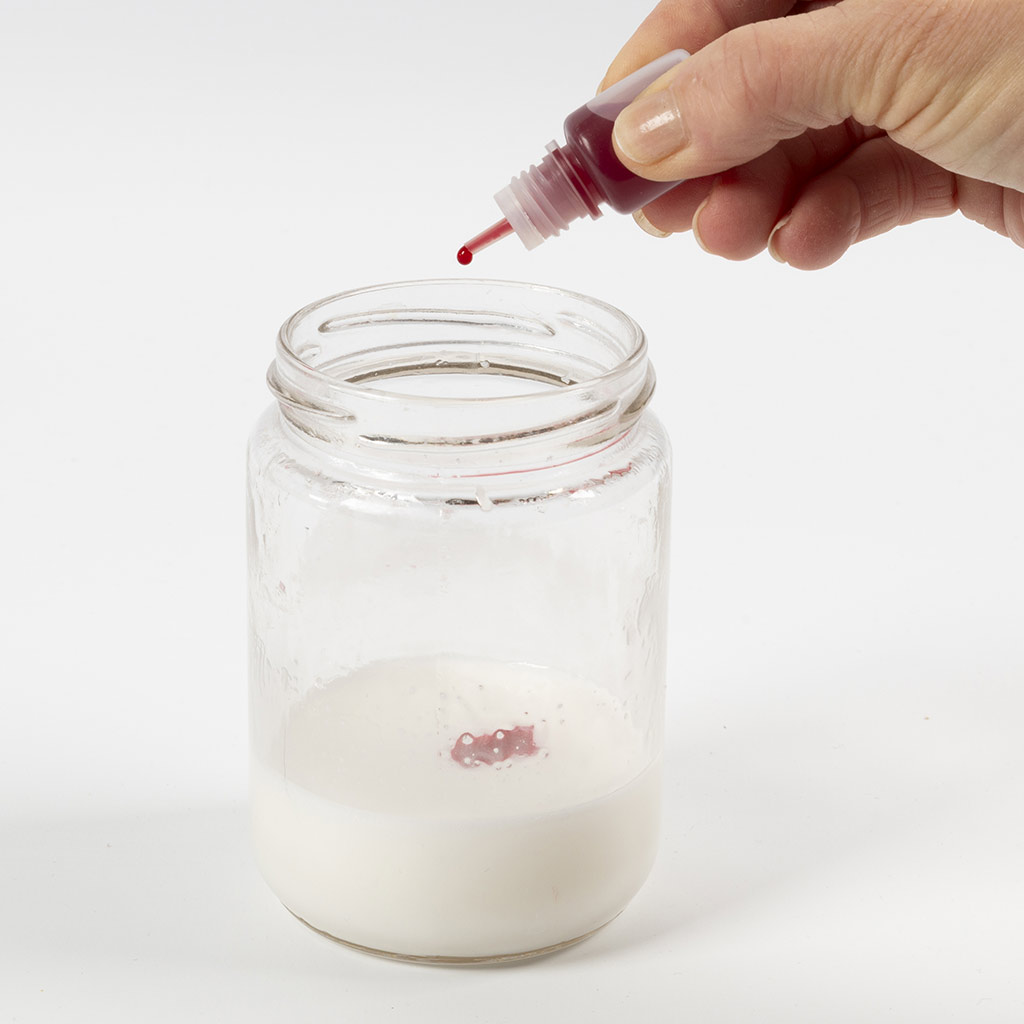 Add 5 drops of red soap colour to the first batch of 10 g melted soap.
Add 5 drops of red soap colour to the first batch of 10 g melted soap.5 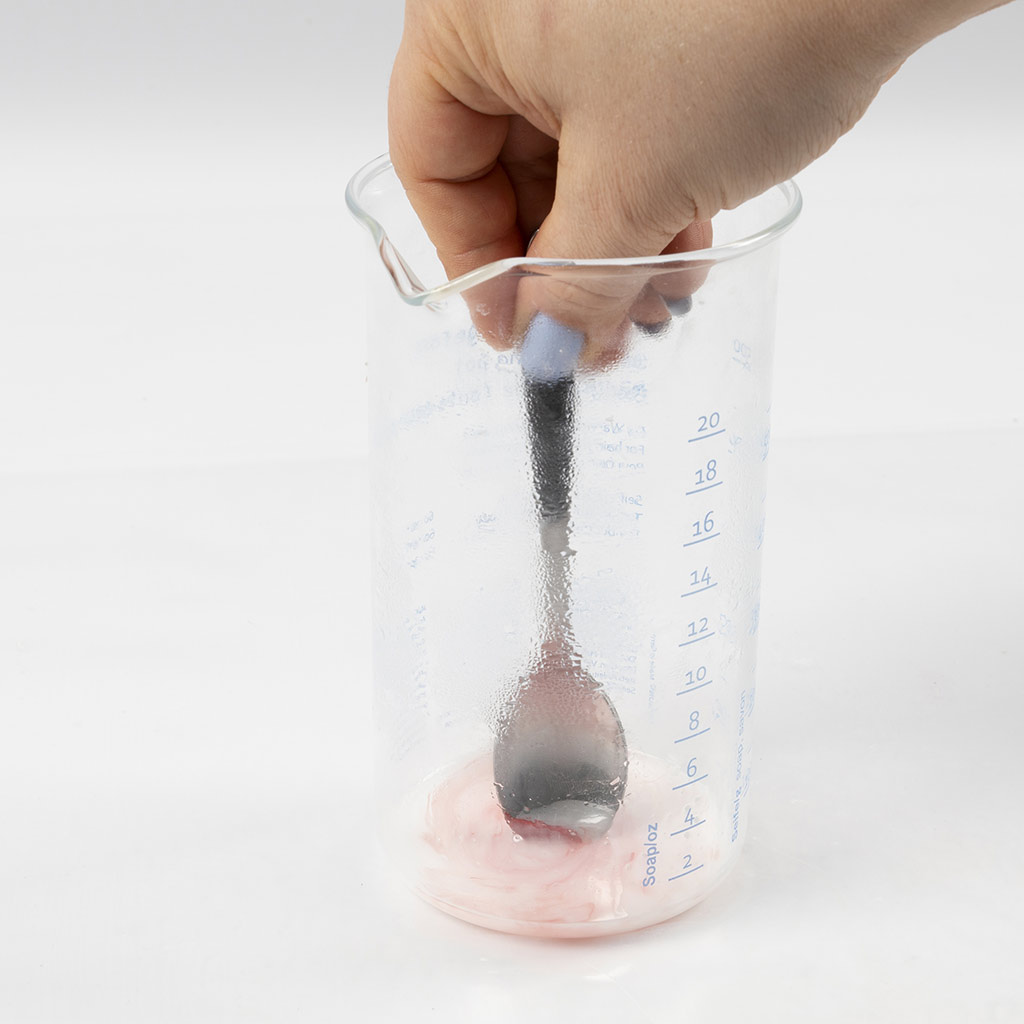 Stir the colour thoroughly into the melted soap.
Stir the colour thoroughly into the melted soap.6 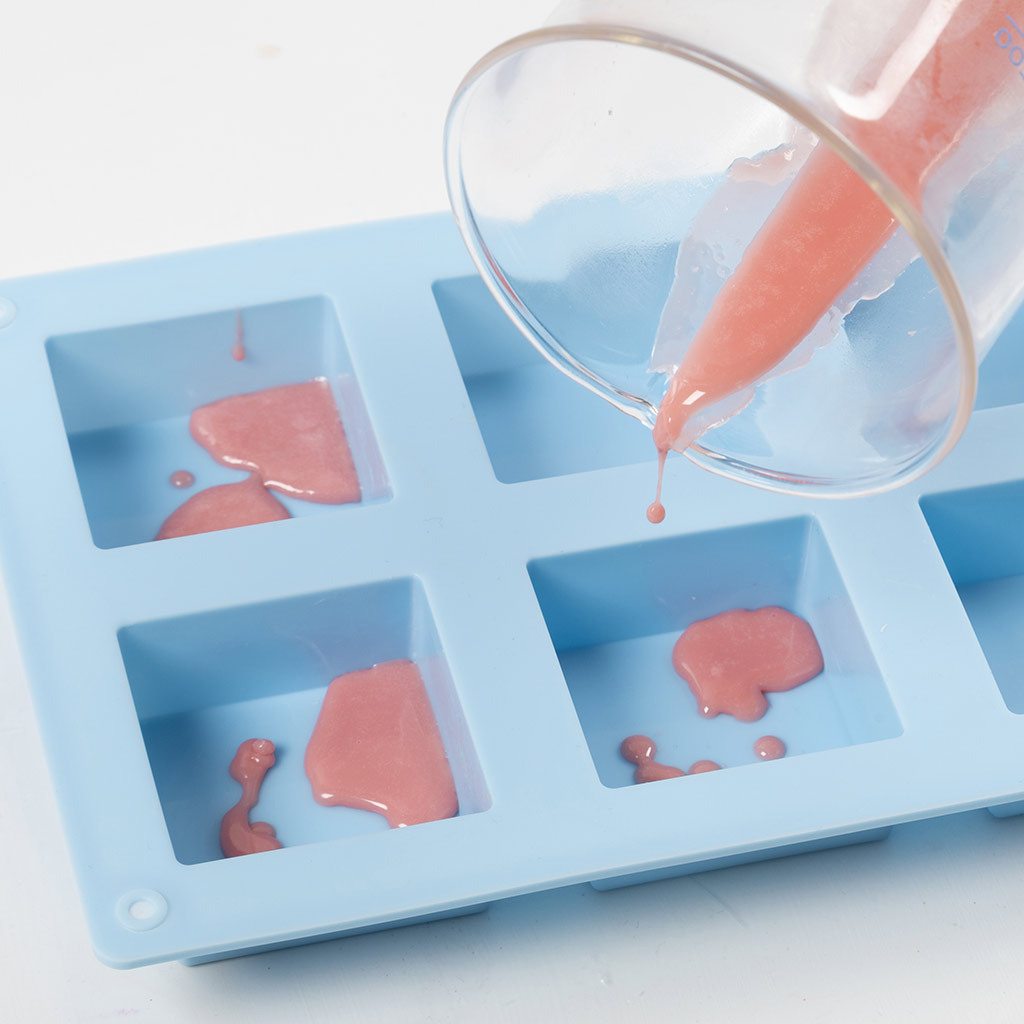 Make small blobs by pouring a little soap into each of the three moulds. Allow to set.
Make small blobs by pouring a little soap into each of the three moulds. Allow to set.7 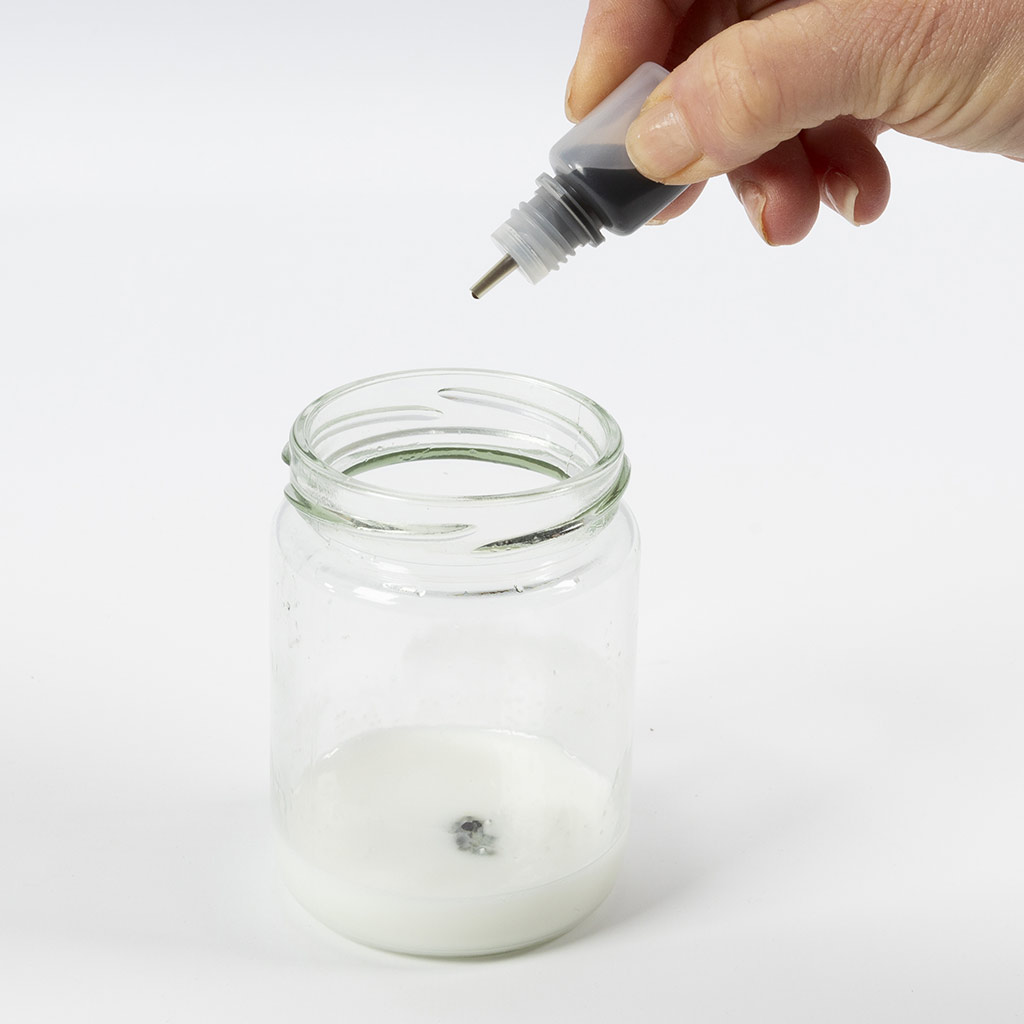 Melt the second bath of 10 g of soap and add 5 drops of brown colour to the melted mixture.
Melt the second bath of 10 g of soap and add 5 drops of brown colour to the melted mixture.8 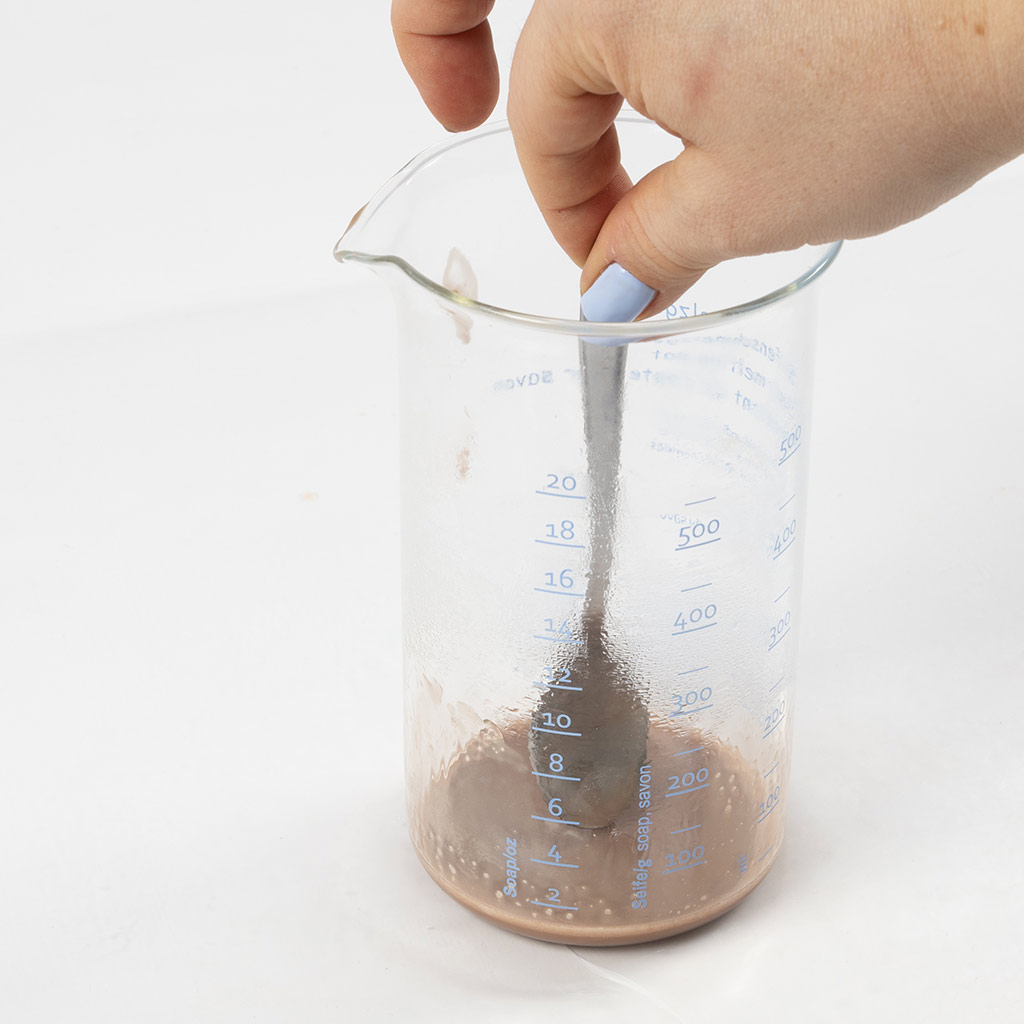 Stir the colour thoroughly into the melted soap.
Stir the colour thoroughly into the melted soap.9 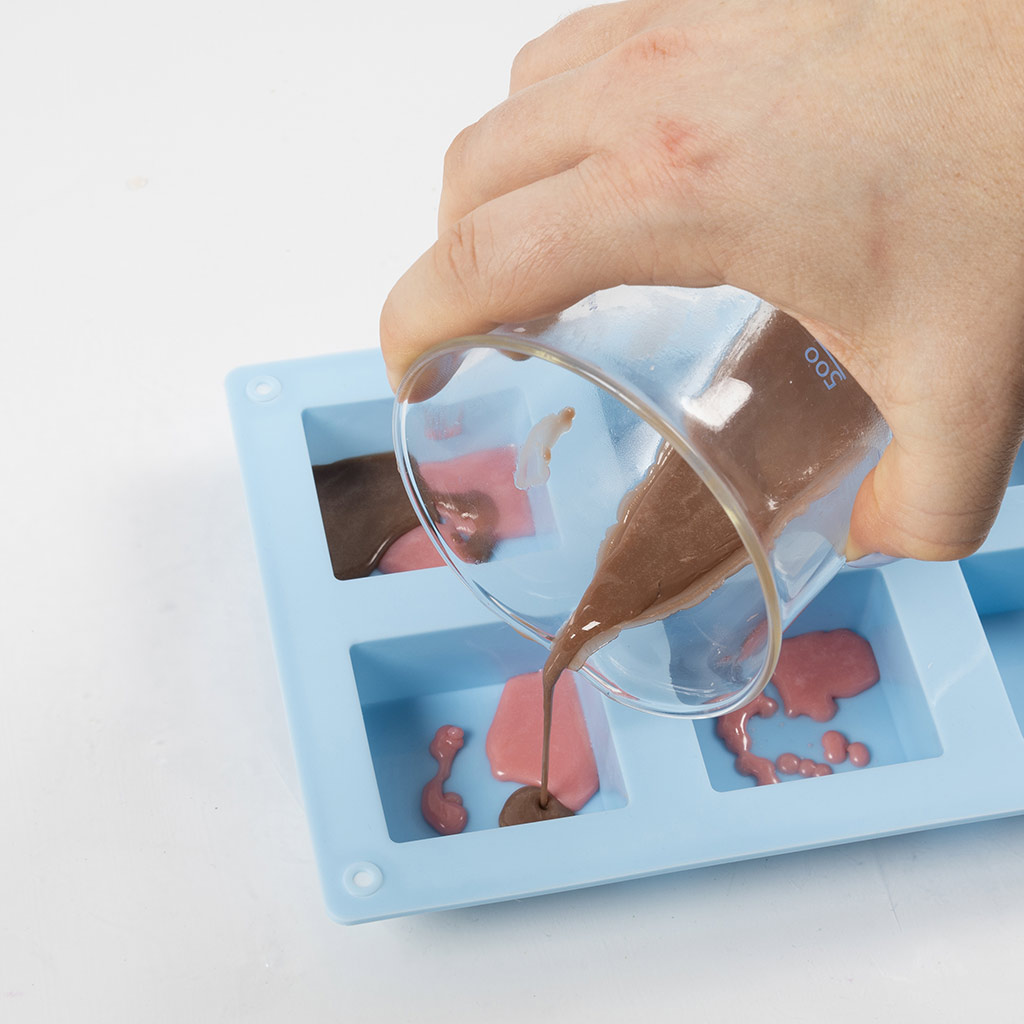 Make small blobs by pouring a little soap into each of the three moulds. Allow to set.
Make small blobs by pouring a little soap into each of the three moulds. Allow to set.10 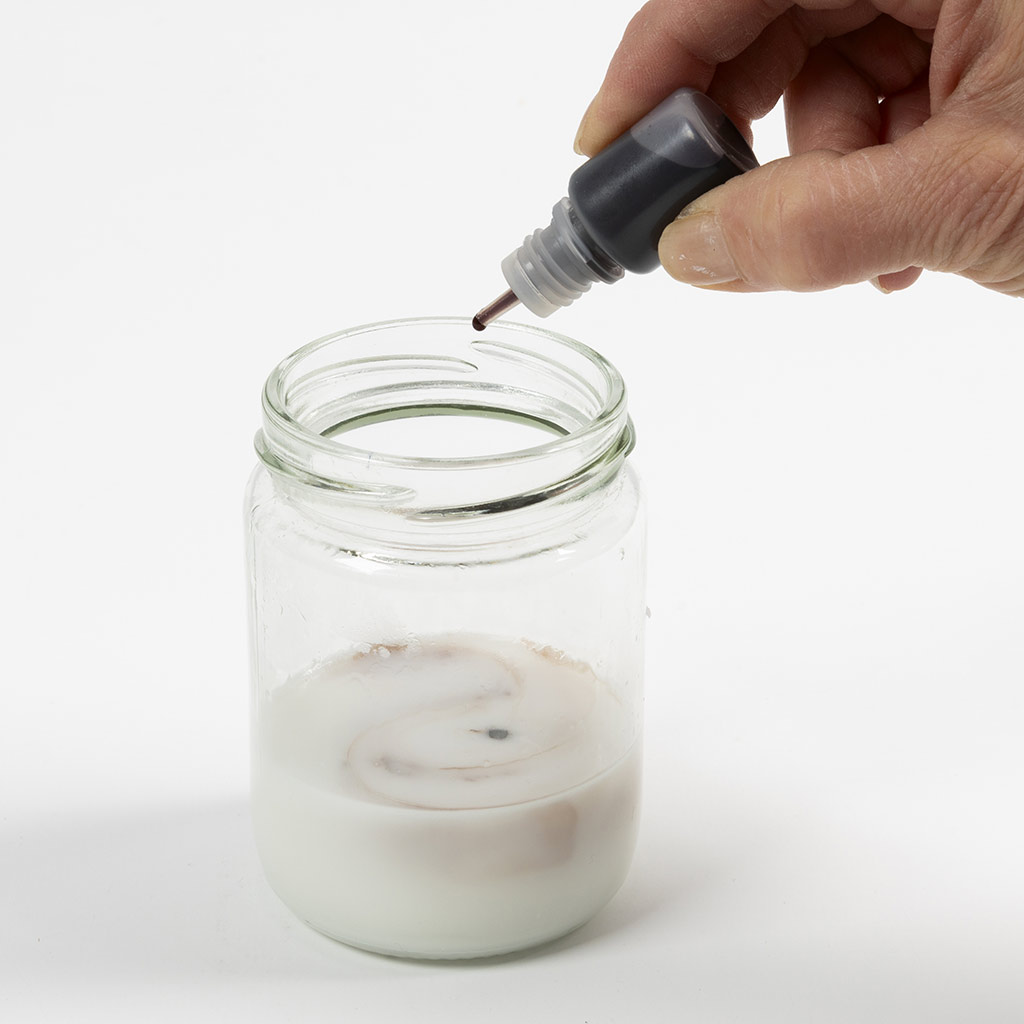 Melt the 70 g batch of soap base and add 3 drops of brown colour.
Melt the 70 g batch of soap base and add 3 drops of brown colour.11 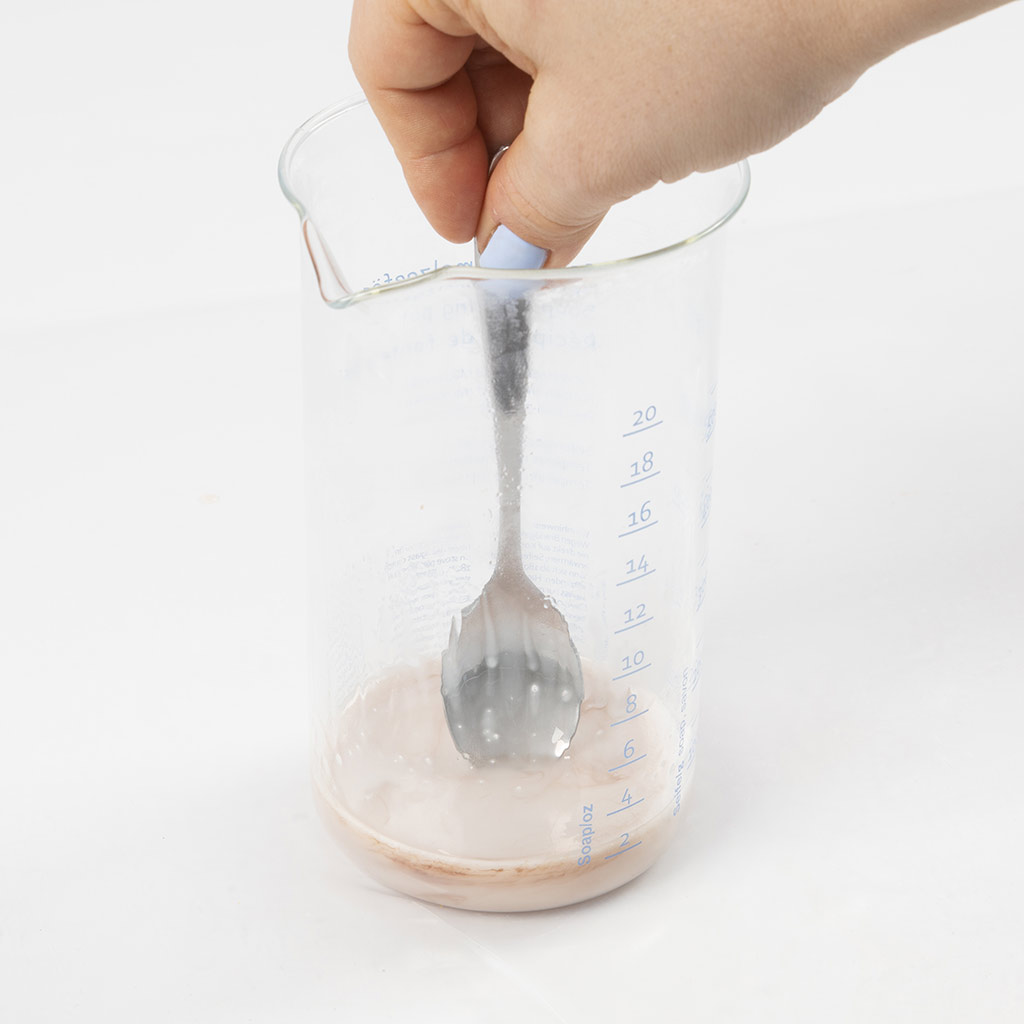 Stir the colour thoroughly into the melted soap.
Stir the colour thoroughly into the melted soap.12 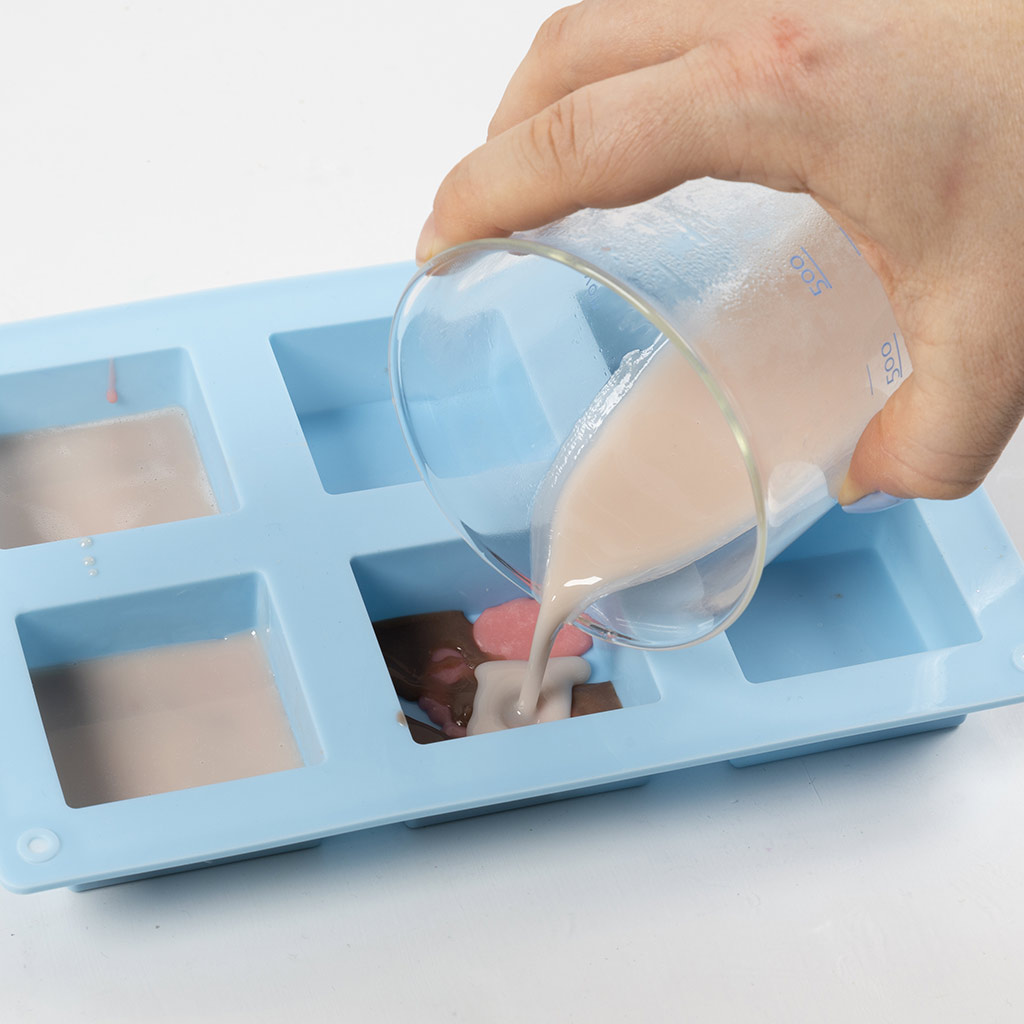 Pour one-third of the mixture into each of the three moulds and allow to set.
Pour one-third of the mixture into each of the three moulds and allow to set.13 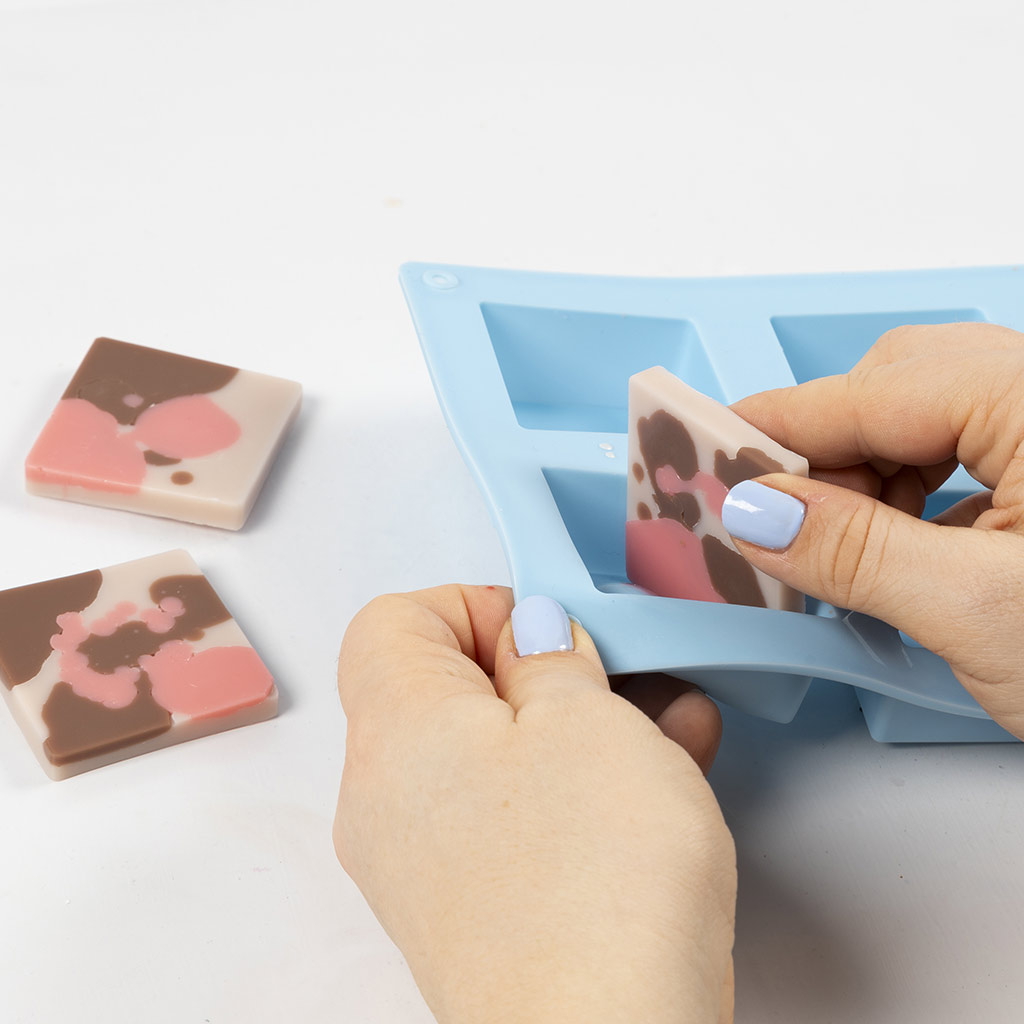 Once the soap has set, carefully remove it from the mould. The soap is fully hardened and ready for use after 24 hours of drying time on an absorbent surface (e.g. cardboard). Store the soap in a self-draining soap dish or wrapped in tissue paper or in a cellophane bag.
Once the soap has set, carefully remove it from the mould. The soap is fully hardened and ready for use after 24 hours of drying time on an absorbent surface (e.g. cardboard). Store the soap in a self-draining soap dish or wrapped in tissue paper or in a cellophane bag.Two-coloured soap 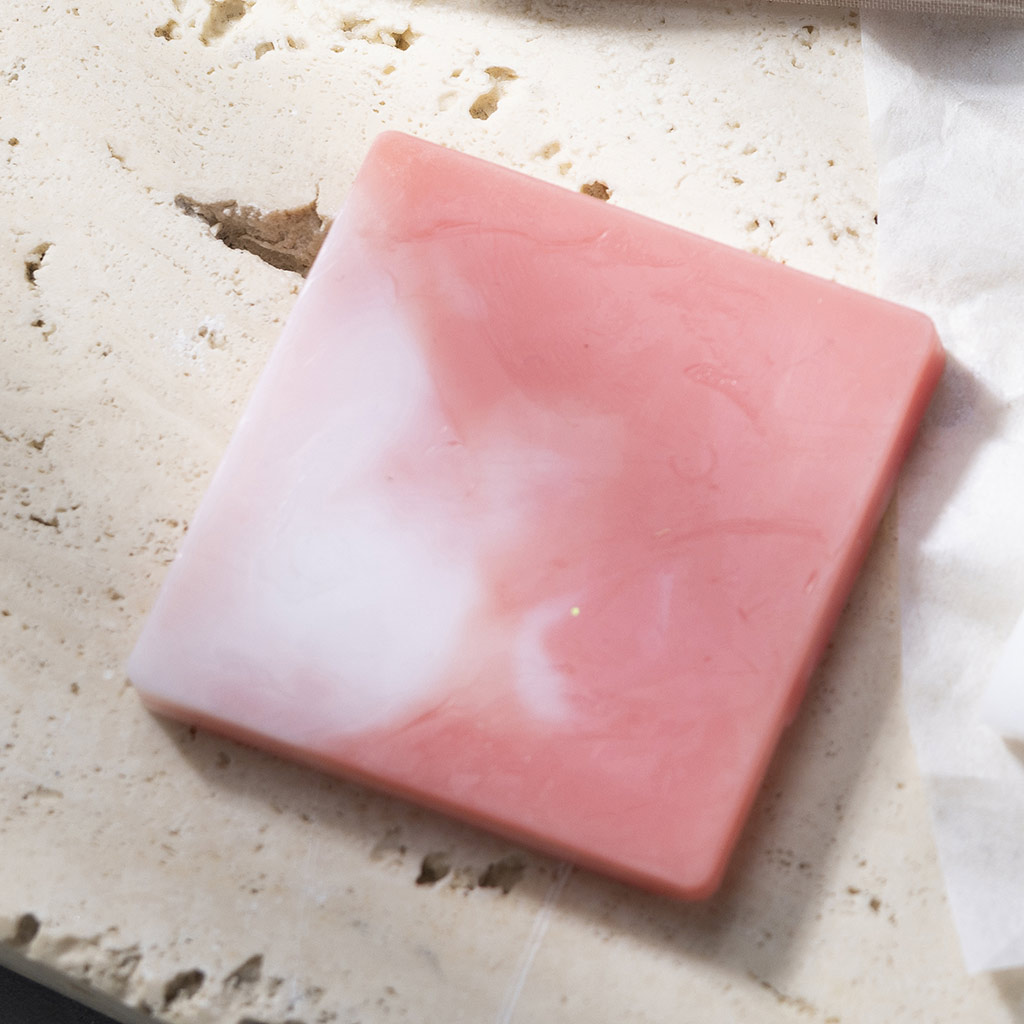 Instructions for 3 pieces of soap with marbling.
Instructions for 3 pieces of soap with marbling.1 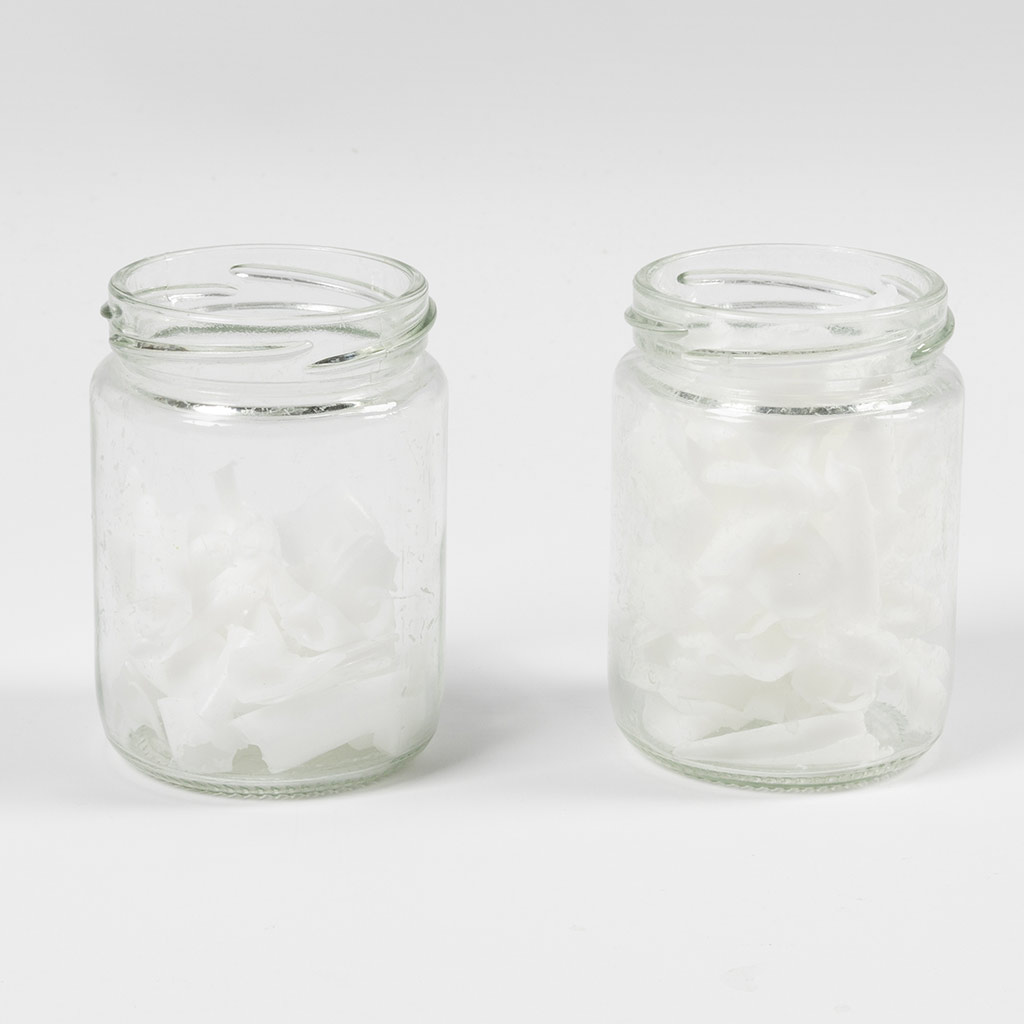 Measure 2 x 40 g of white soap base.
Measure 2 x 40 g of white soap base.2 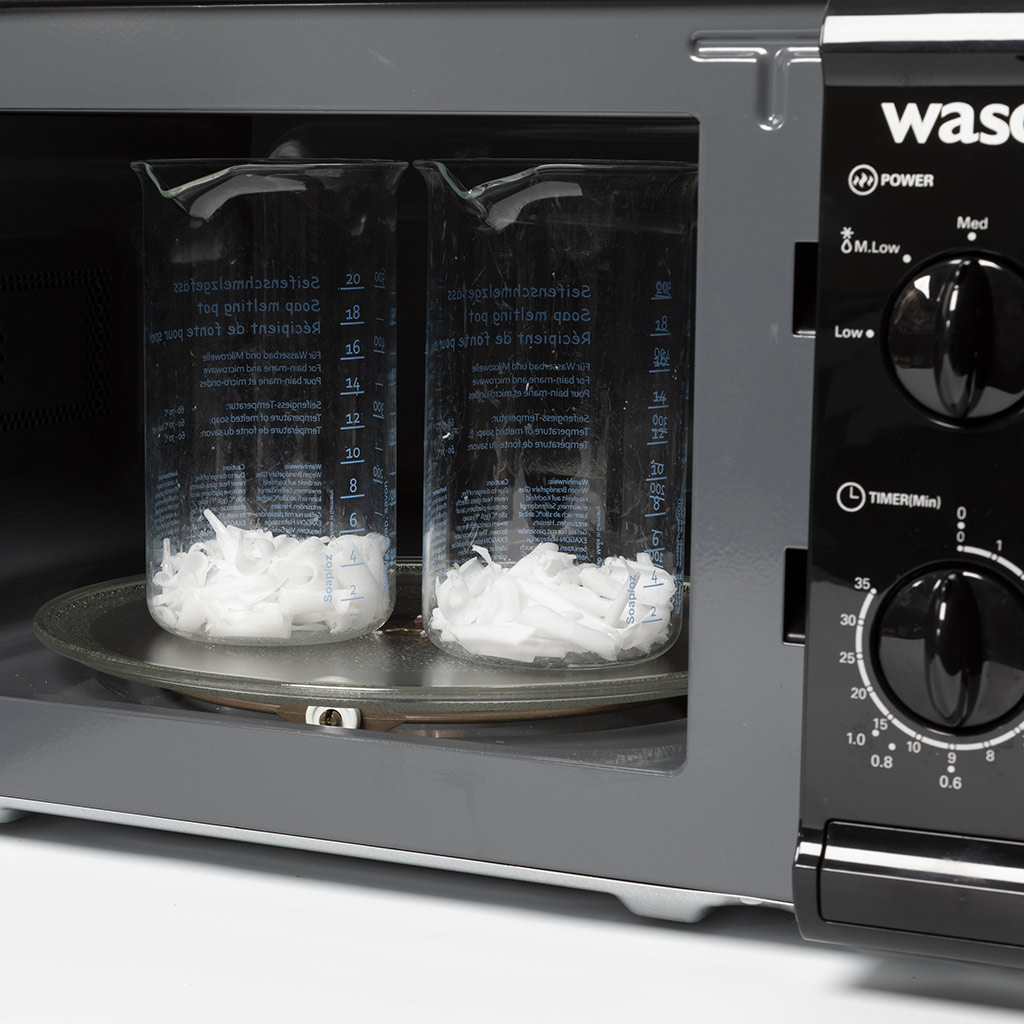 Put the soap pieces in a heat-resistant container. Melt the soap in the microwave at 80% power for around 30 seconds. If the soap is not completely melted, heat it for 5 seconds at a time until it is completely liquid.
Put the soap pieces in a heat-resistant container. Melt the soap in the microwave at 80% power for around 30 seconds. If the soap is not completely melted, heat it for 5 seconds at a time until it is completely liquid. 3  If you do not have a microwave, you can melt the soap base in a water bath at 50-70 °C. Do not allow the water to boil. Stir the soap while melting.
If you do not have a microwave, you can melt the soap base in a water bath at 50-70 °C. Do not allow the water to boil. Stir the soap while melting.4 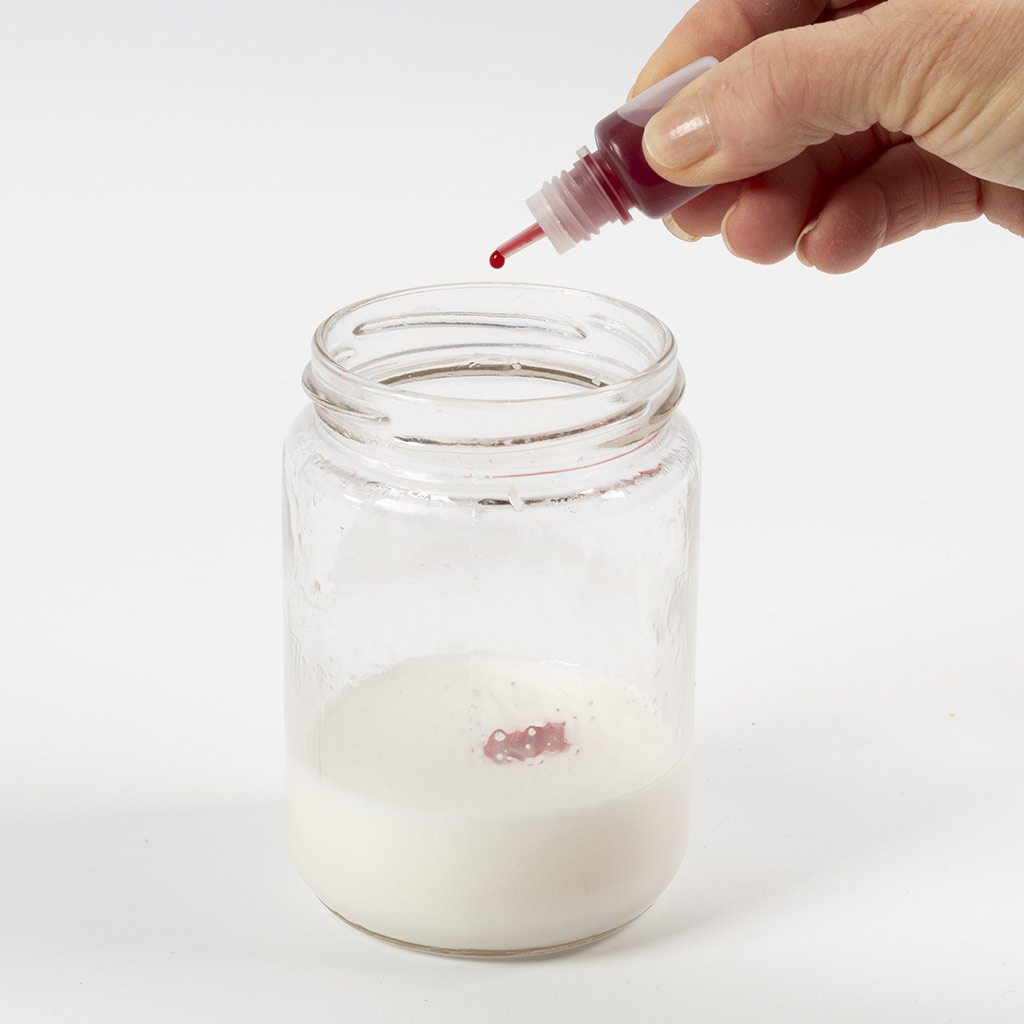 Add 15 drops of red soap colour to one batch of 40 g and leave the other batch of 40 g soap base white.
Add 15 drops of red soap colour to one batch of 40 g and leave the other batch of 40 g soap base white.5 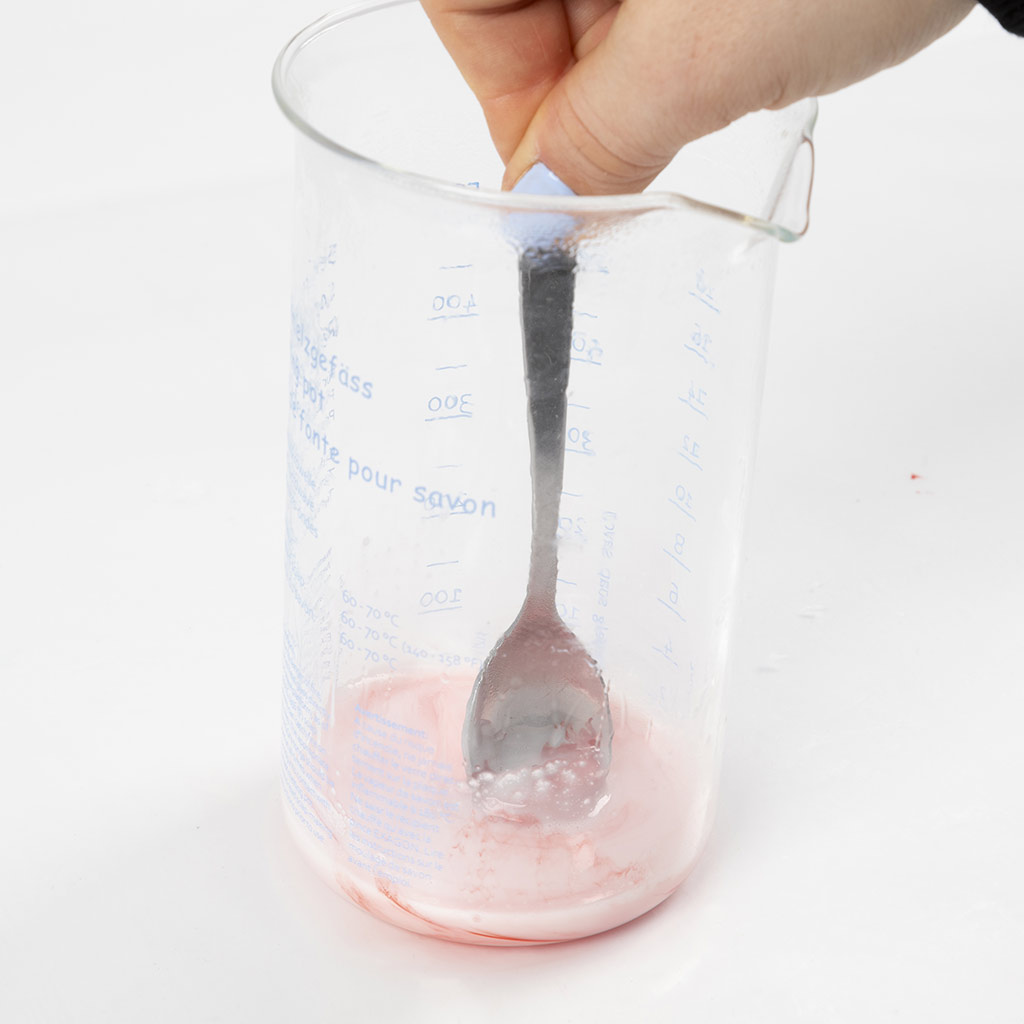 Stir the soap colour well into the soap base to create an even colour.
Stir the soap colour well into the soap base to create an even colour. 6 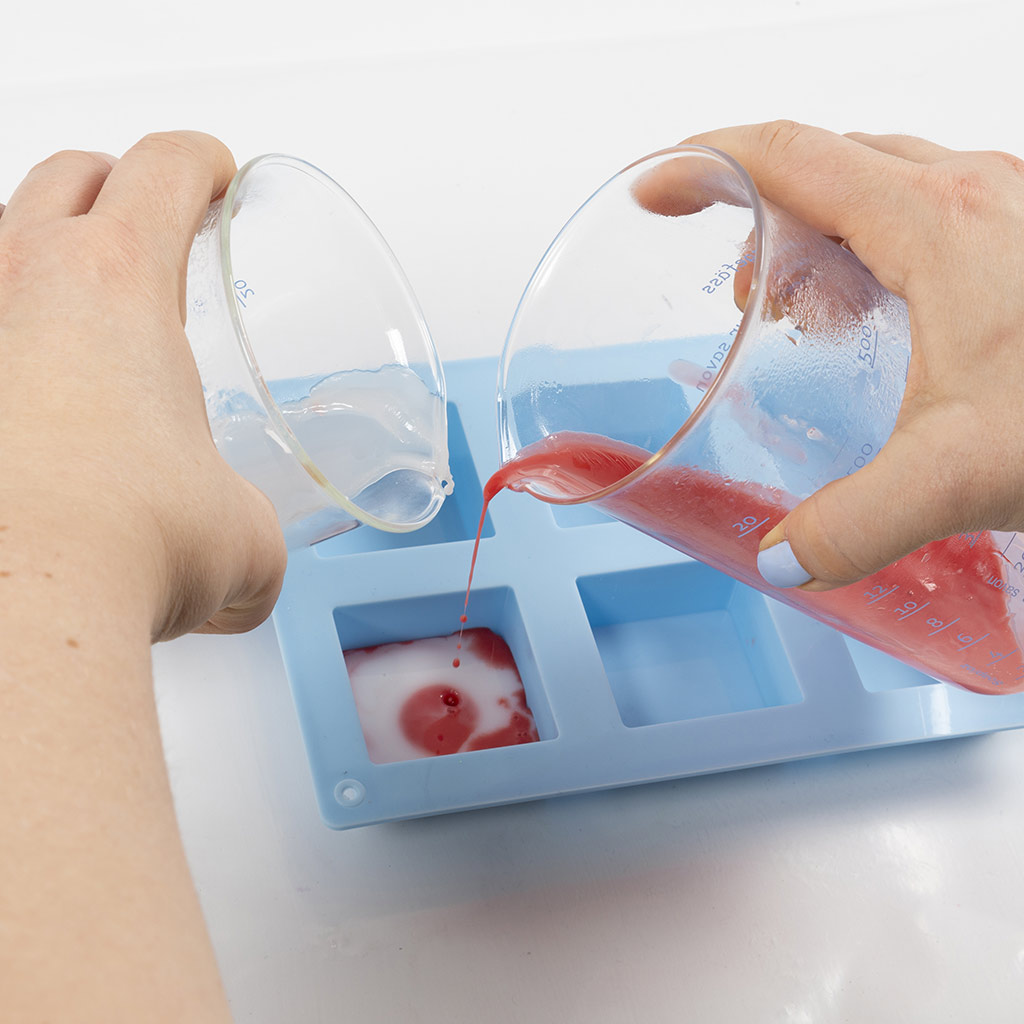 Gently pour both the melted white and red-coloured soap into the mould at the same time, so that they flow together to create a marble effect. Allow the soap to set.
Gently pour both the melted white and red-coloured soap into the mould at the same time, so that they flow together to create a marble effect. Allow the soap to set.7 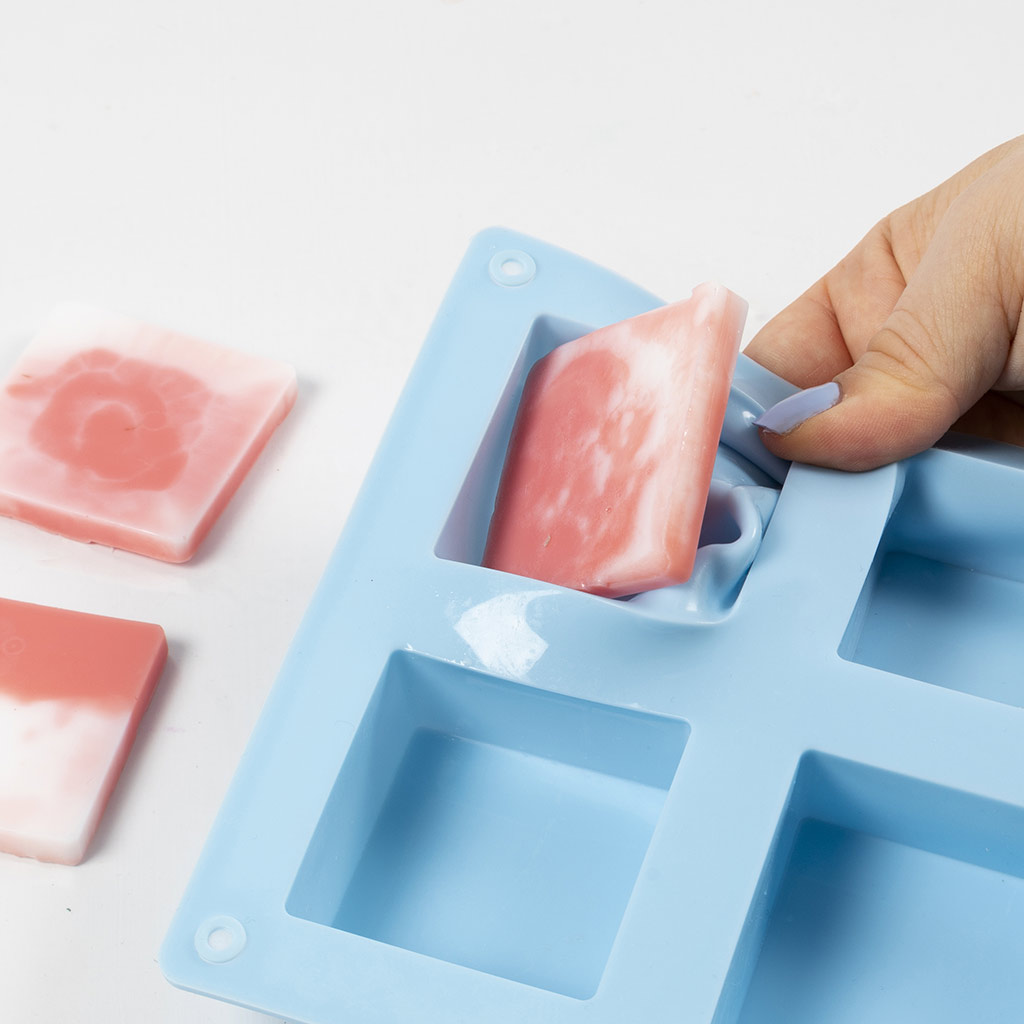 Once the soap has set, carefully remove it from the mould. The soap is fully hardened and ready for use after 24 hours of drying time on an absorbent surface (e.g. cardboard). Store the soap in a self-draining soap dish or wrapped in tissue paper or in a cellophane bag.
Once the soap has set, carefully remove it from the mould. The soap is fully hardened and ready for use after 24 hours of drying time on an absorbent surface (e.g. cardboard). Store the soap in a self-draining soap dish or wrapped in tissue paper or in a cellophane bag.Soap with a distinct graphic effect. 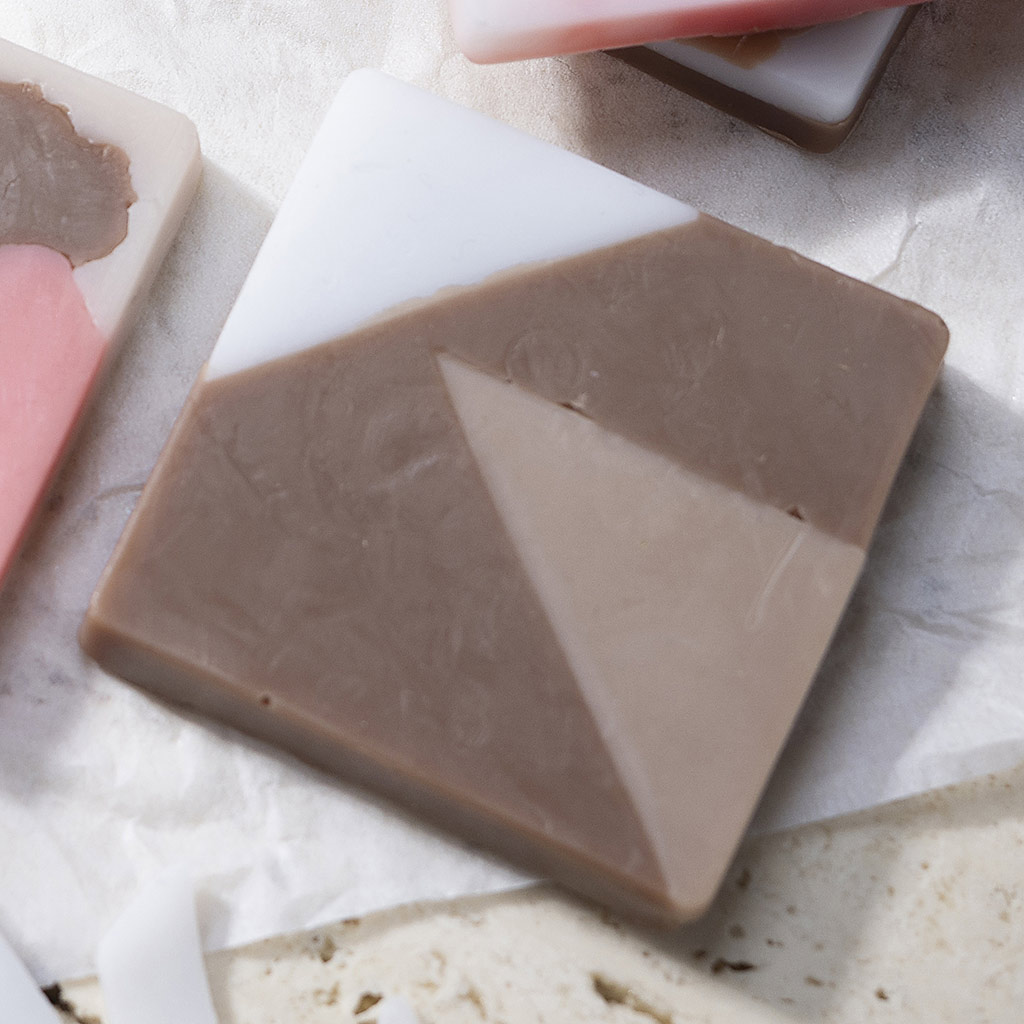 Instructions for 3 pieces of soap with a distinct graphic effect.
Instructions for 3 pieces of soap with a distinct graphic effect.1 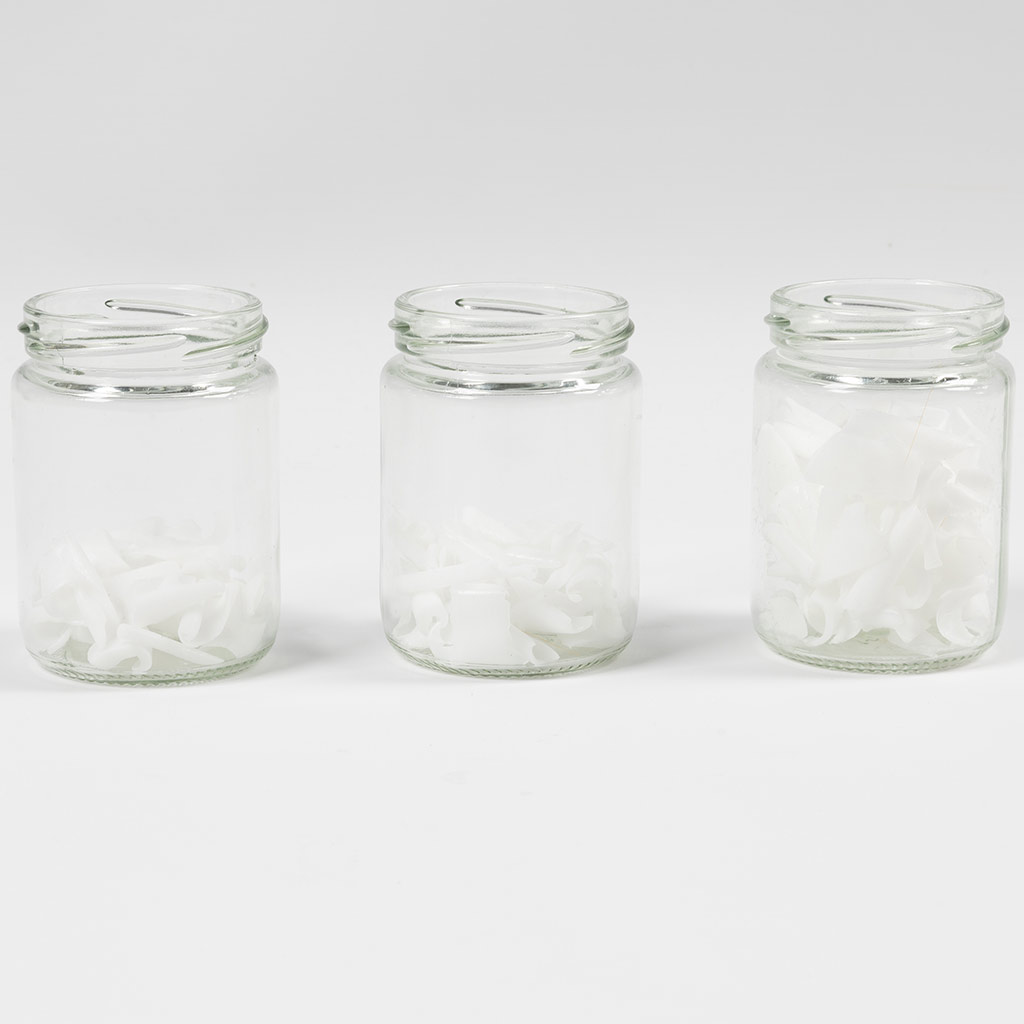 Measure three batches of soap base: 2 x 10 g and 1 x 80 g.
Measure three batches of soap base: 2 x 10 g and 1 x 80 g.2 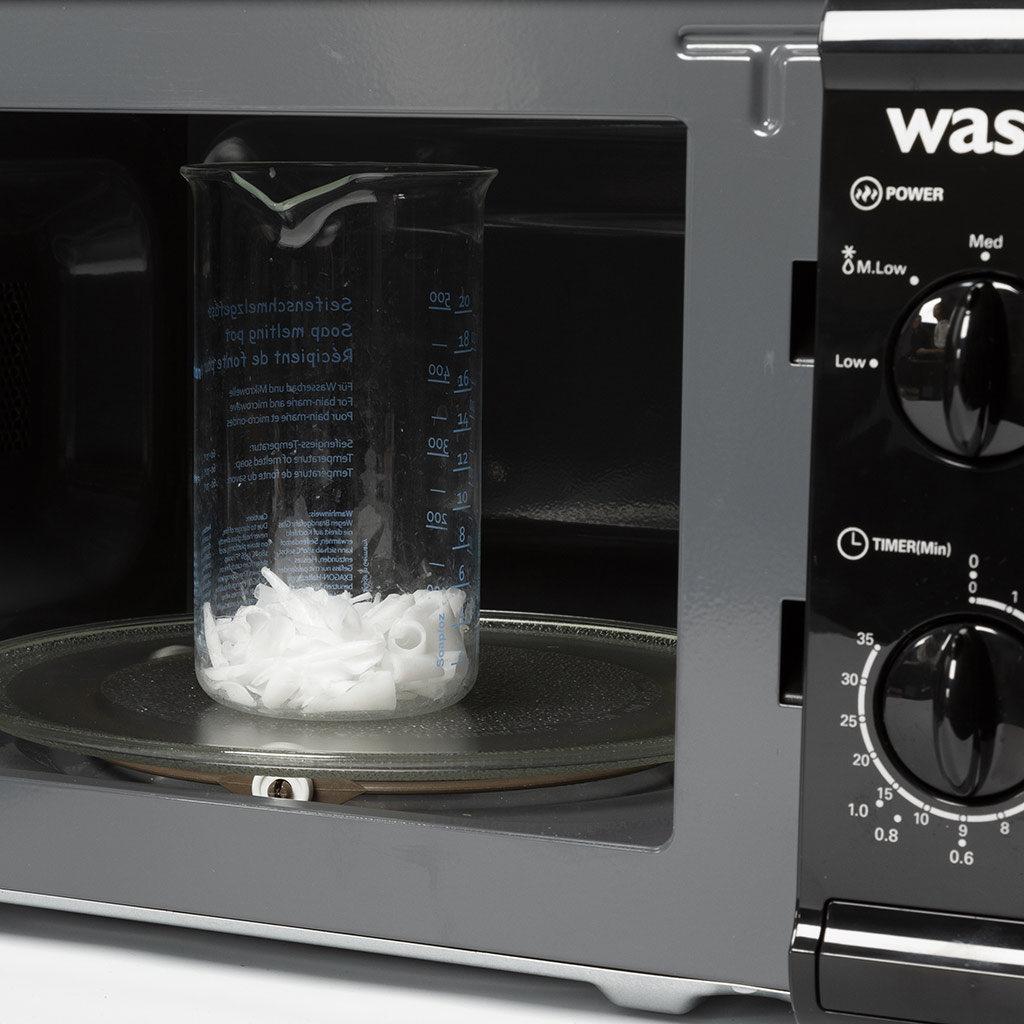 Put the soap pieces in a heat-resistant container. Melt the soap in the microwave at 80% power for around 30 seconds. If the soap is not completely melted, heat it for 5 seconds at a time until it is completely liquid.
Put the soap pieces in a heat-resistant container. Melt the soap in the microwave at 80% power for around 30 seconds. If the soap is not completely melted, heat it for 5 seconds at a time until it is completely liquid. 3  If you do not have a microwave, you can melt the soap base in a water bath at 50-70 °C. Do not allow the water to boil. Stir the soap while melting.
If you do not have a microwave, you can melt the soap base in a water bath at 50-70 °C. Do not allow the water to boil. Stir the soap while melting.4 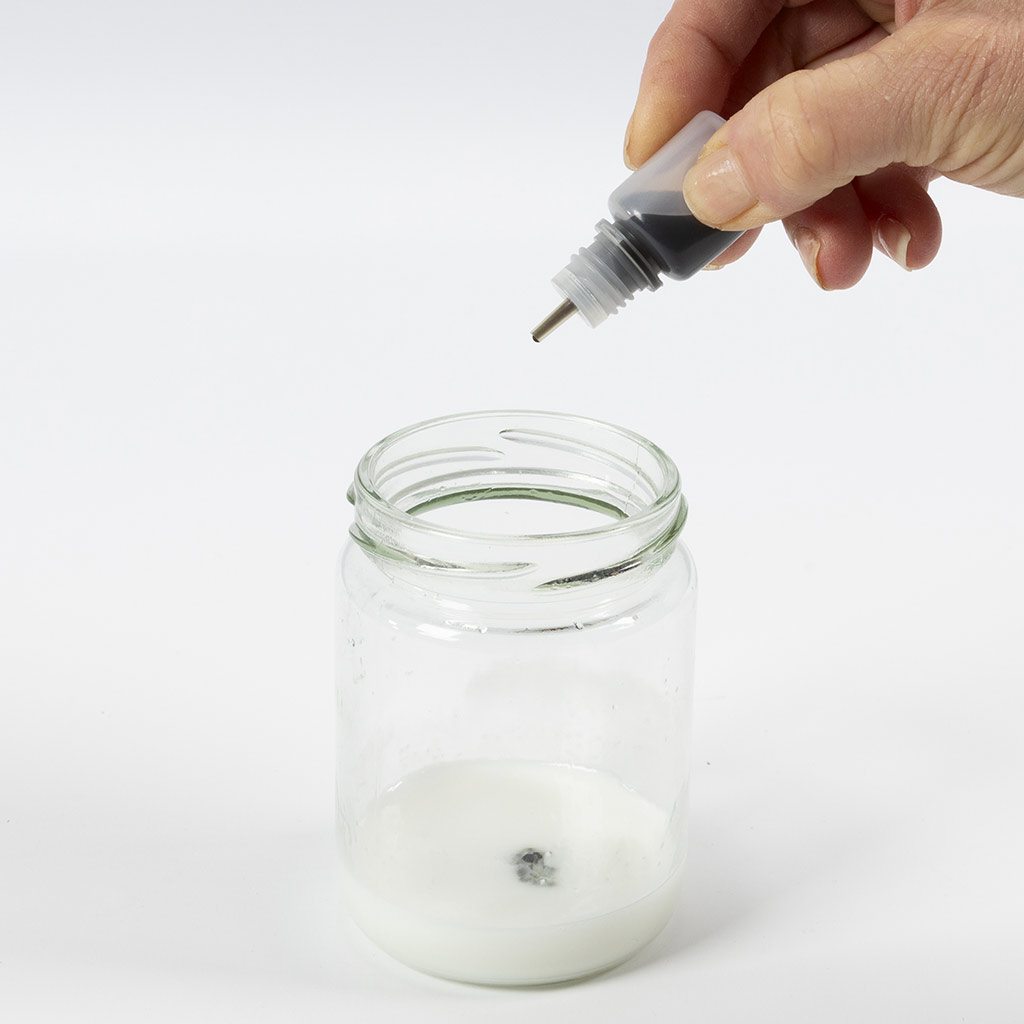 Add 2 drops of brown soap colour to the first batch of 10 g of melted soap.
Add 2 drops of brown soap colour to the first batch of 10 g of melted soap.5 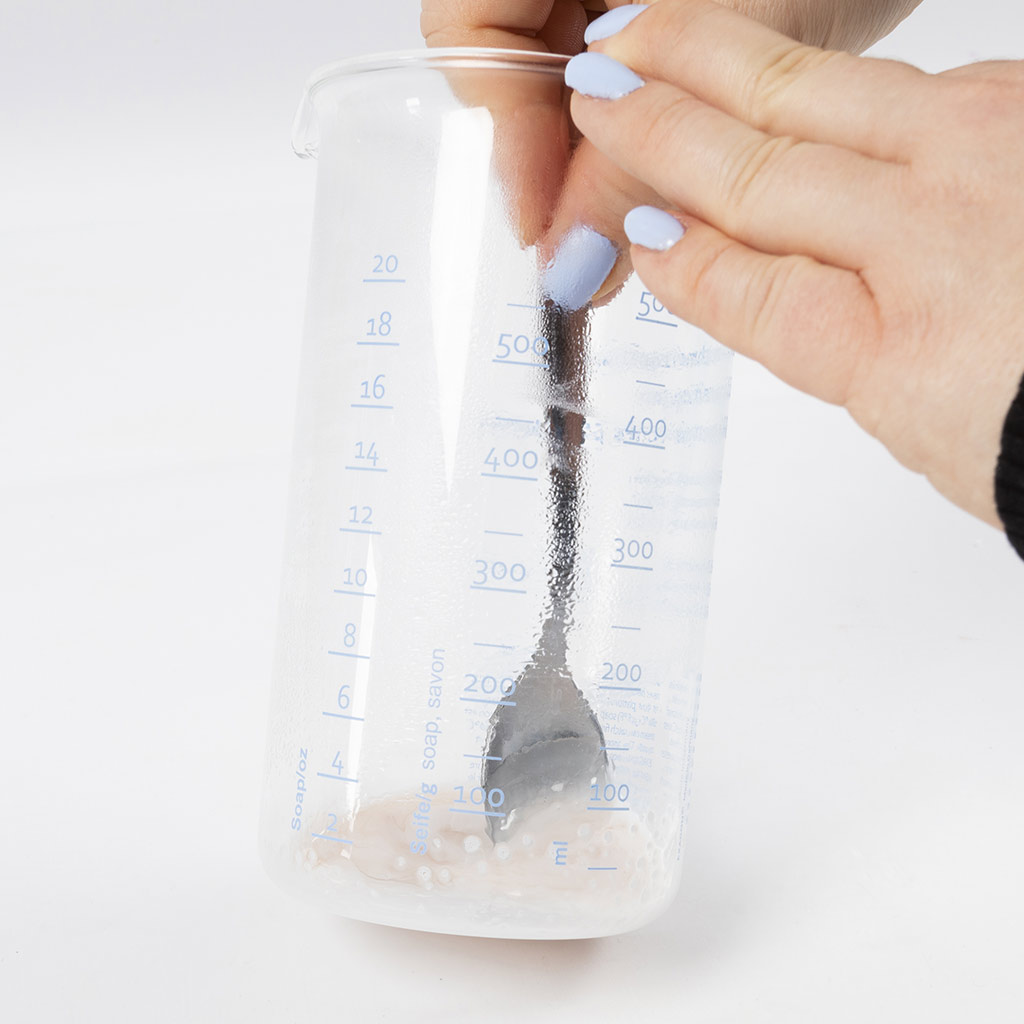 Stir until the colour is evenly distributed.
Stir until the colour is evenly distributed.6 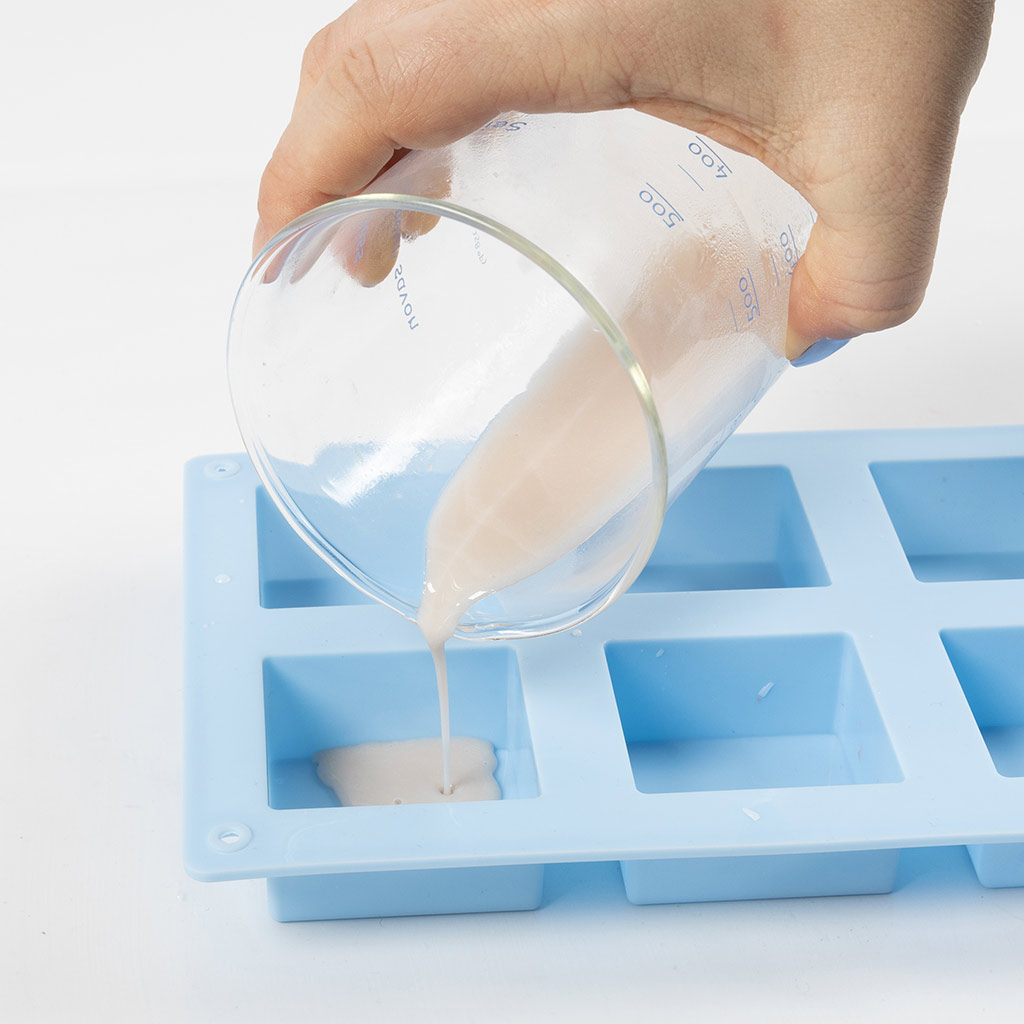 Pour the colour into one of the moulds and allow to set.
Pour the colour into one of the moulds and allow to set.7 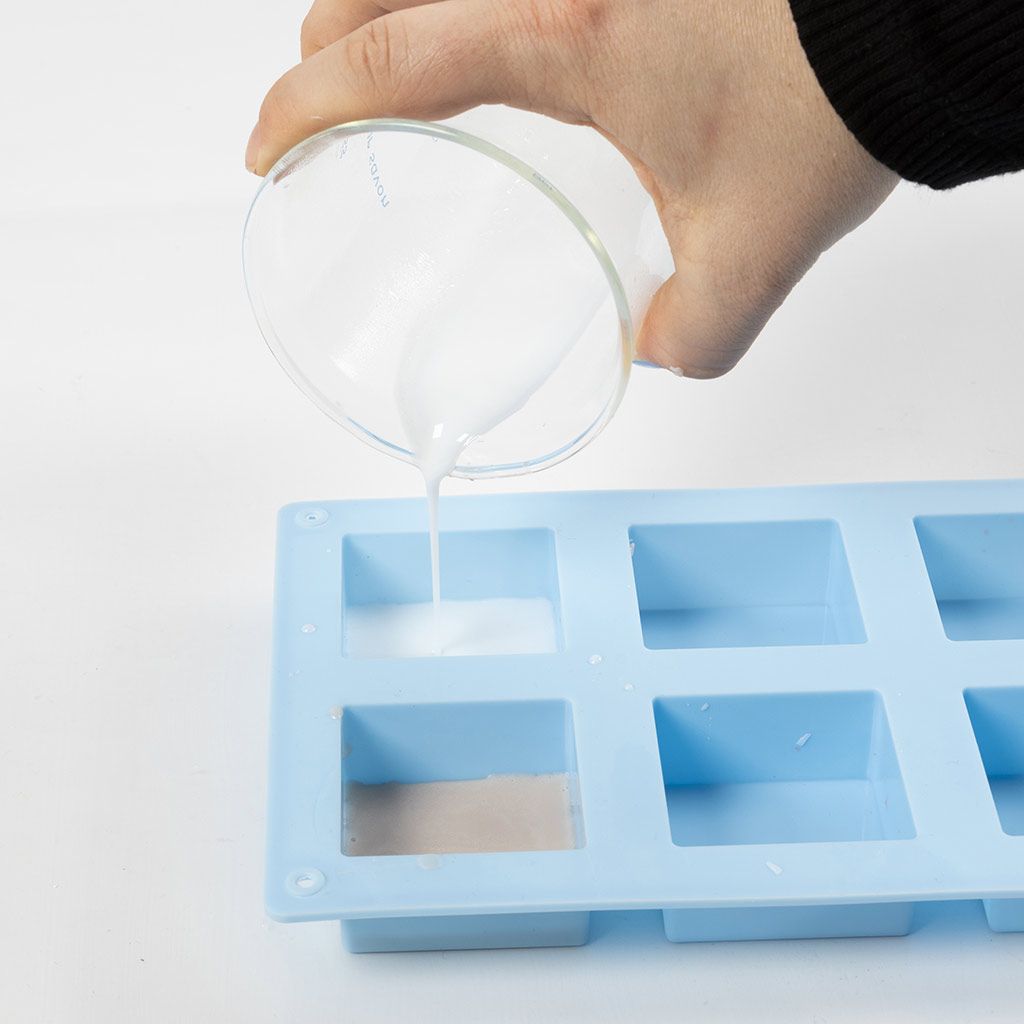 Pour 10 g of white soap into one of the moulds and allow to set.
Pour 10 g of white soap into one of the moulds and allow to set.8 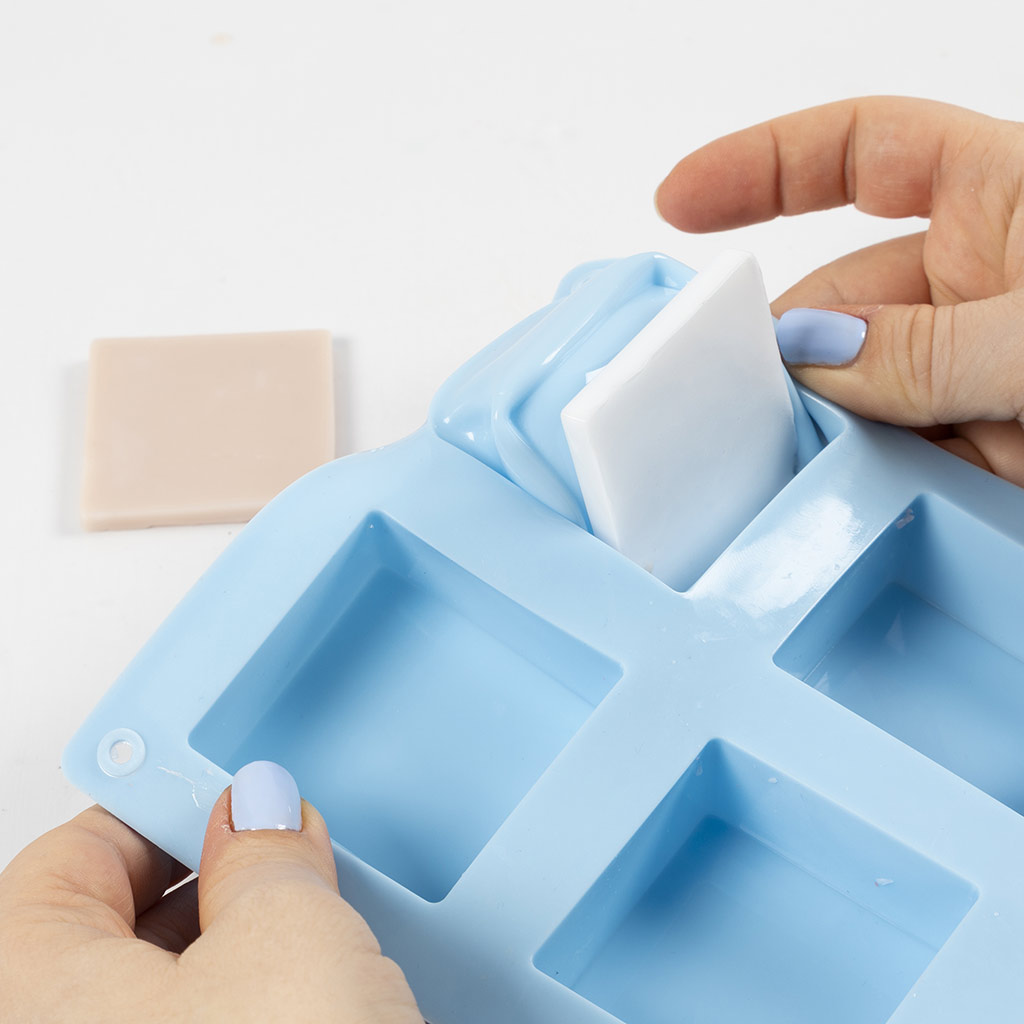 Carefully remove the brown and white soap from the mould.
Carefully remove the brown and white soap from the mould.9 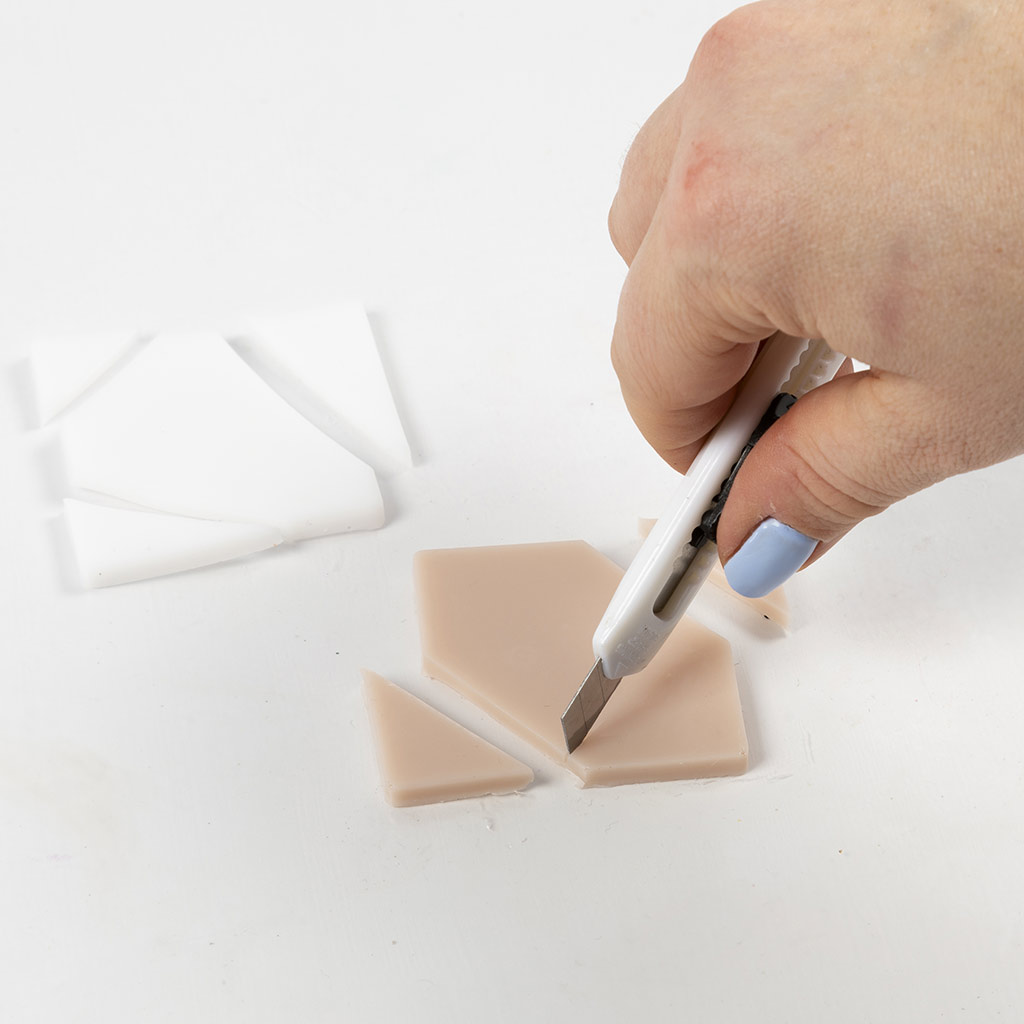 Use a sharp knife to cut the soaps into geometric shapes.
Use a sharp knife to cut the soaps into geometric shapes.10 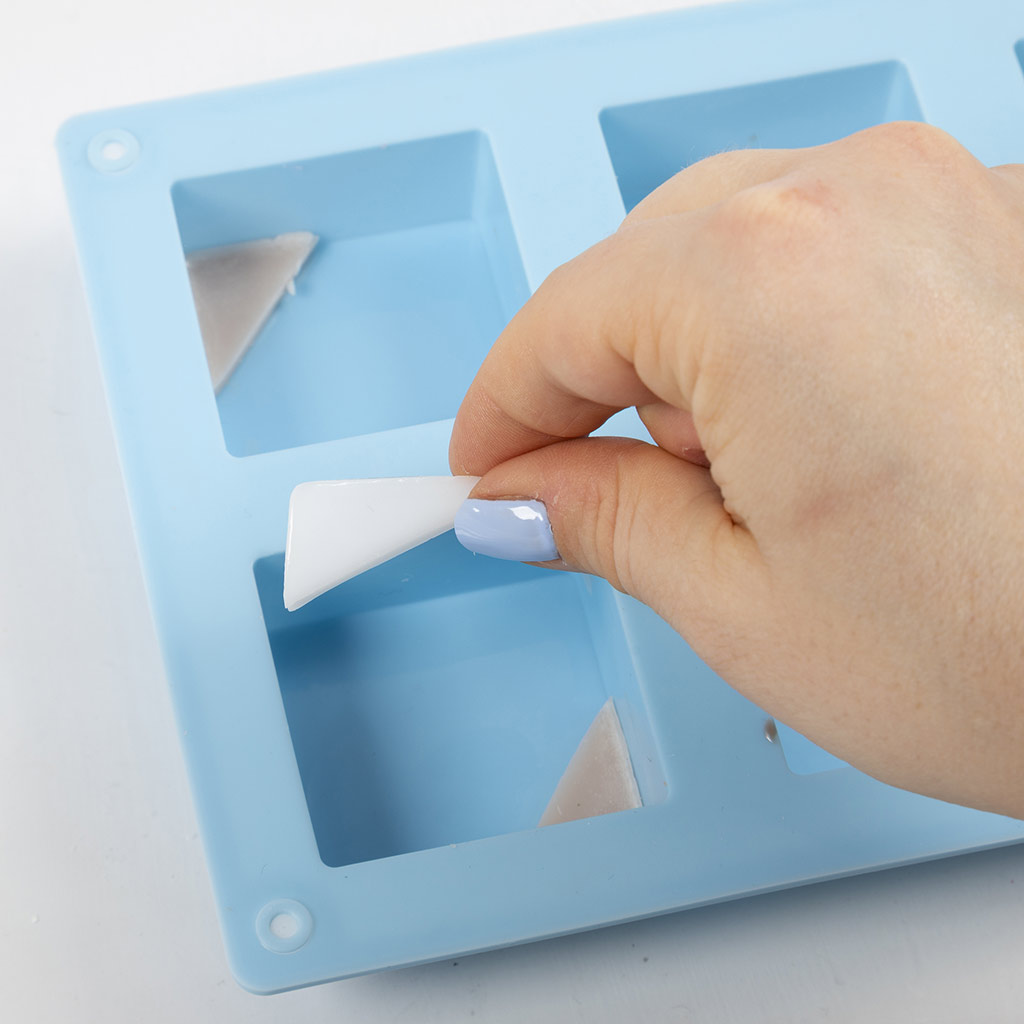 Place the pieces at the bottom of the casting mould in any desired pattern.
Place the pieces at the bottom of the casting mould in any desired pattern.11 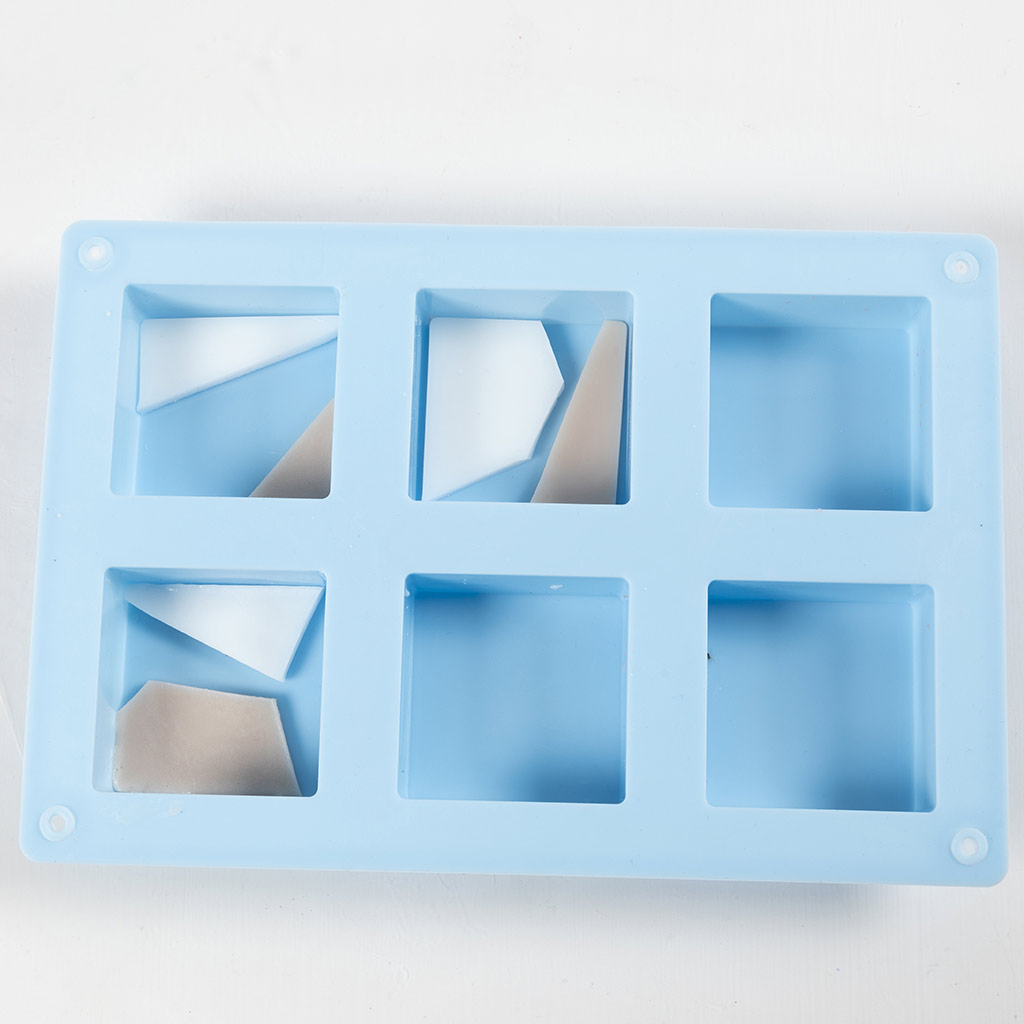 Here is an example for inspiration.
Here is an example for inspiration.12 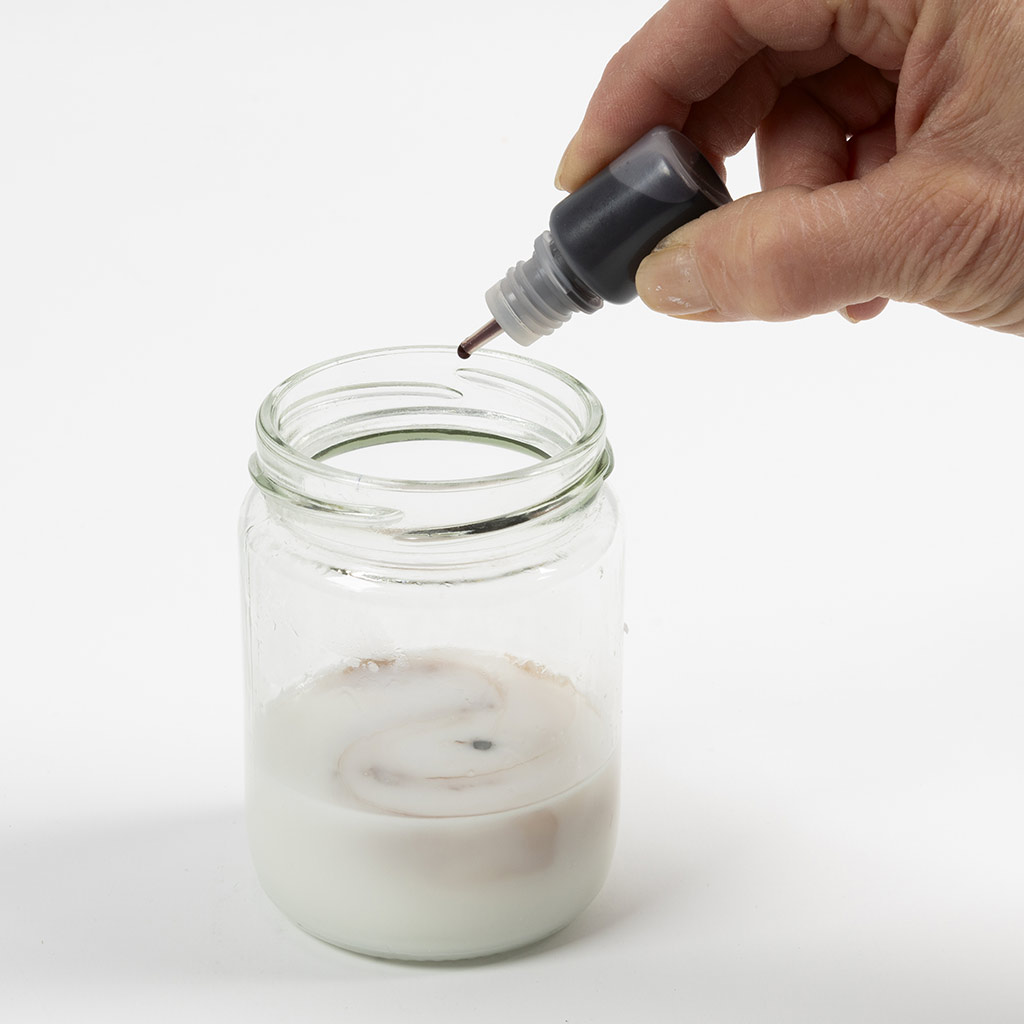 Melt 80 g of white soap and stir in 60 drops of brown soap colour.
Melt 80 g of white soap and stir in 60 drops of brown soap colour.13 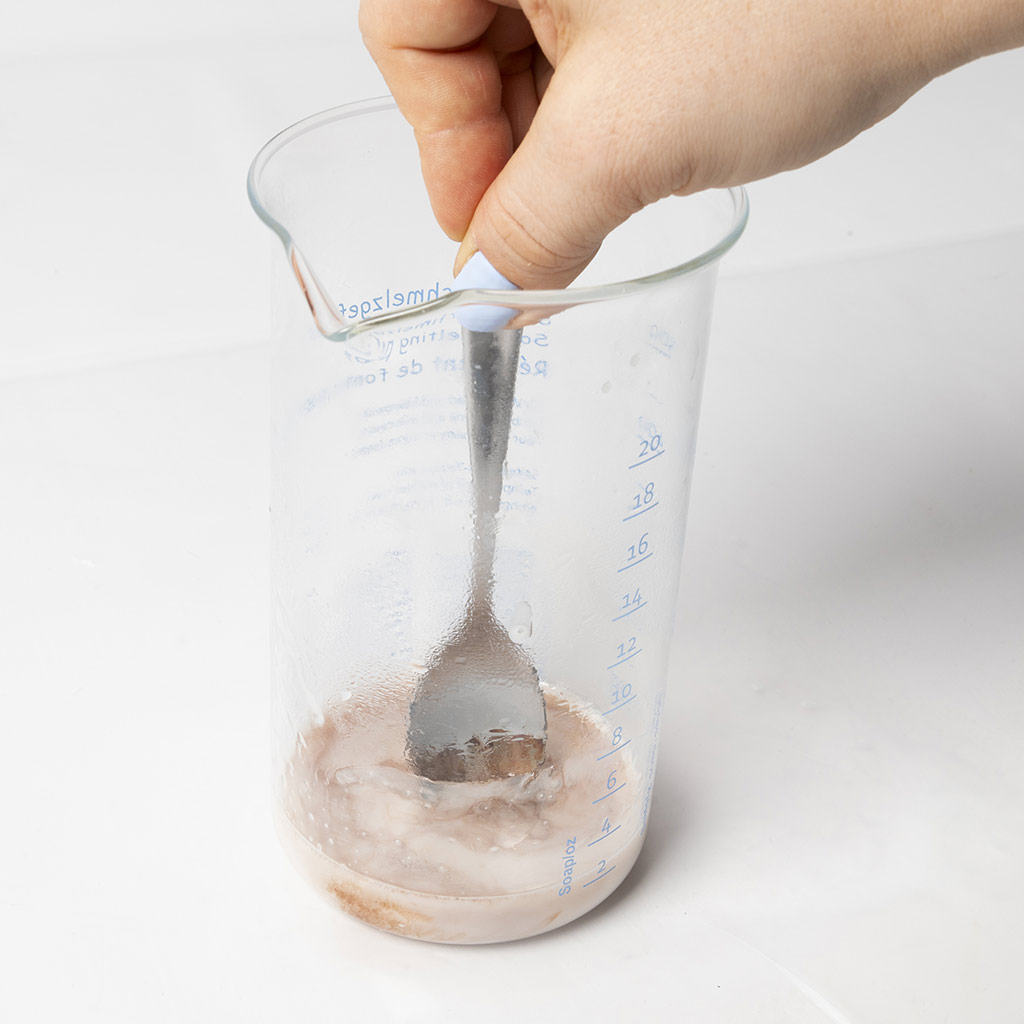 Stir until the colour is evenly distributed.
Stir until the colour is evenly distributed.14 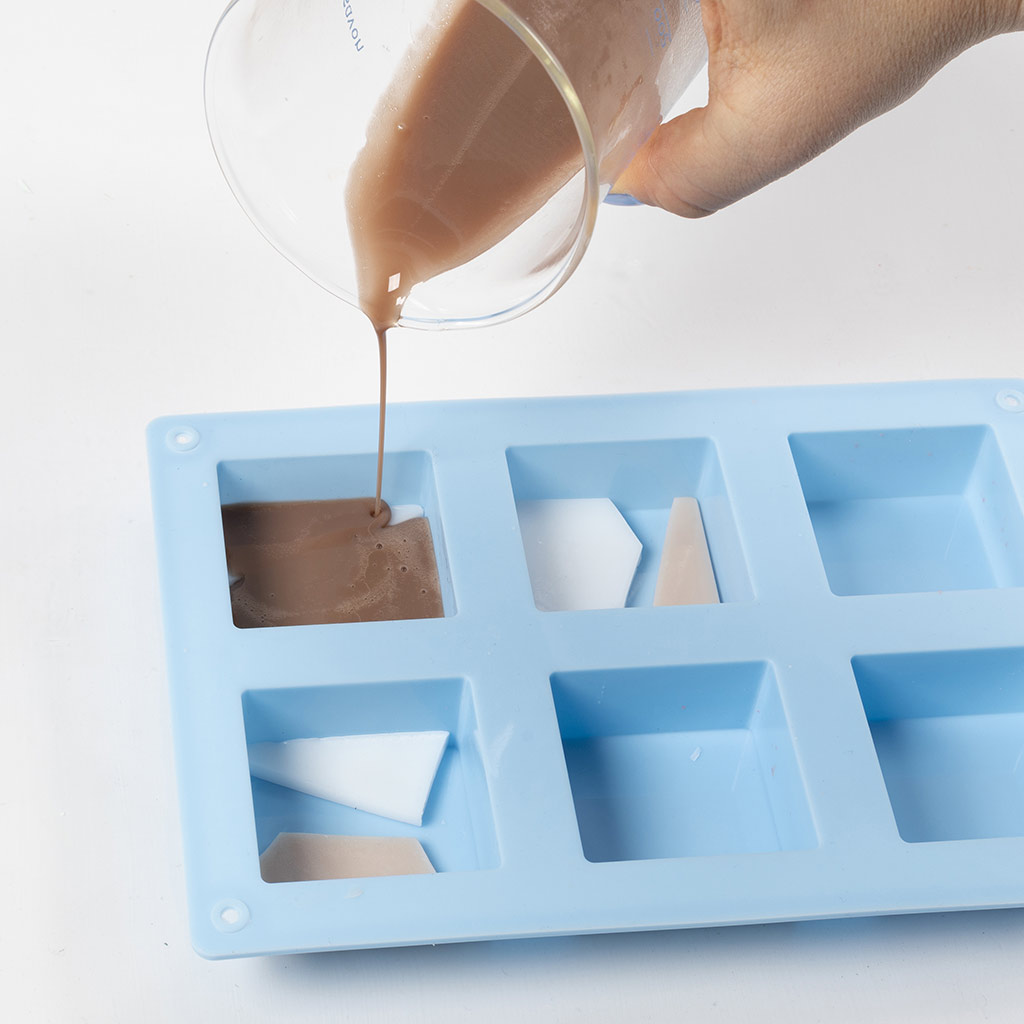 Pour one-third of the brown soap base into each of the three moulds and allow to set for around 1 hour.
Pour one-third of the brown soap base into each of the three moulds and allow to set for around 1 hour.15 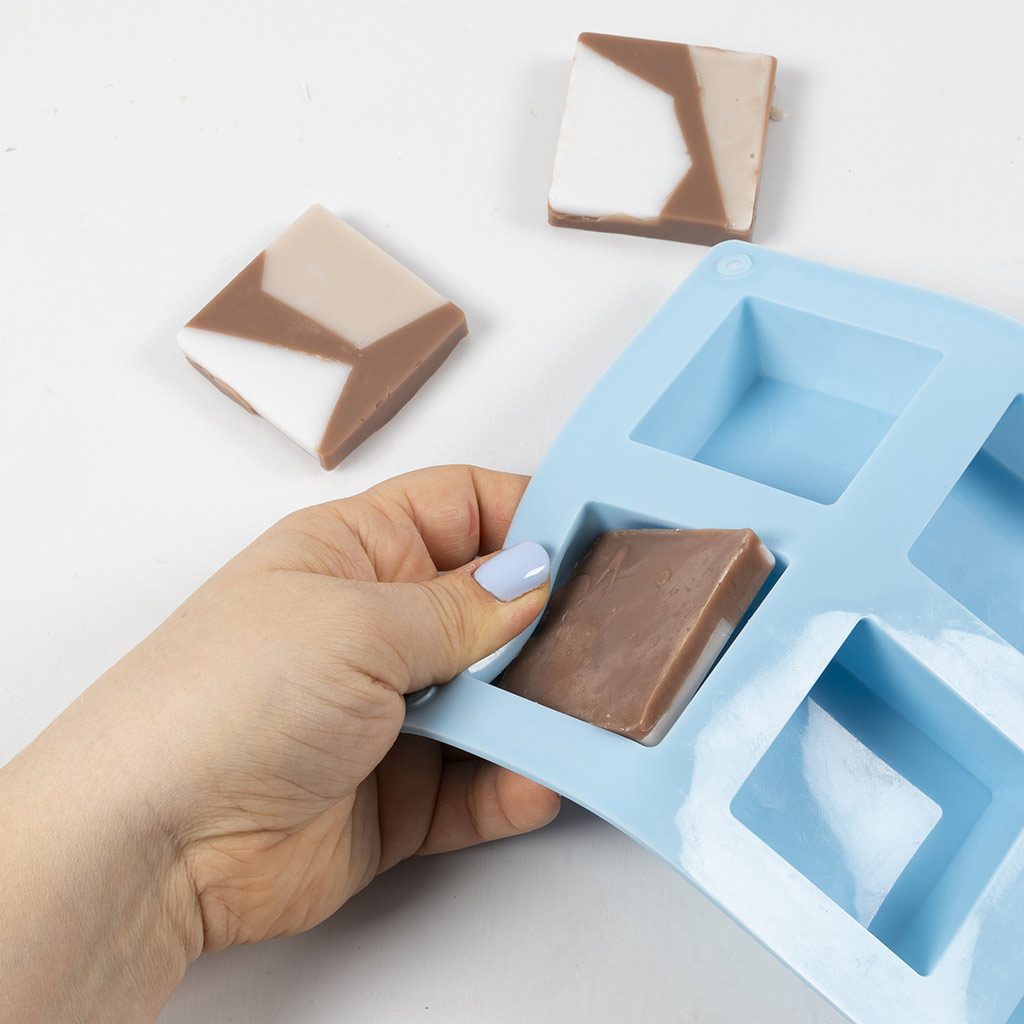 Once the soap has set, carefully remove it from the mould. The soap is fully hardened and ready for use after 24 hours of drying time on an absorbent surface (e.g. cardboard). Store the soap in a self-draining soap dish or wrapped in tissue paper or in a cellophane bag.
Once the soap has set, carefully remove it from the mould. The soap is fully hardened and ready for use after 24 hours of drying time on an absorbent surface (e.g. cardboard). Store the soap in a self-draining soap dish or wrapped in tissue paper or in a cellophane bag.Already signed up? Download the template
Also go exploring in
