
New
Creative idea
Smykker med blomster i smykkeler
#v16994
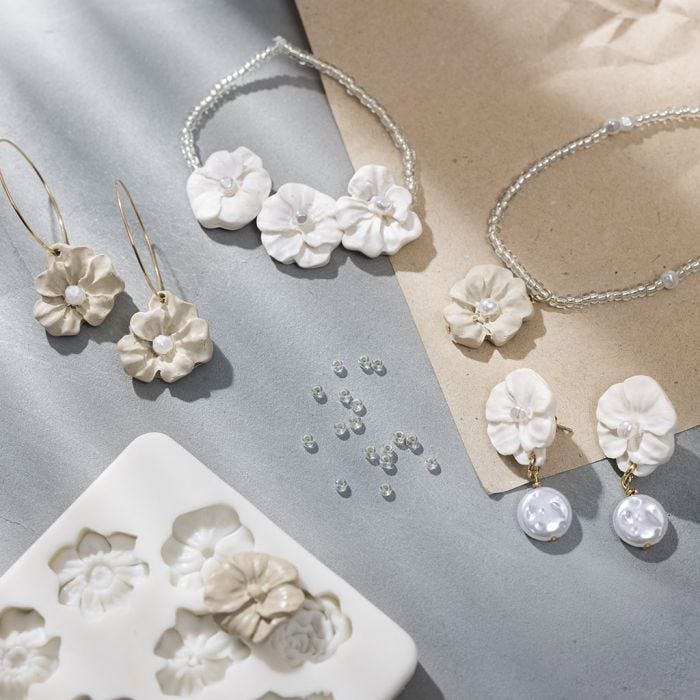
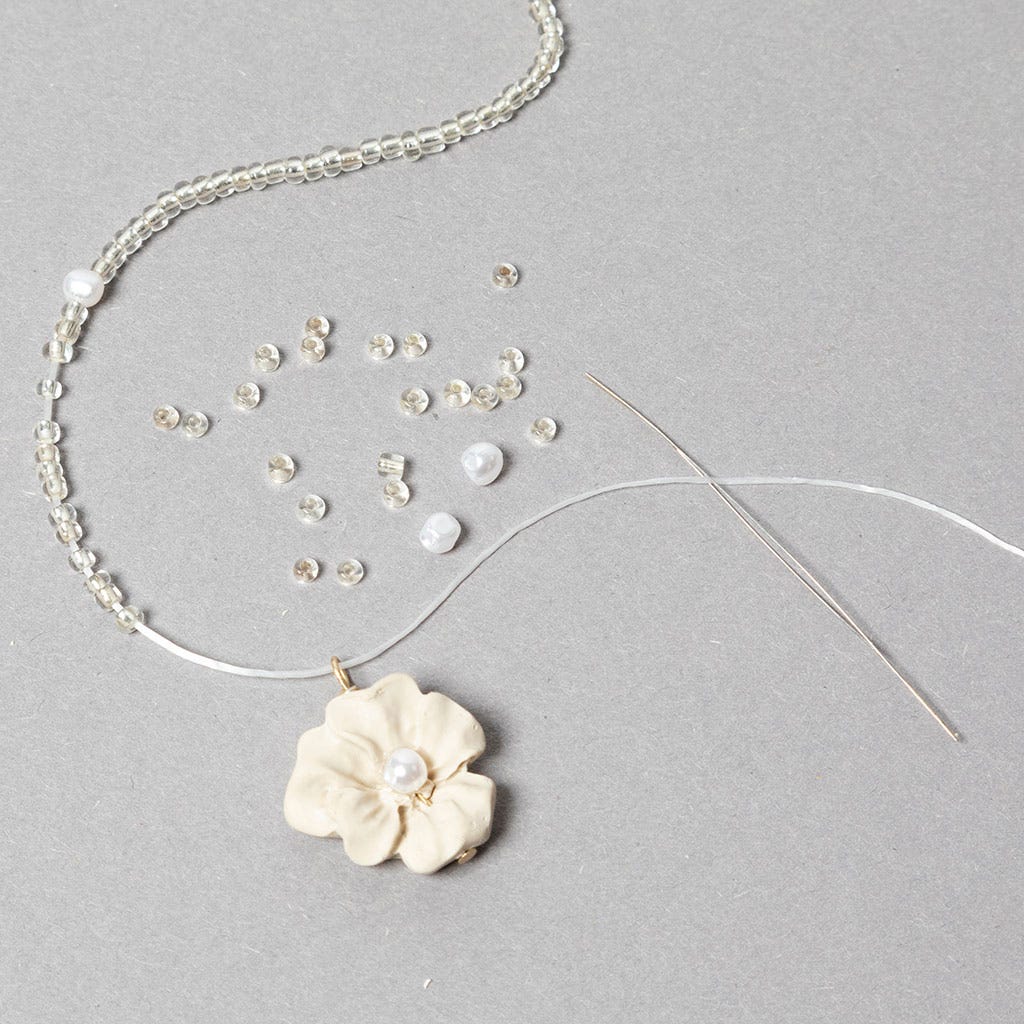
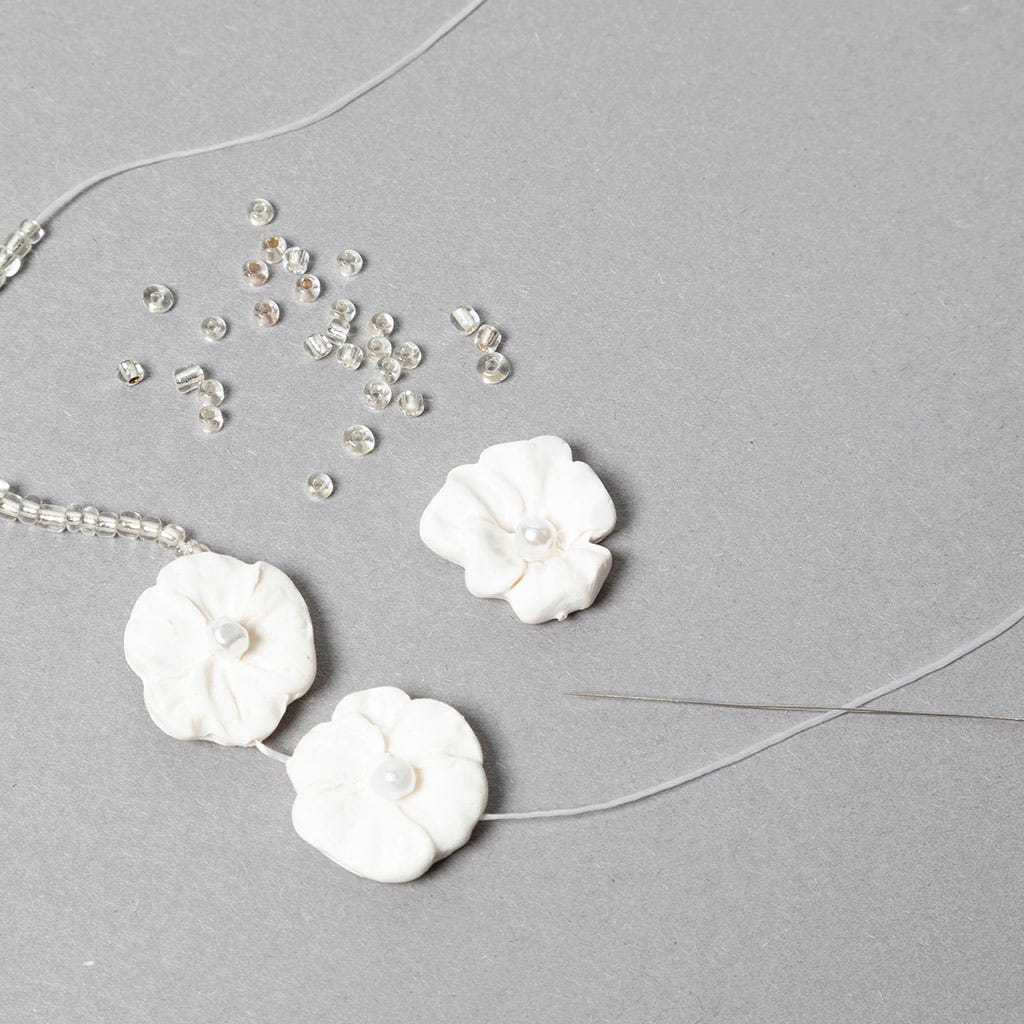
Make your own jewellery set – necklace, bracelet and earrings – with flower pendants and beads. The flowers are made from fine clay polymer in detailed silicone moulds. They are then decorated with a pearlescent wax bead in the centre.
#v16994
How to do it
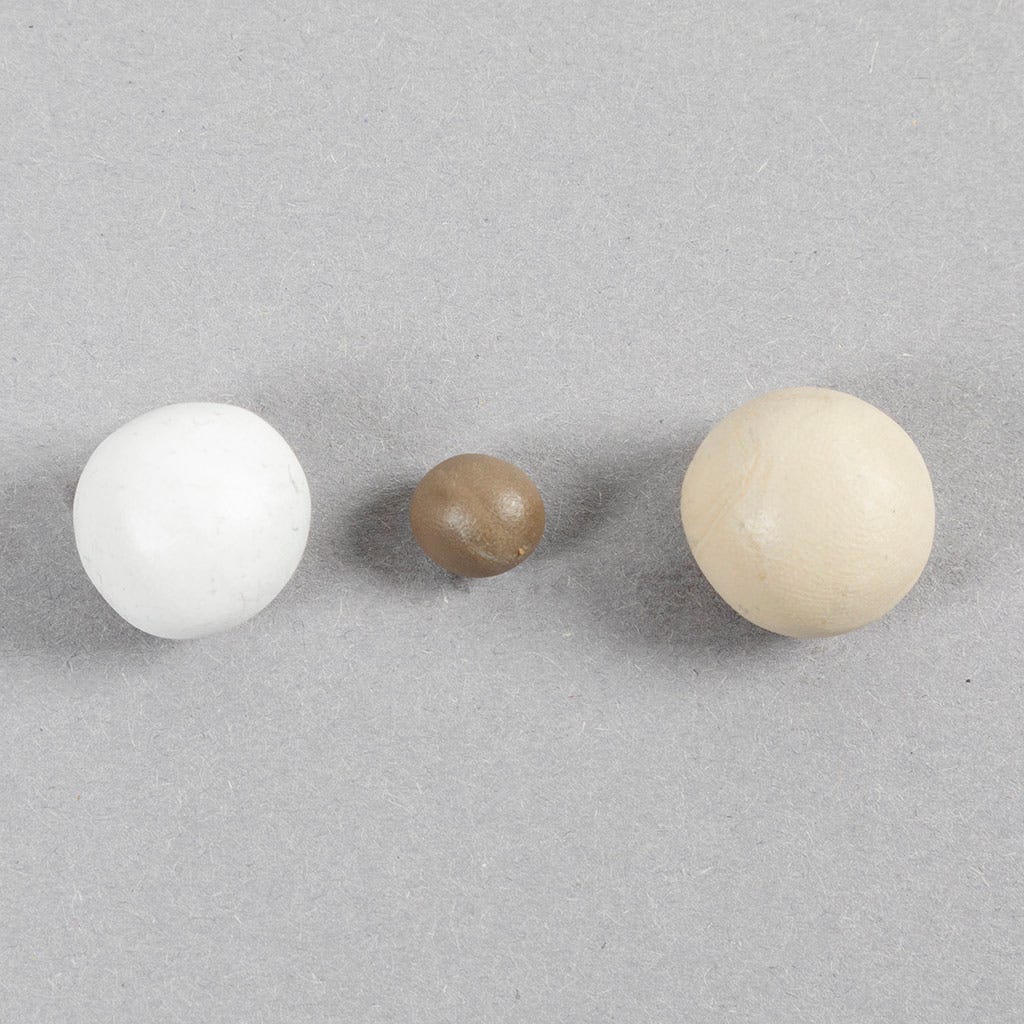
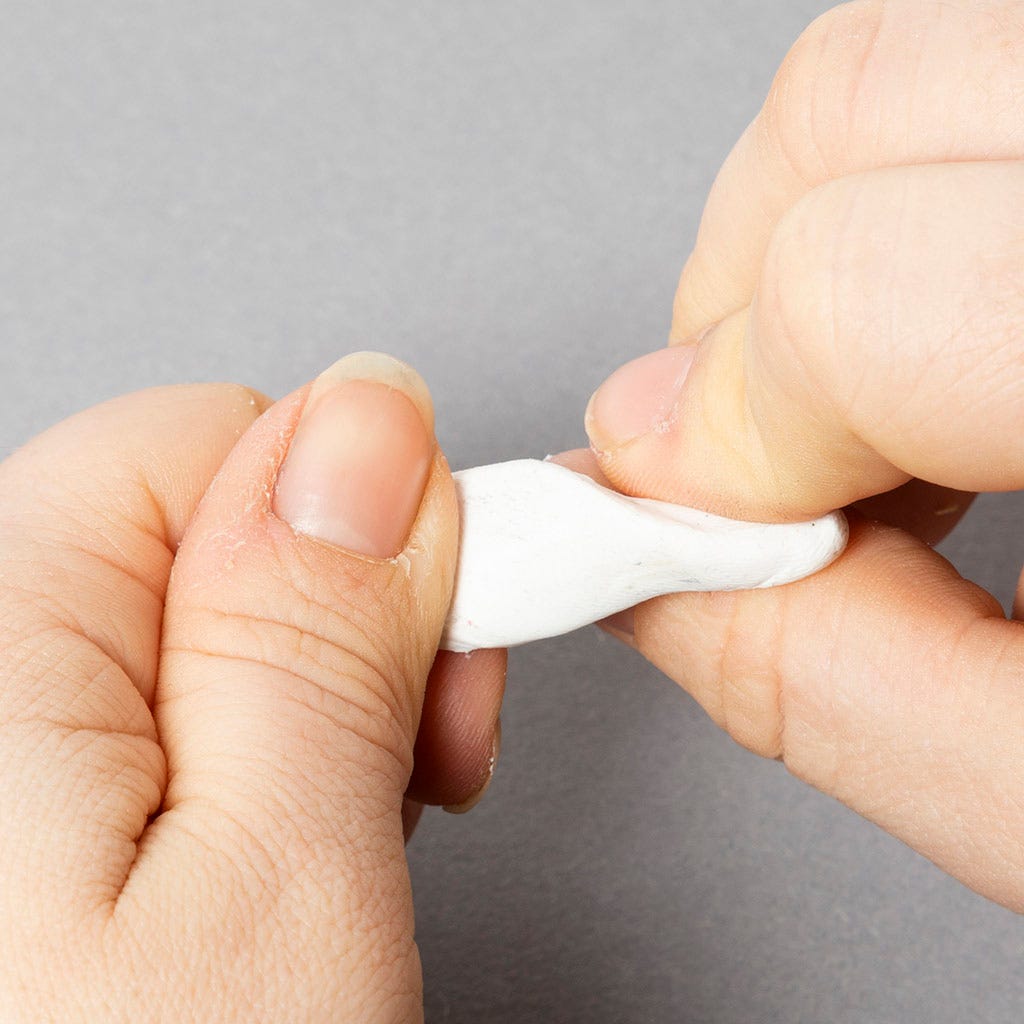
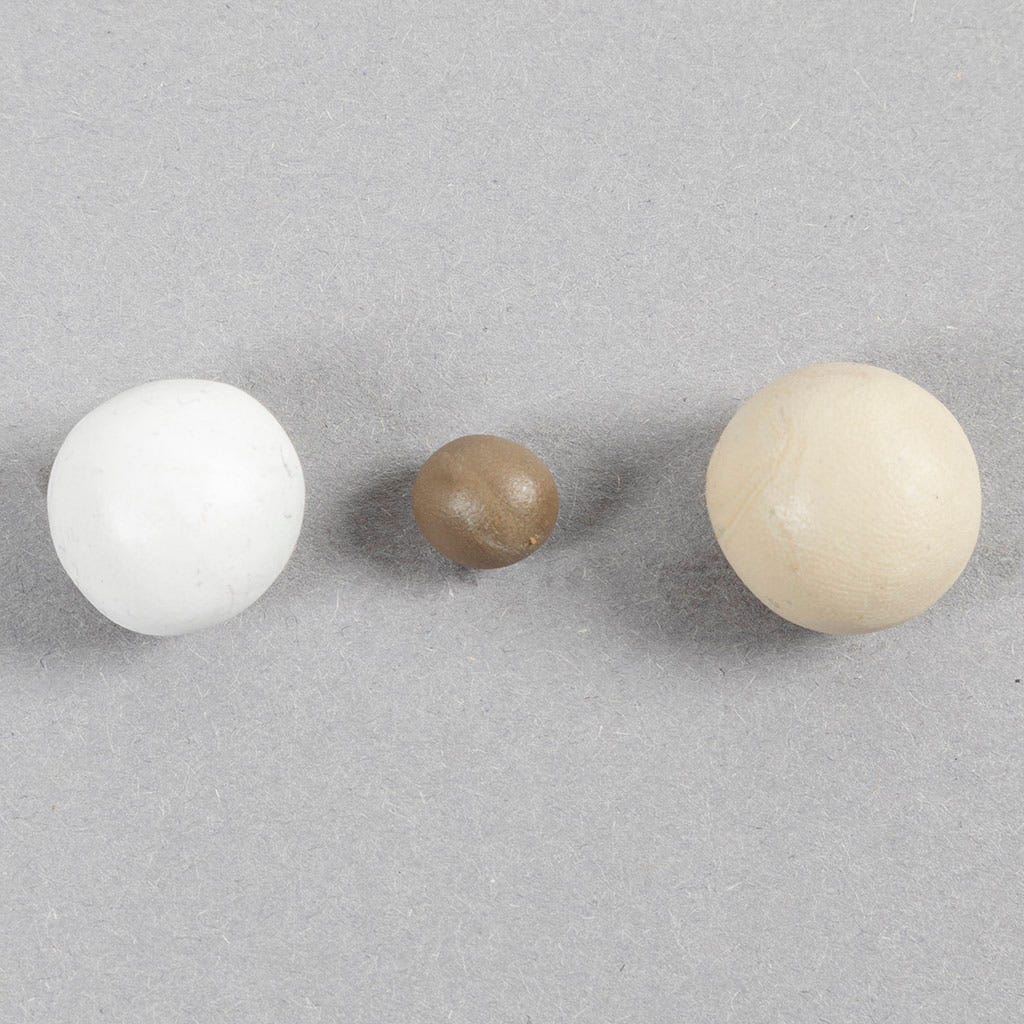
1 Create a beige colour as follows:
Roll a white ball of around 1 cm in diameter.
Roll a brown ball of around 0.5 mm in diameter.
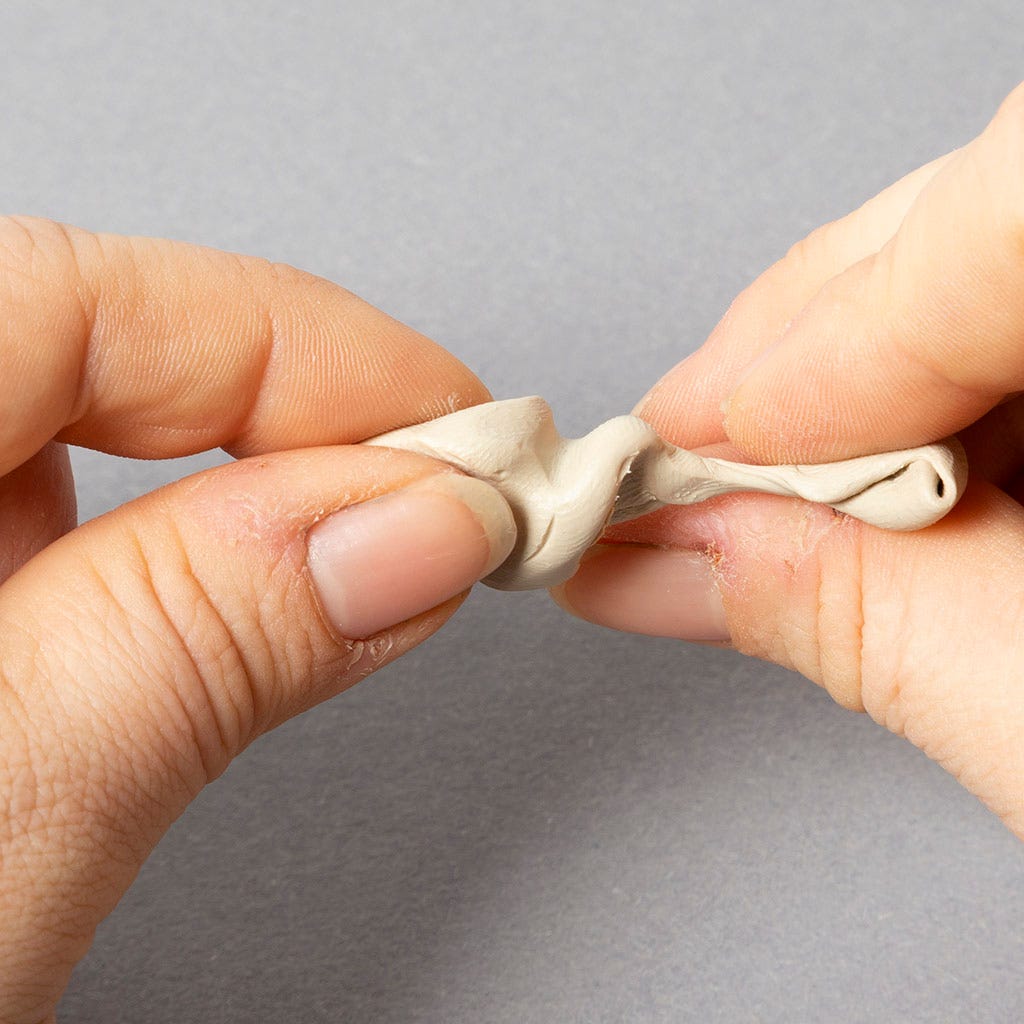
Knead the two balls together until beige.
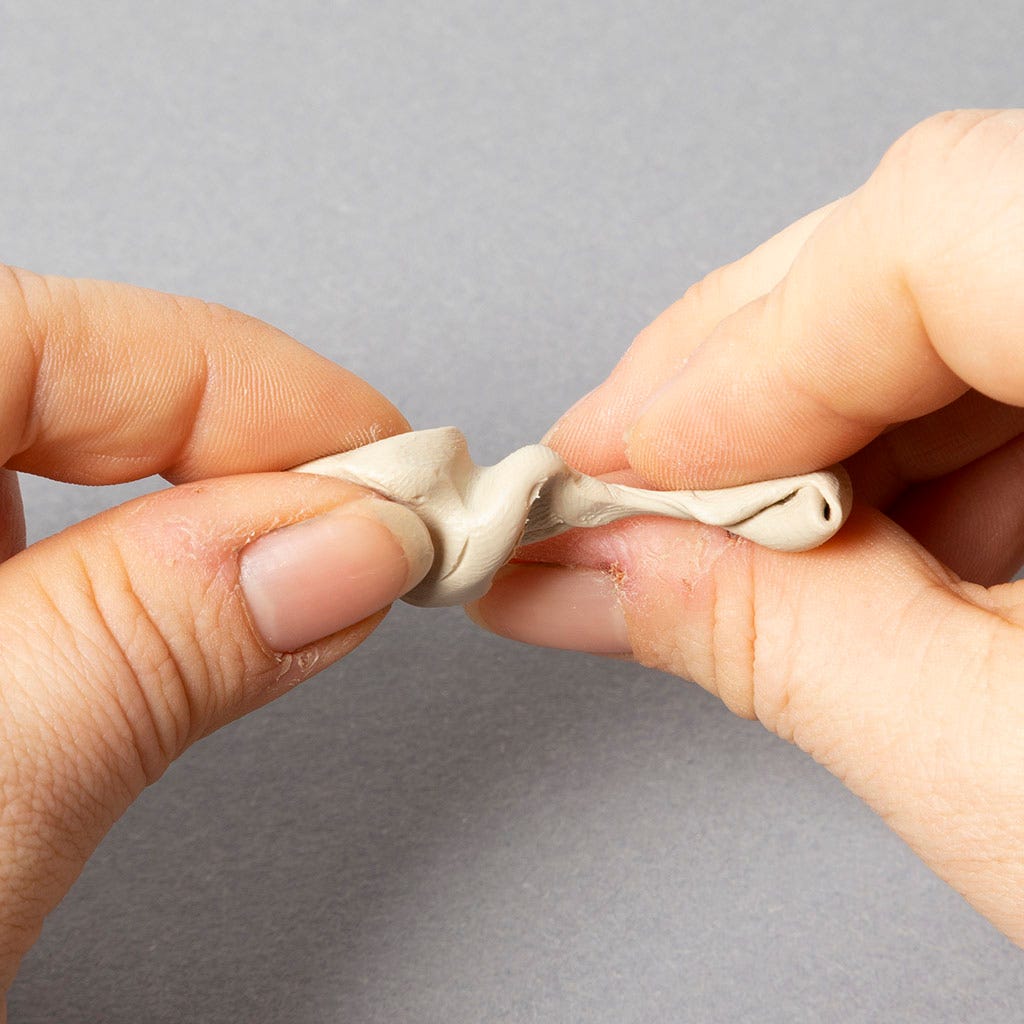
2 Knead the jewellery clay for 4 minutes (this may sound like a long time, but prevents bubbles from forming in the clay when baking).
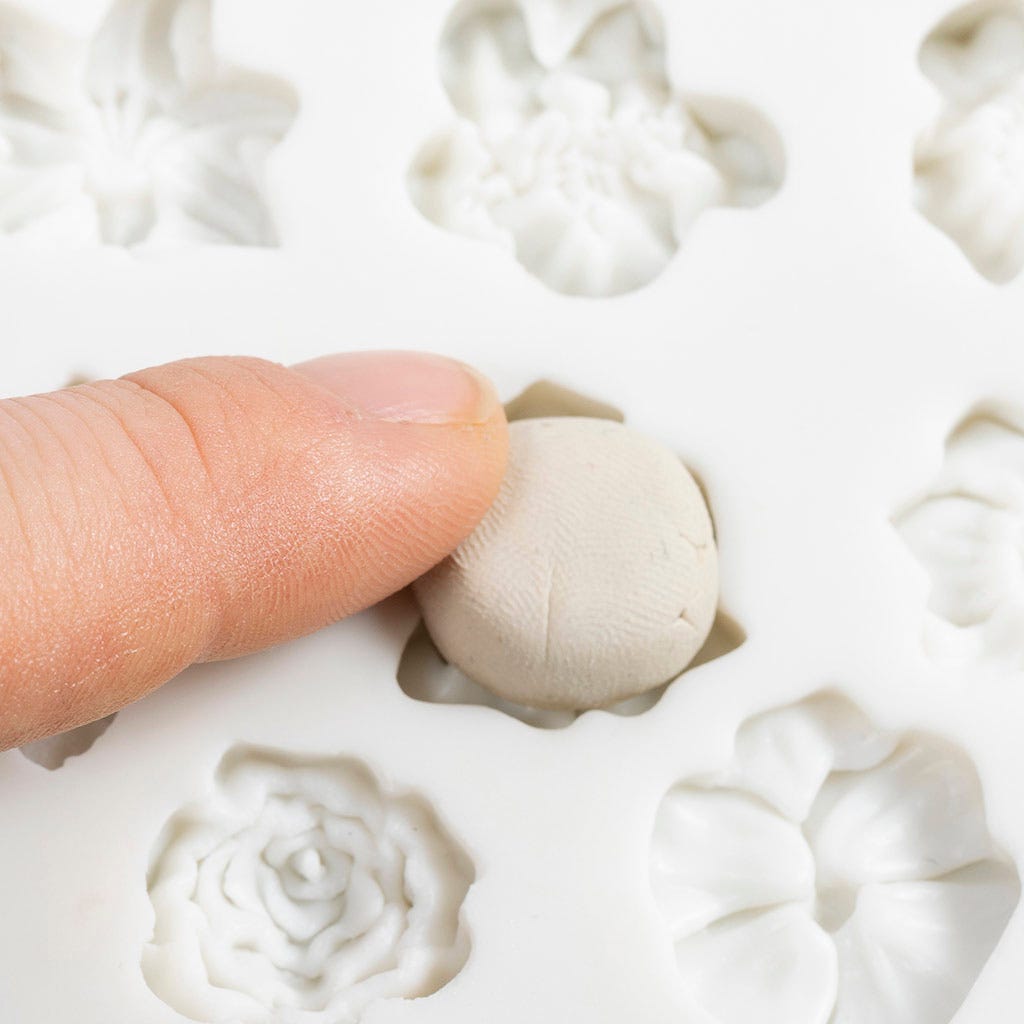
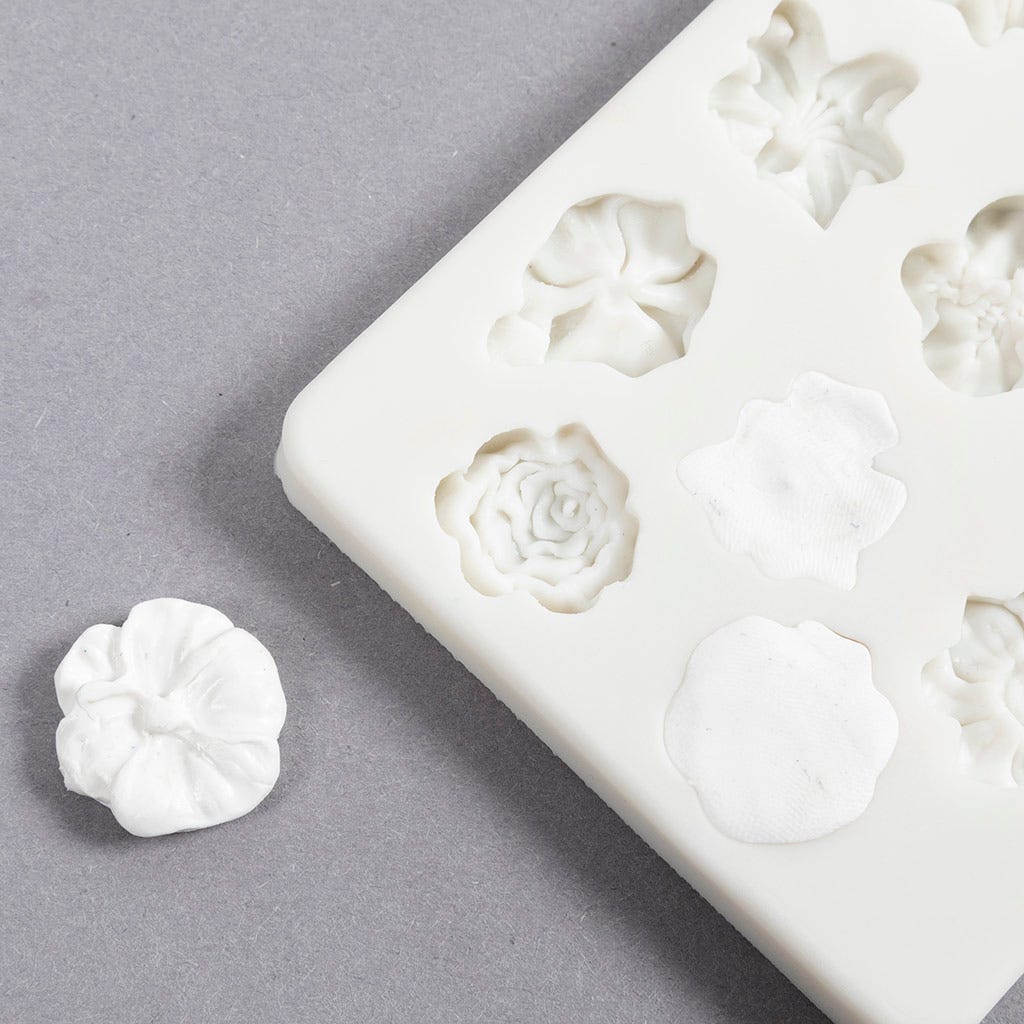
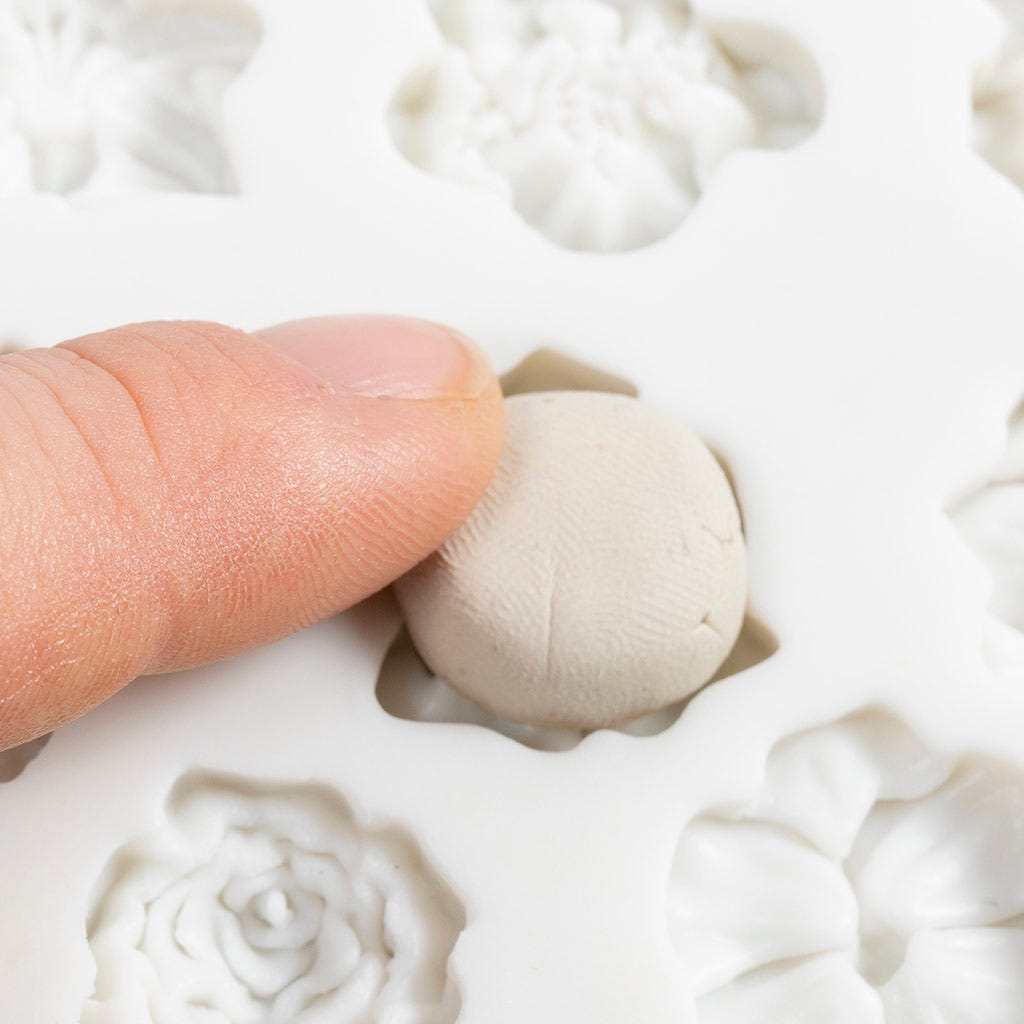
3 Use an appropriate amount of jewellery clay for the flower and press it into the mould.
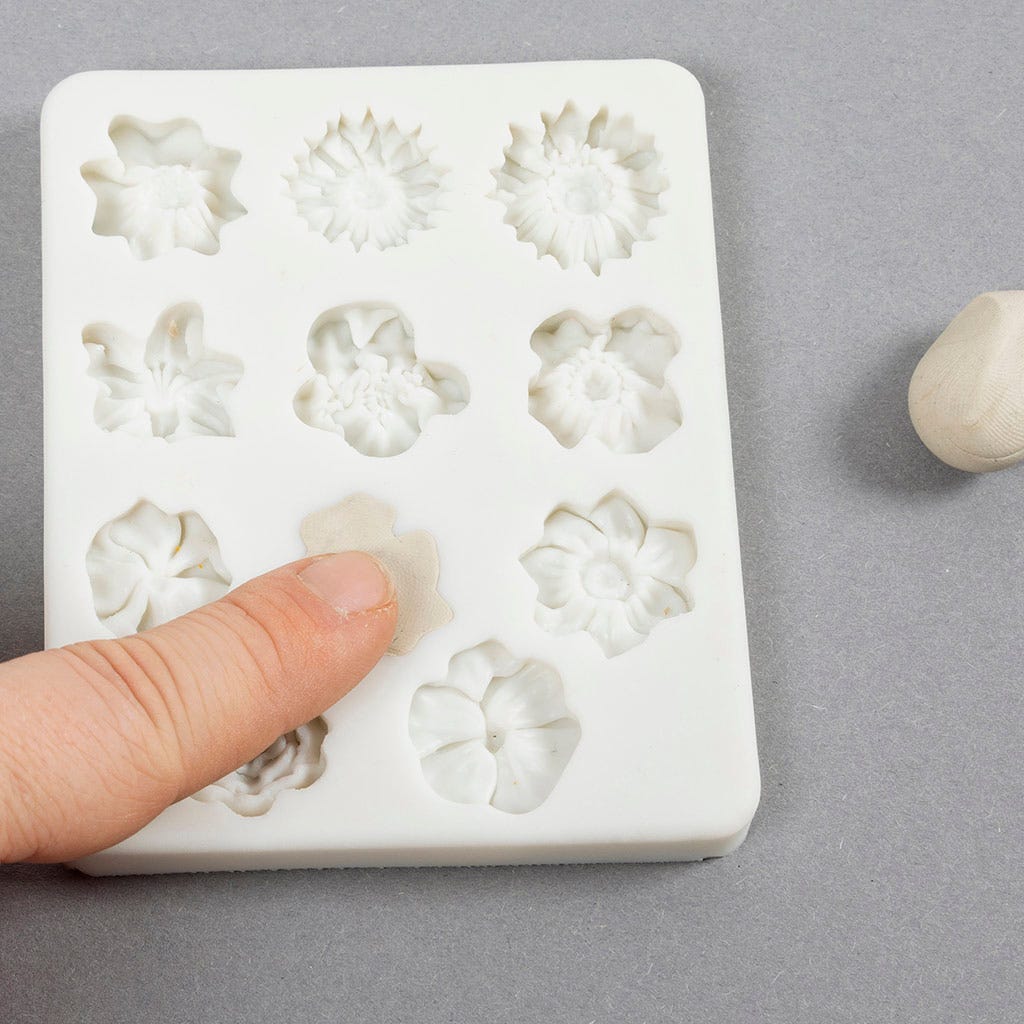
4 Press the jewellery clay firmly into the mould.
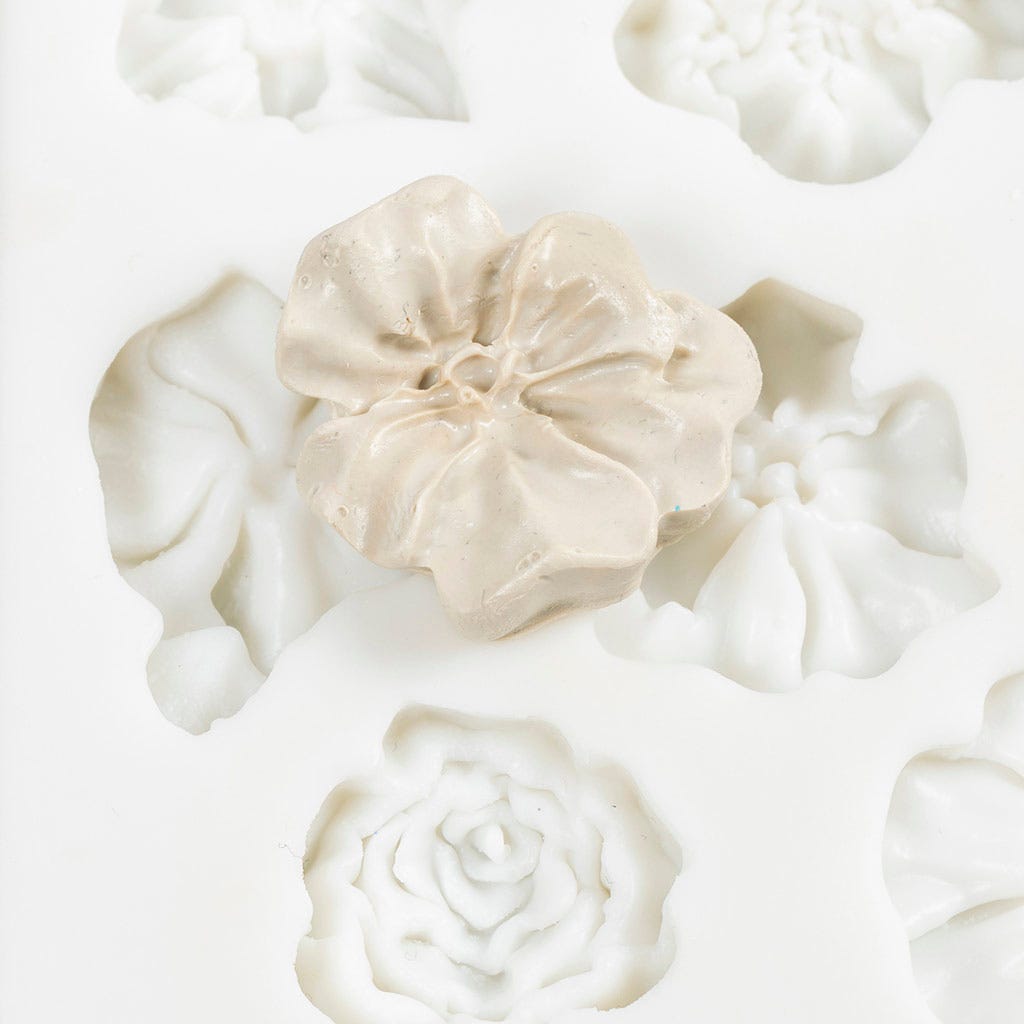
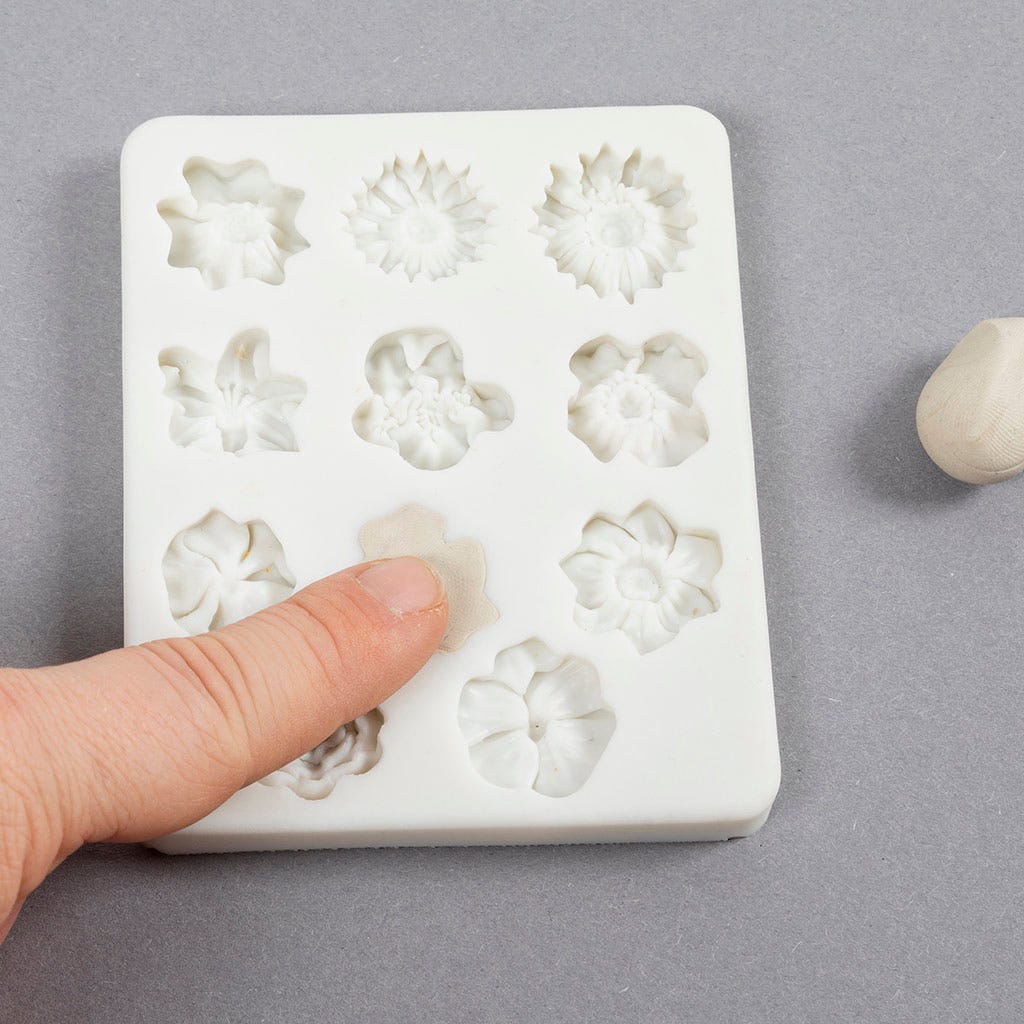
5 Carefully remove the flower.
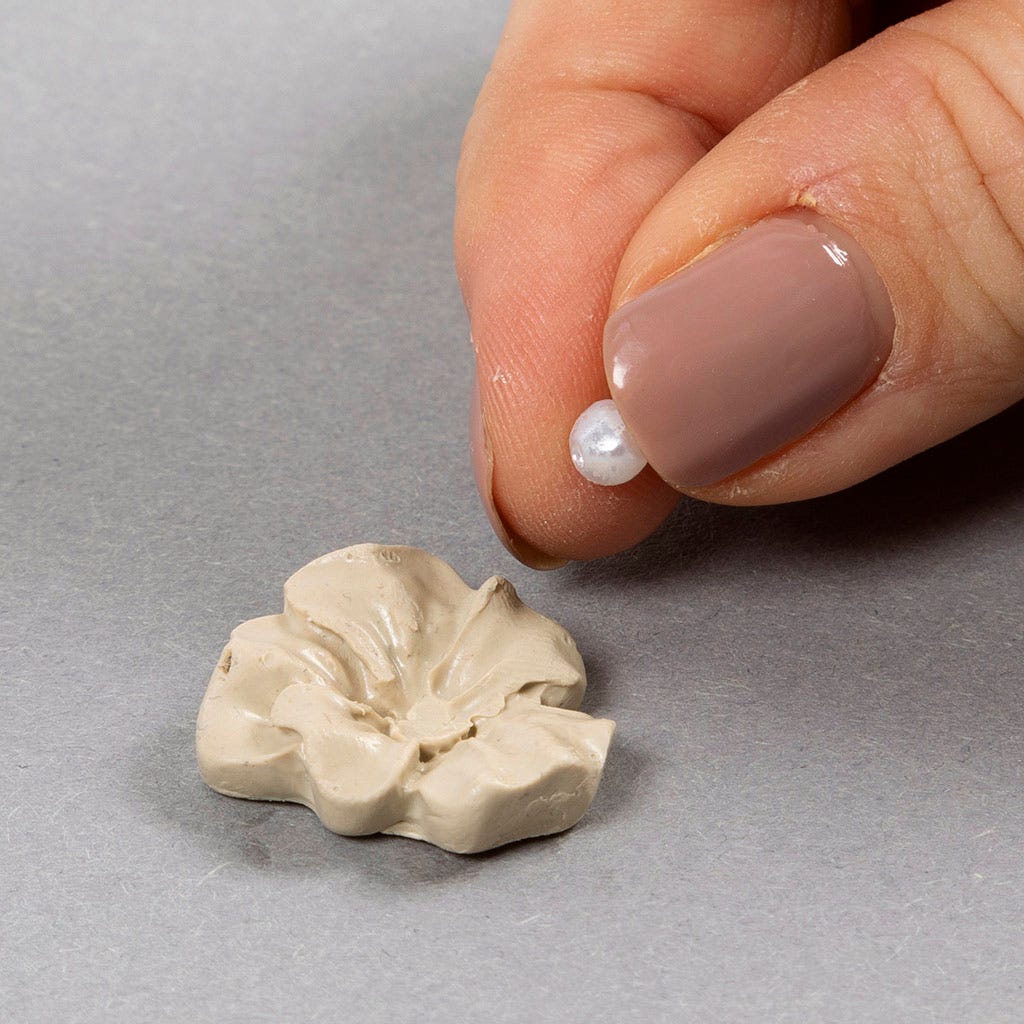
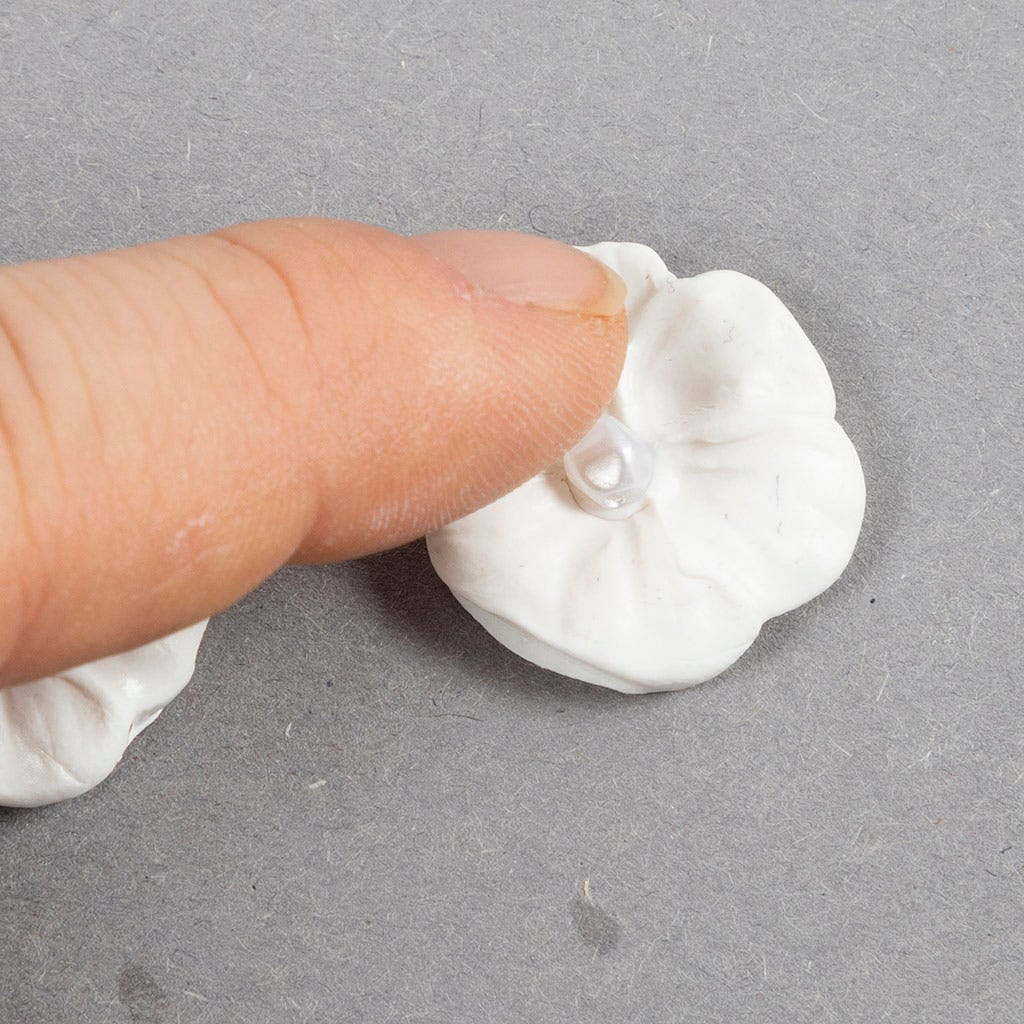
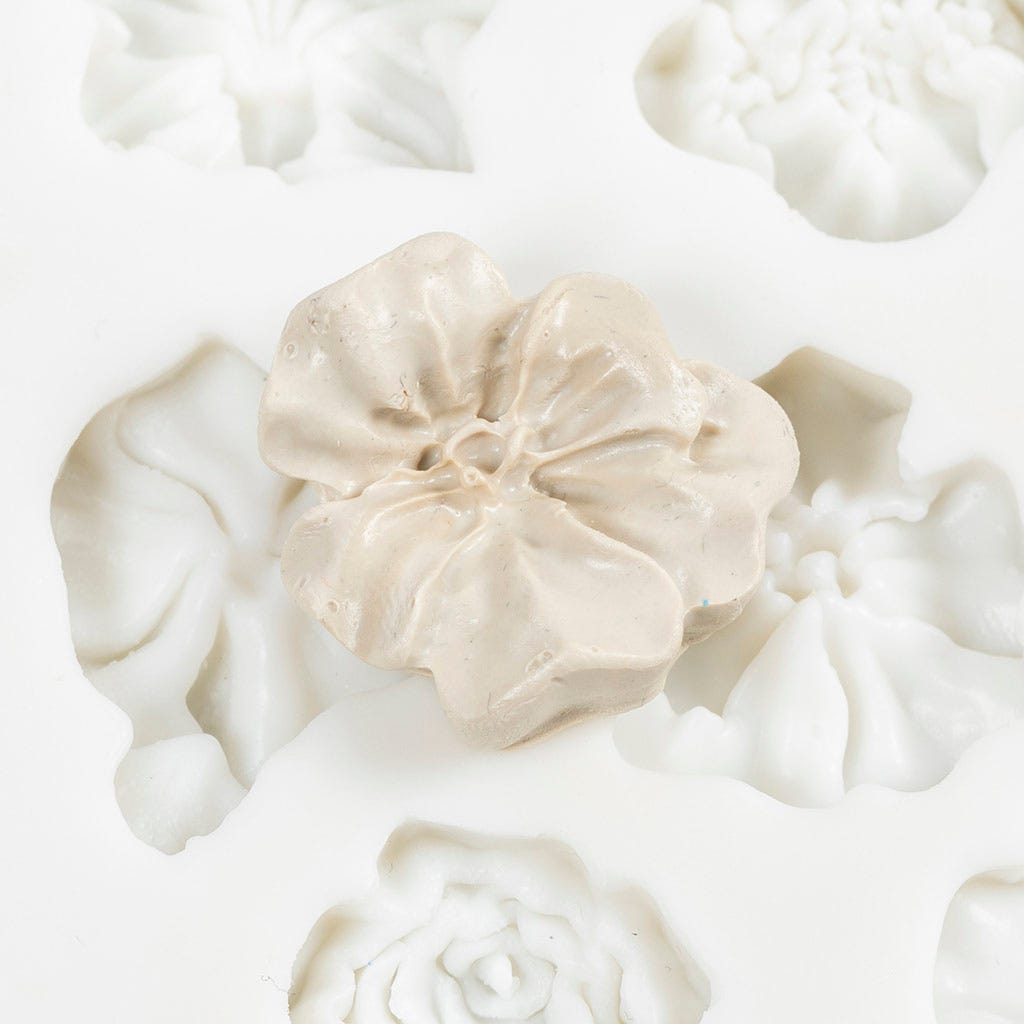
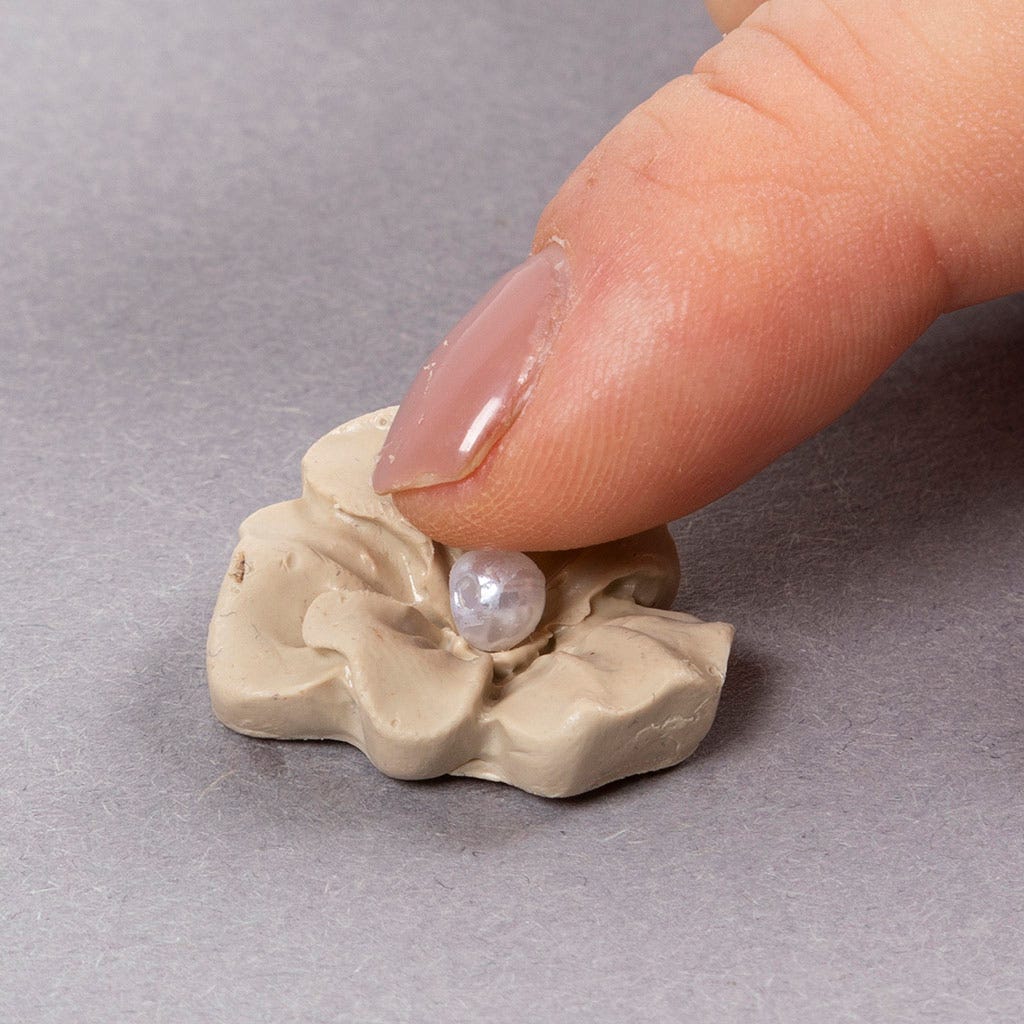
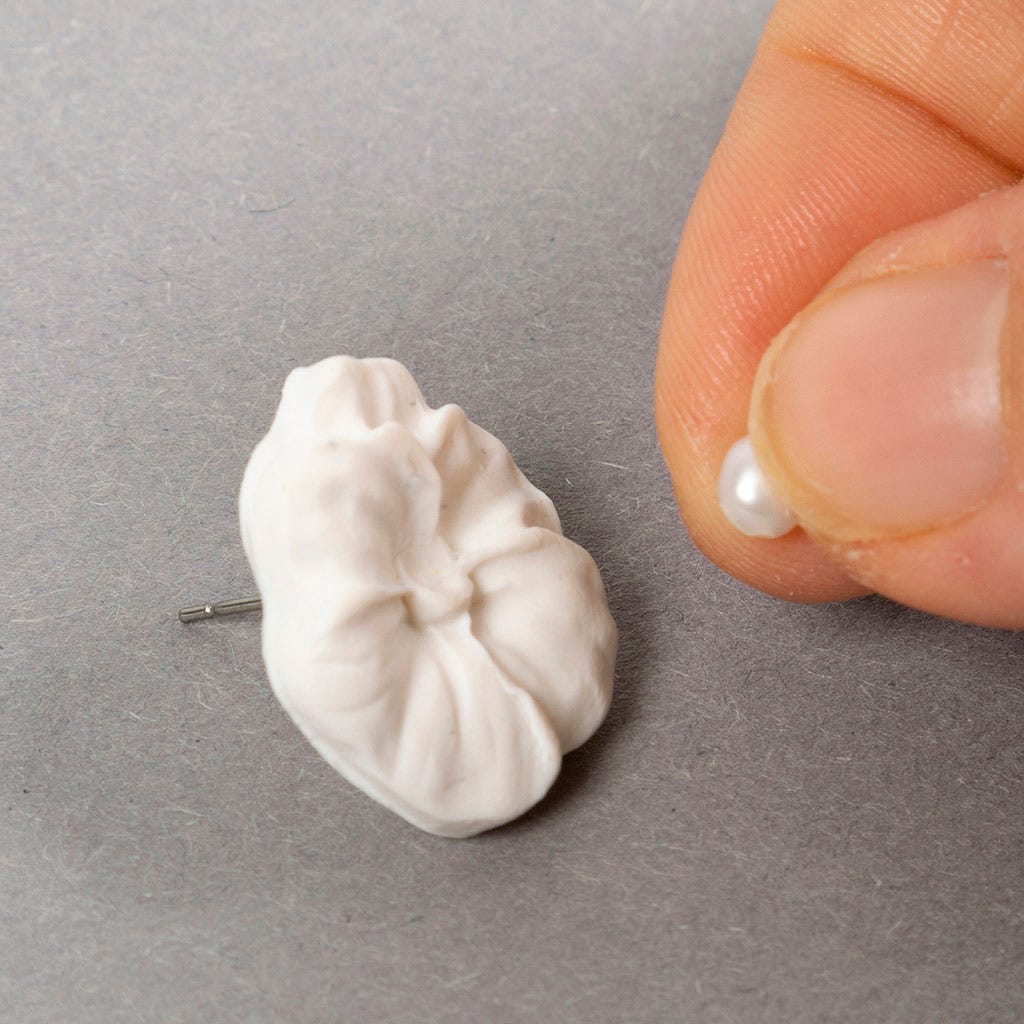
6 Take one of the small beads that will be used to decorate the centre of the flower.
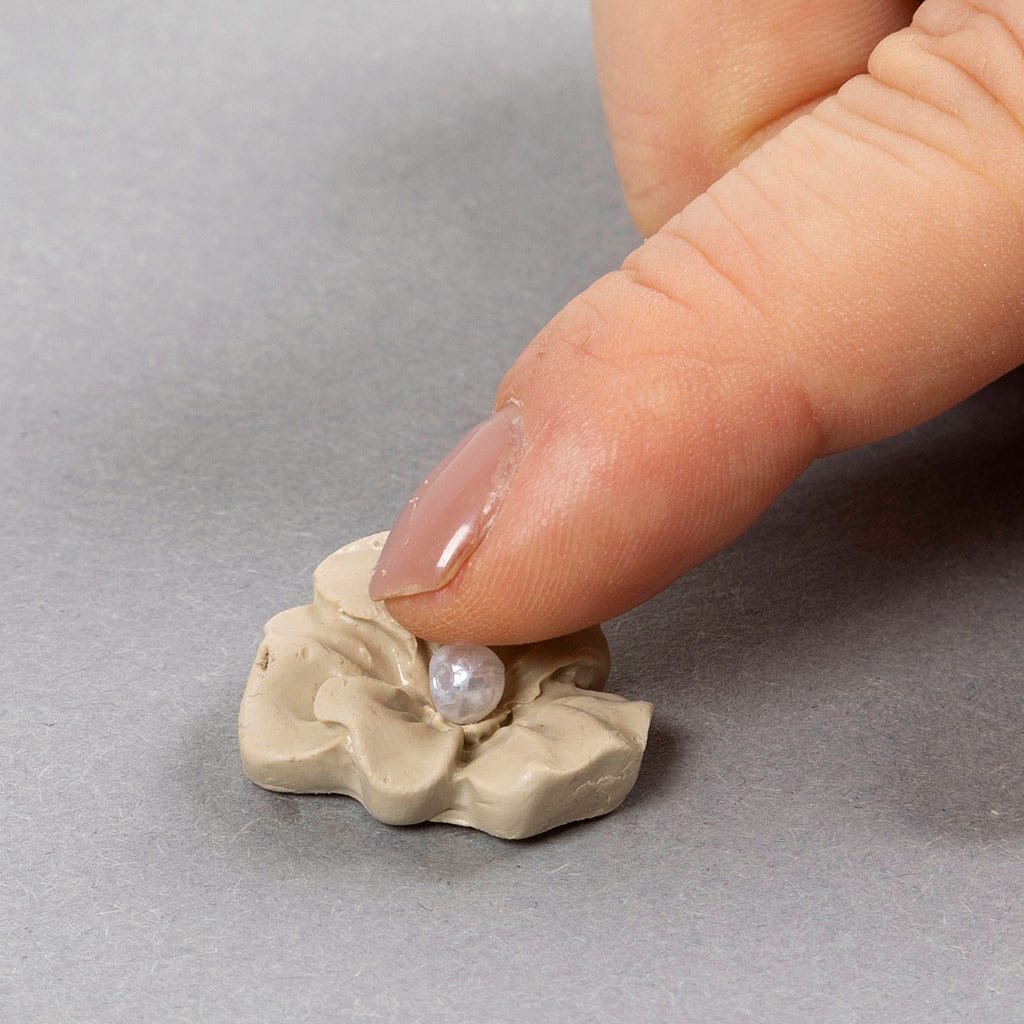
7 Gently press the bead into the centre of the flower and remove it again. This creates an indentation for the bead to be glued on after baking the jewellery clay.

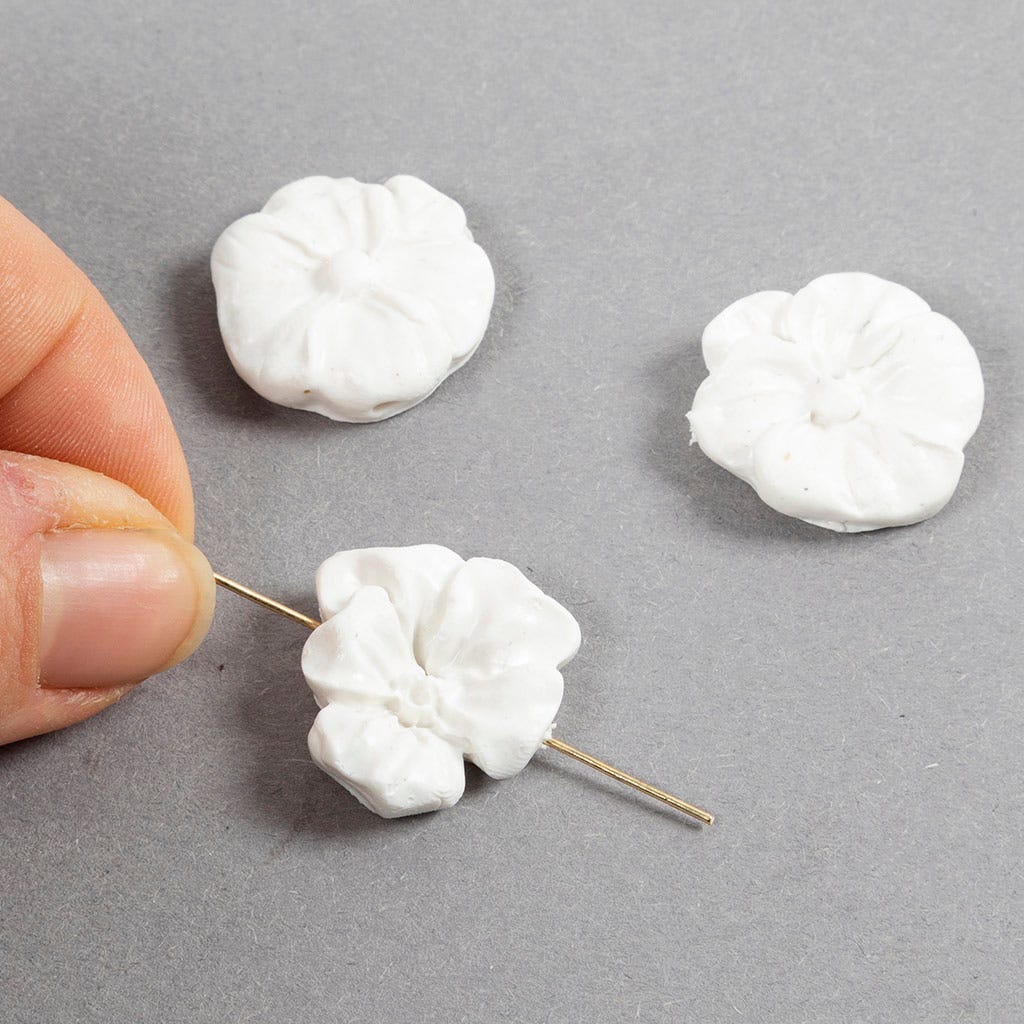
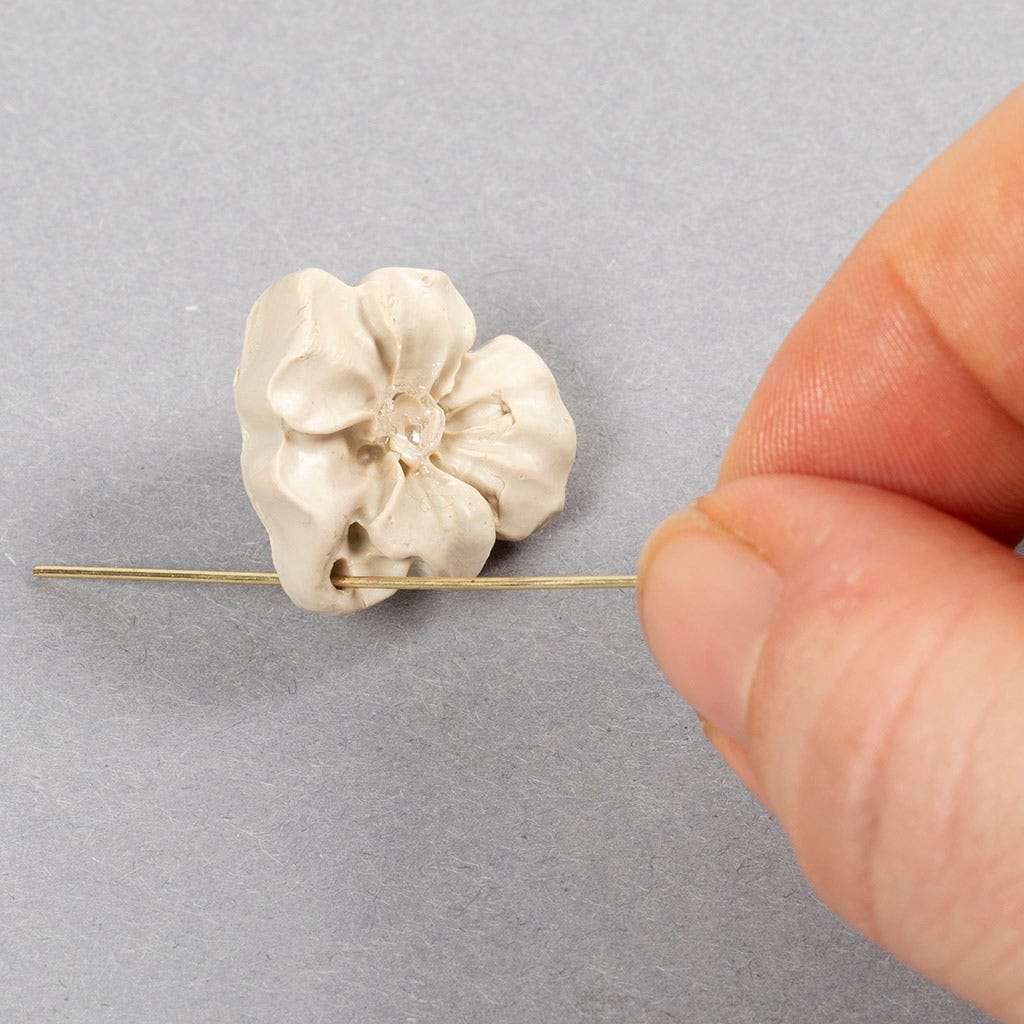
8 Use a head pin and make a hole through the bead. Make sure the hole is around 1.5 mm, so that the pin can fit through it after baking (if necessary, bake the flower with the head pin in it).
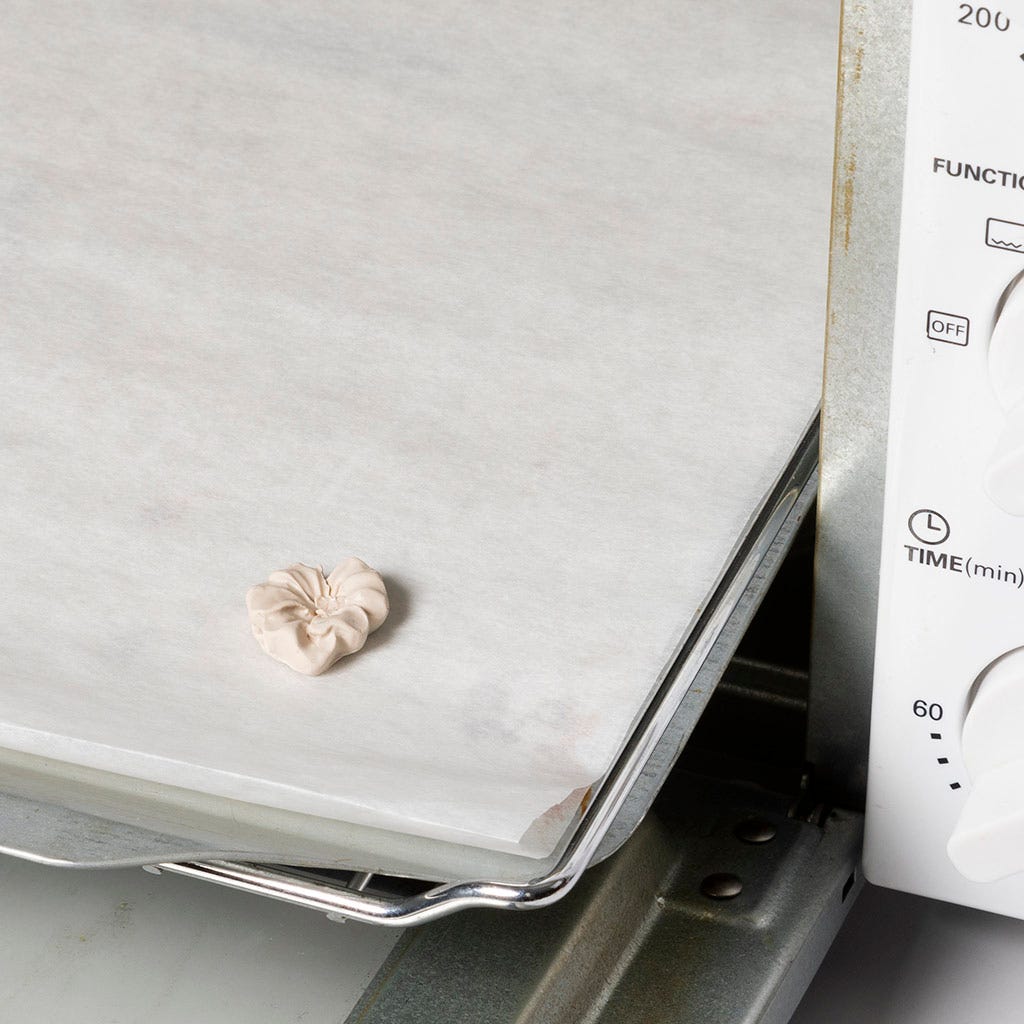
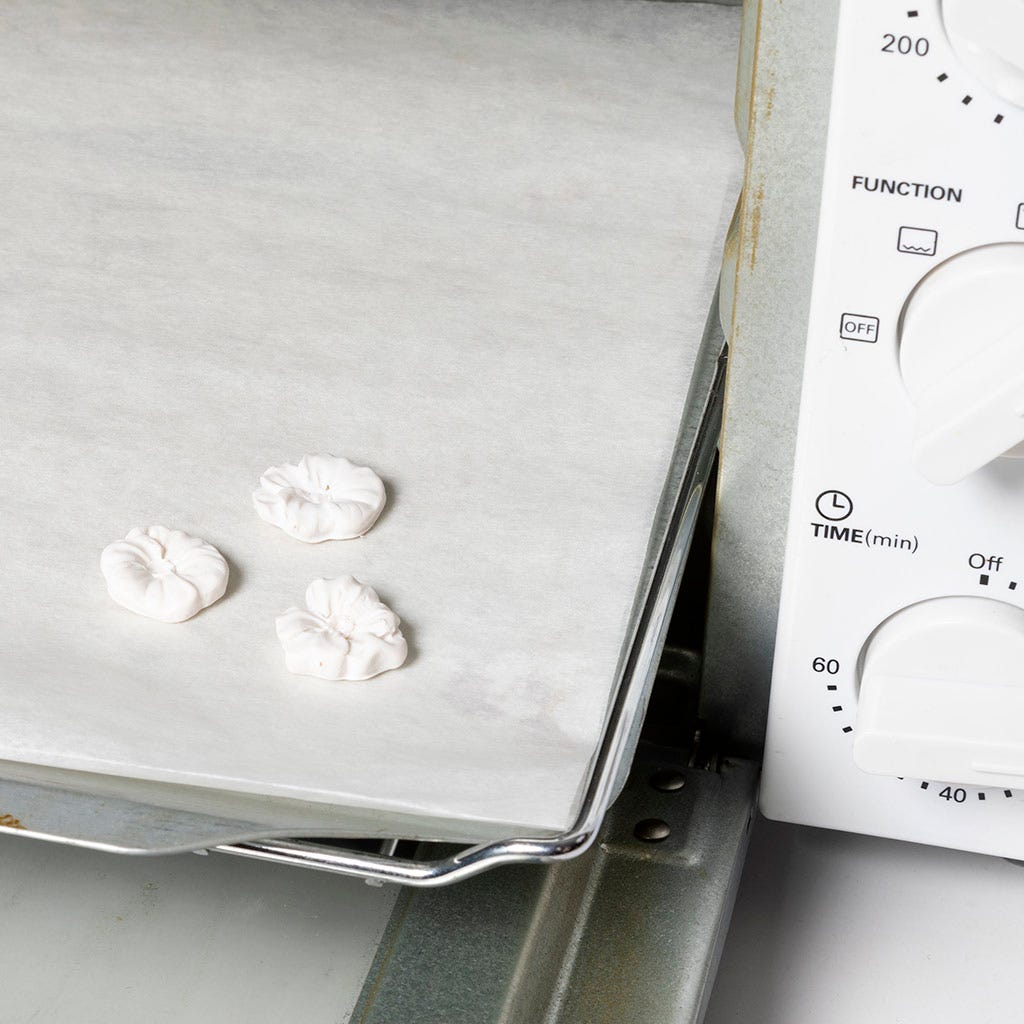
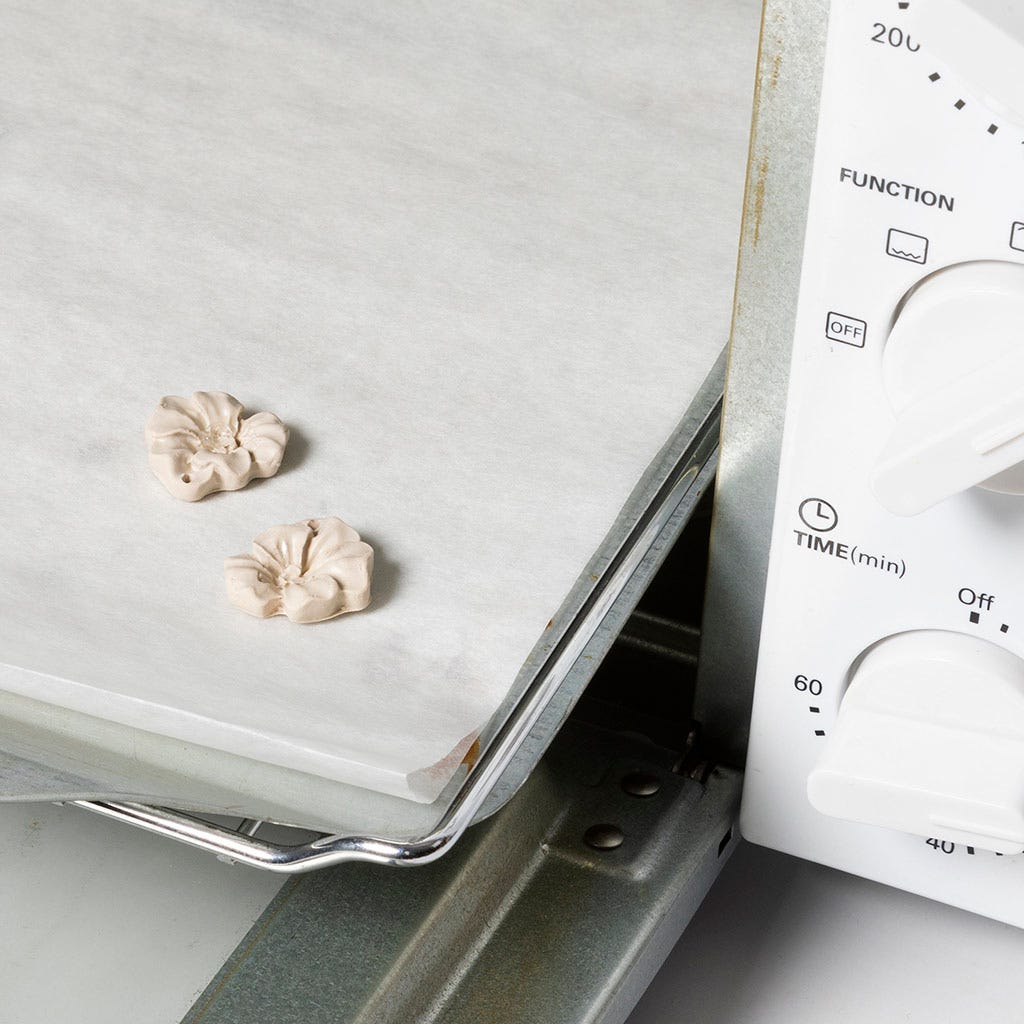
9 Bake the jewellery clay in a preheated oven at 120 degrees for 18 minutes.
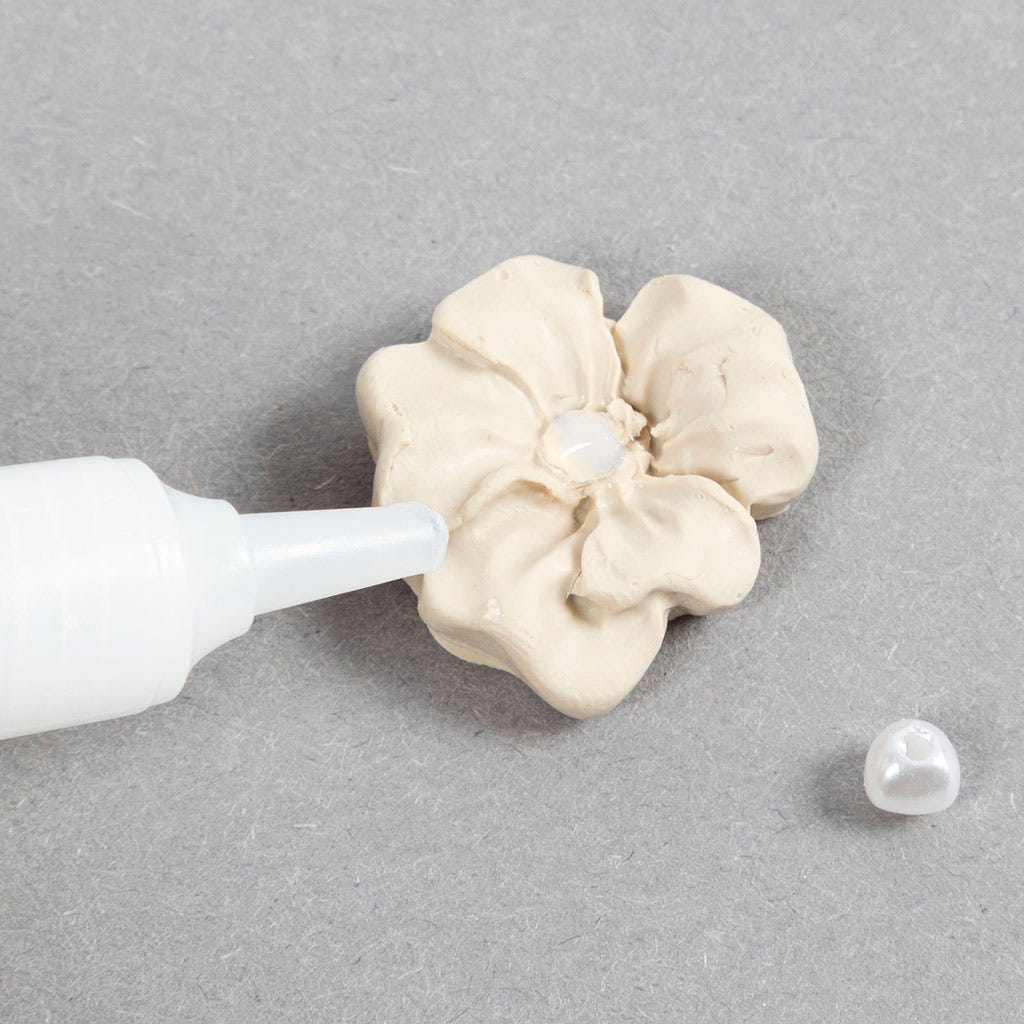
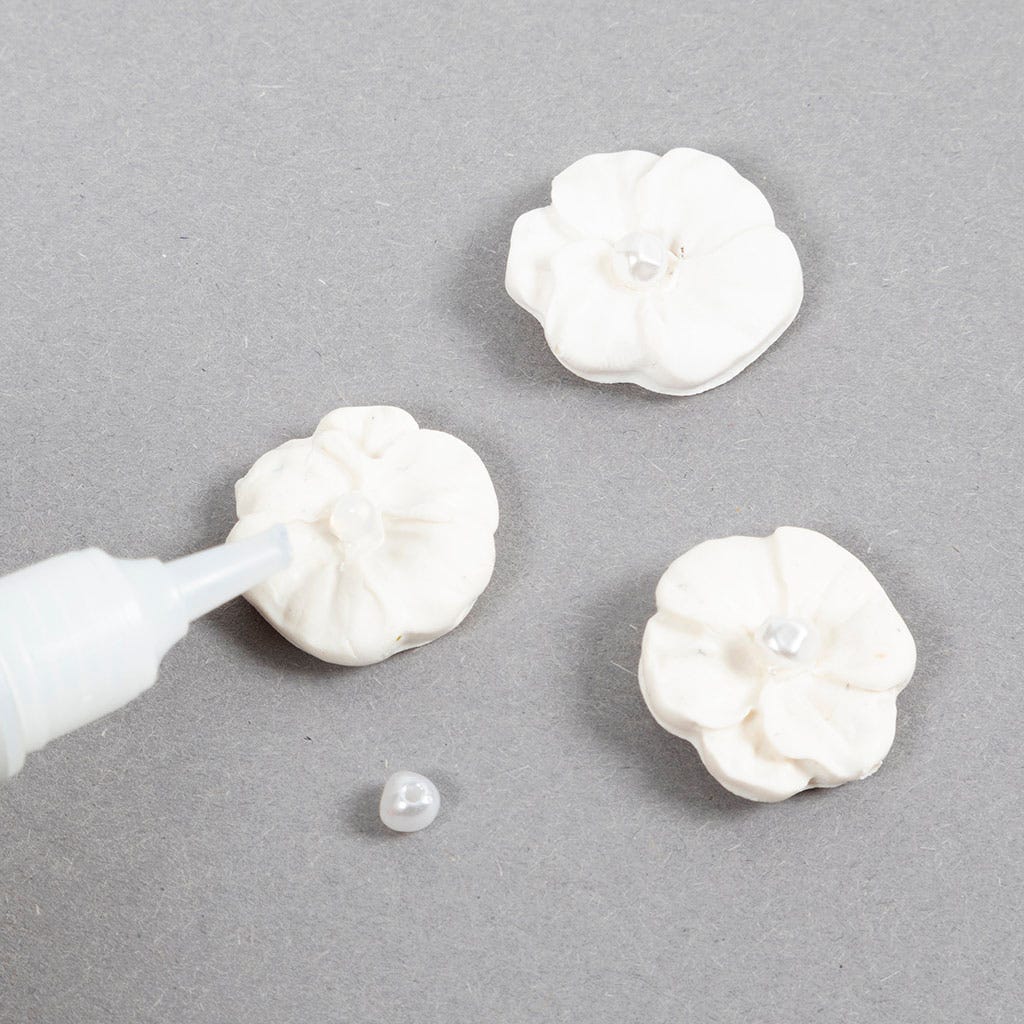
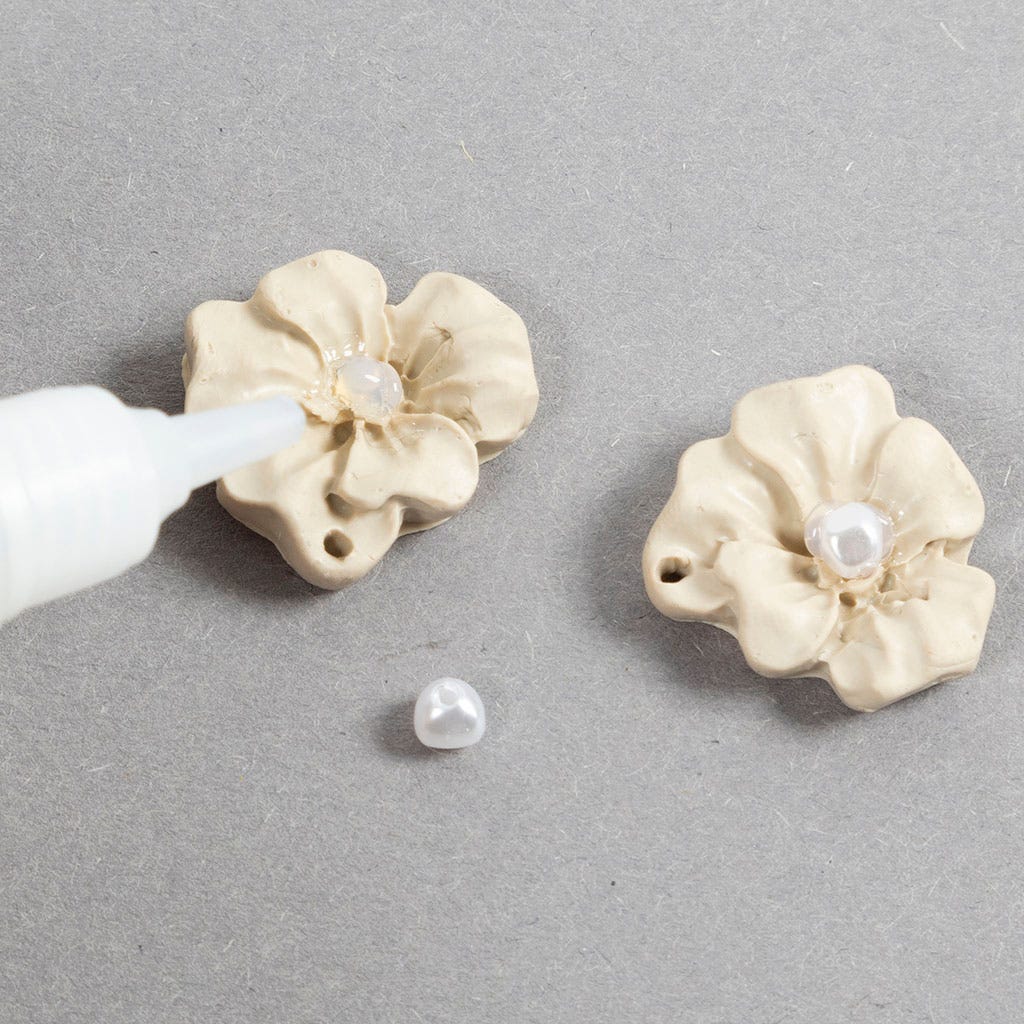
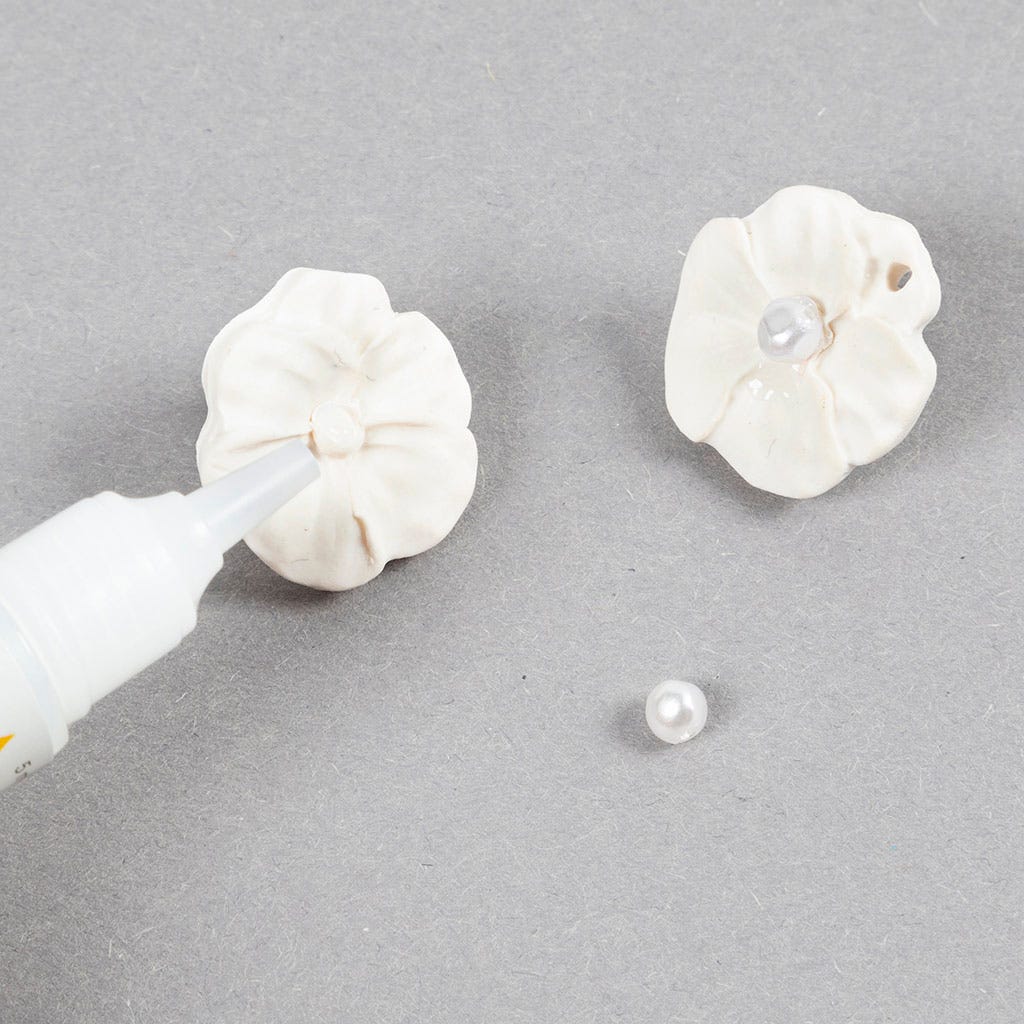
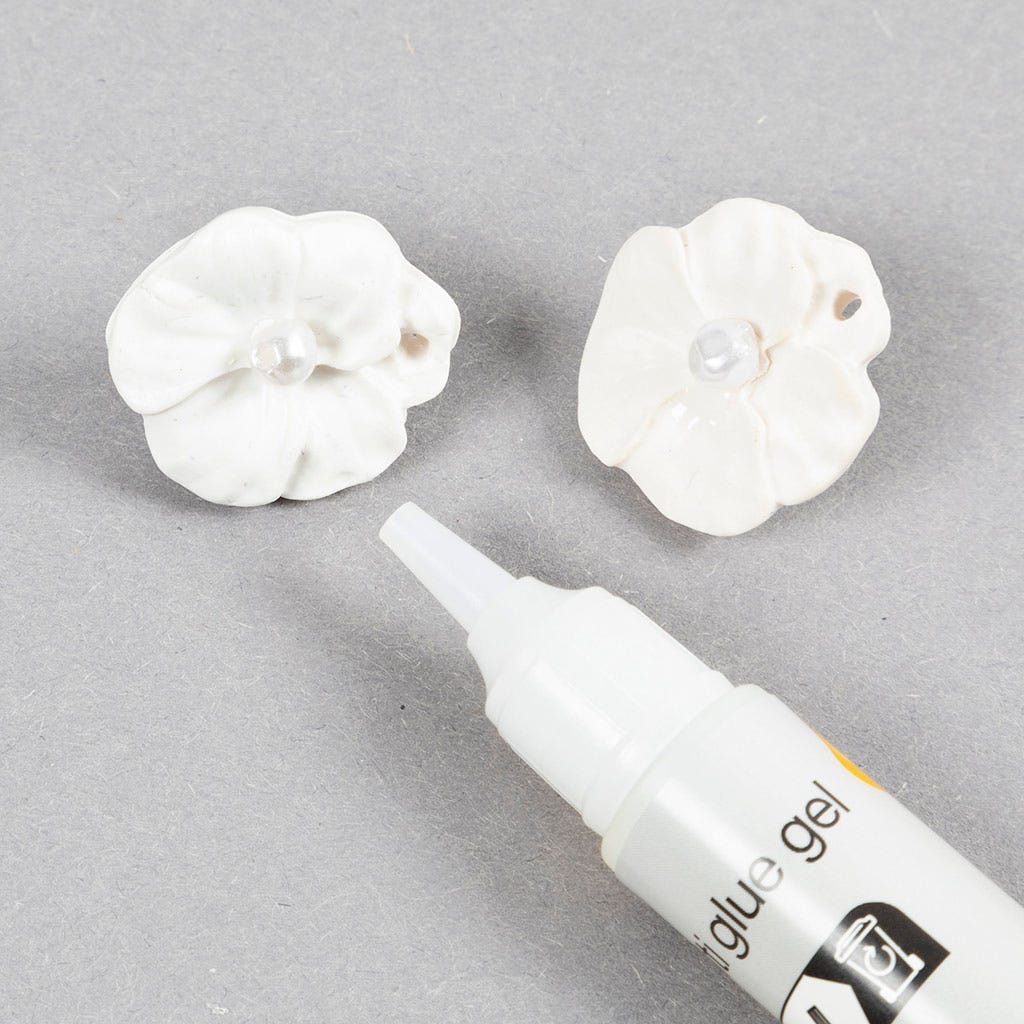
10 Once the jewellery clay is baked and has cooled, glue on the small bead.

11 Allow the glue to dry.

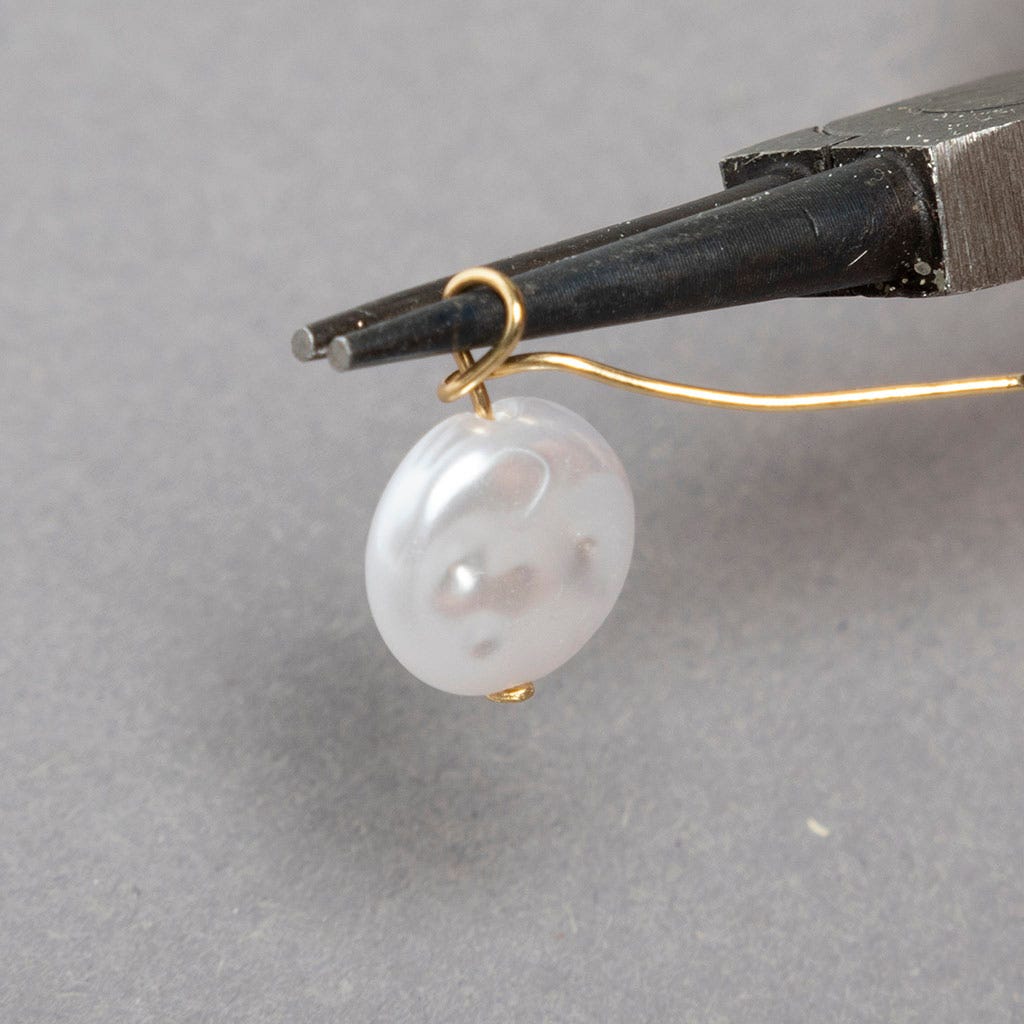
12 Insert the head pin used to make the hole through the flower.
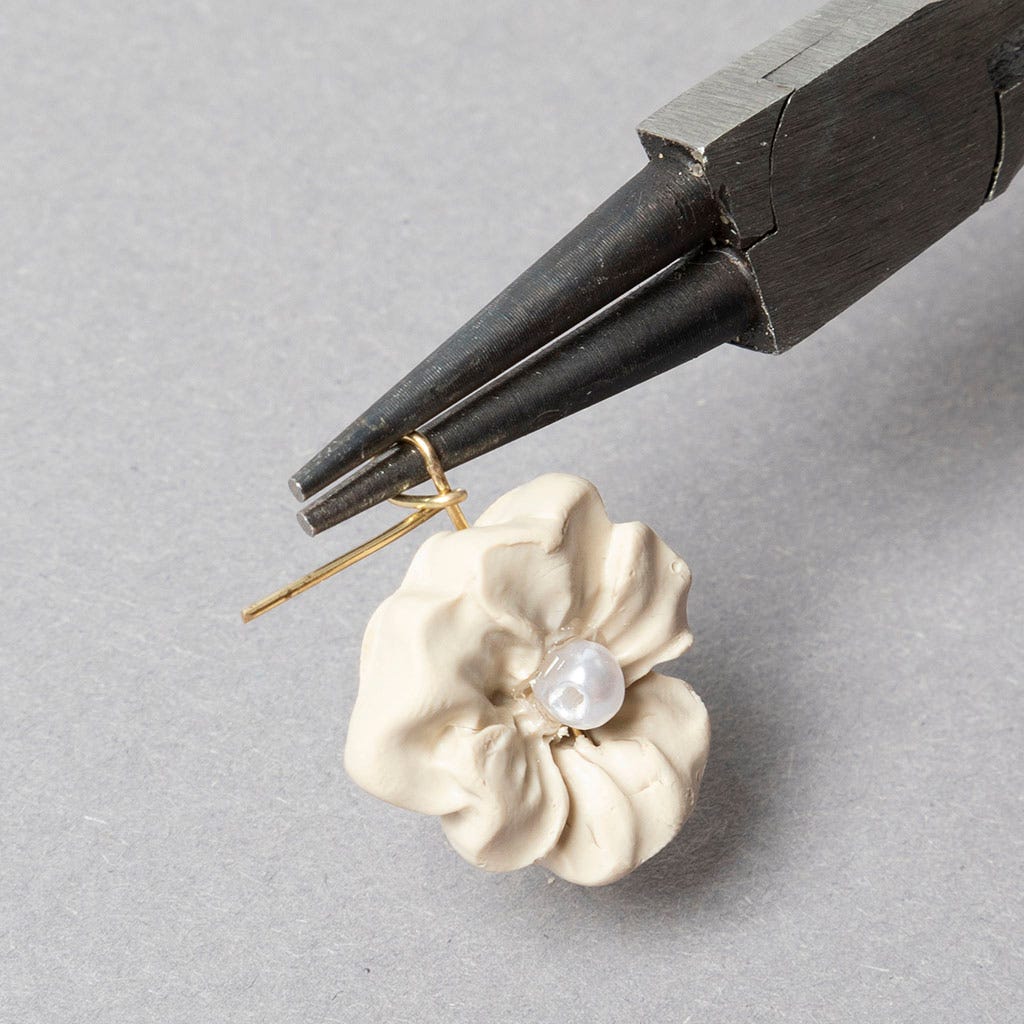
13 Using round nose pliers, twist the end of the head pin as shown in the picture.
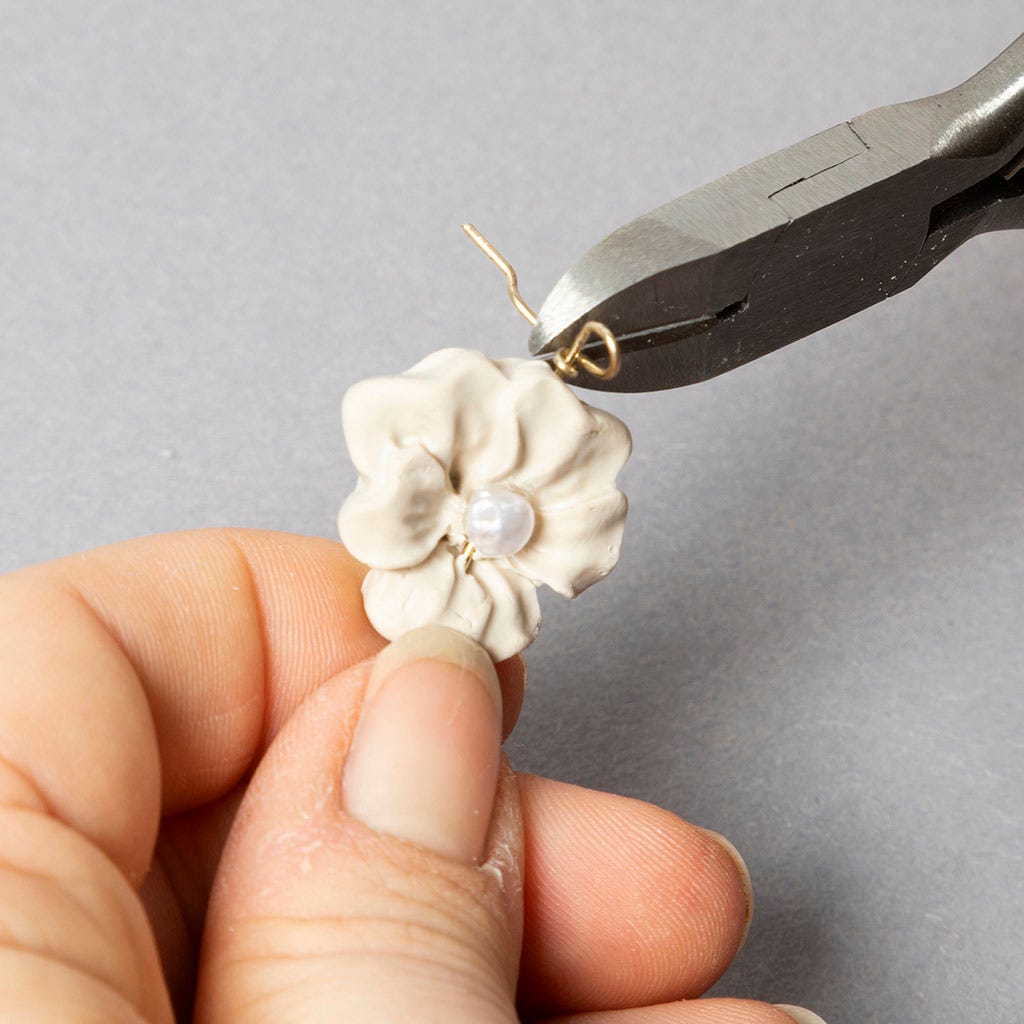
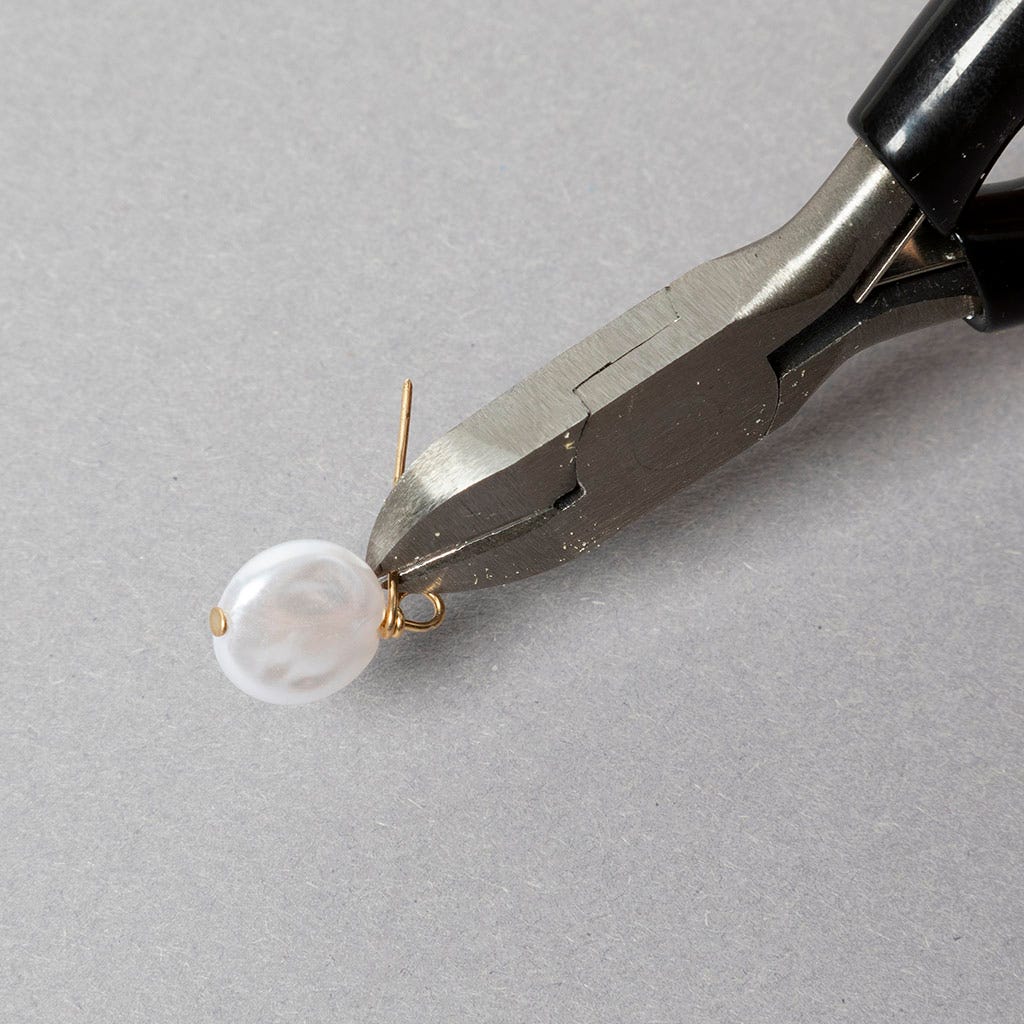
14 Use wire cutters to cut off the excess head pin.
15 Cut a piece of elastic cord to fit your neck and large enough to pull over your head. Thread rocaille seed beads, wax beads and the flower on the cord. Make sure to place the flower roughly in the middle of the necklace.
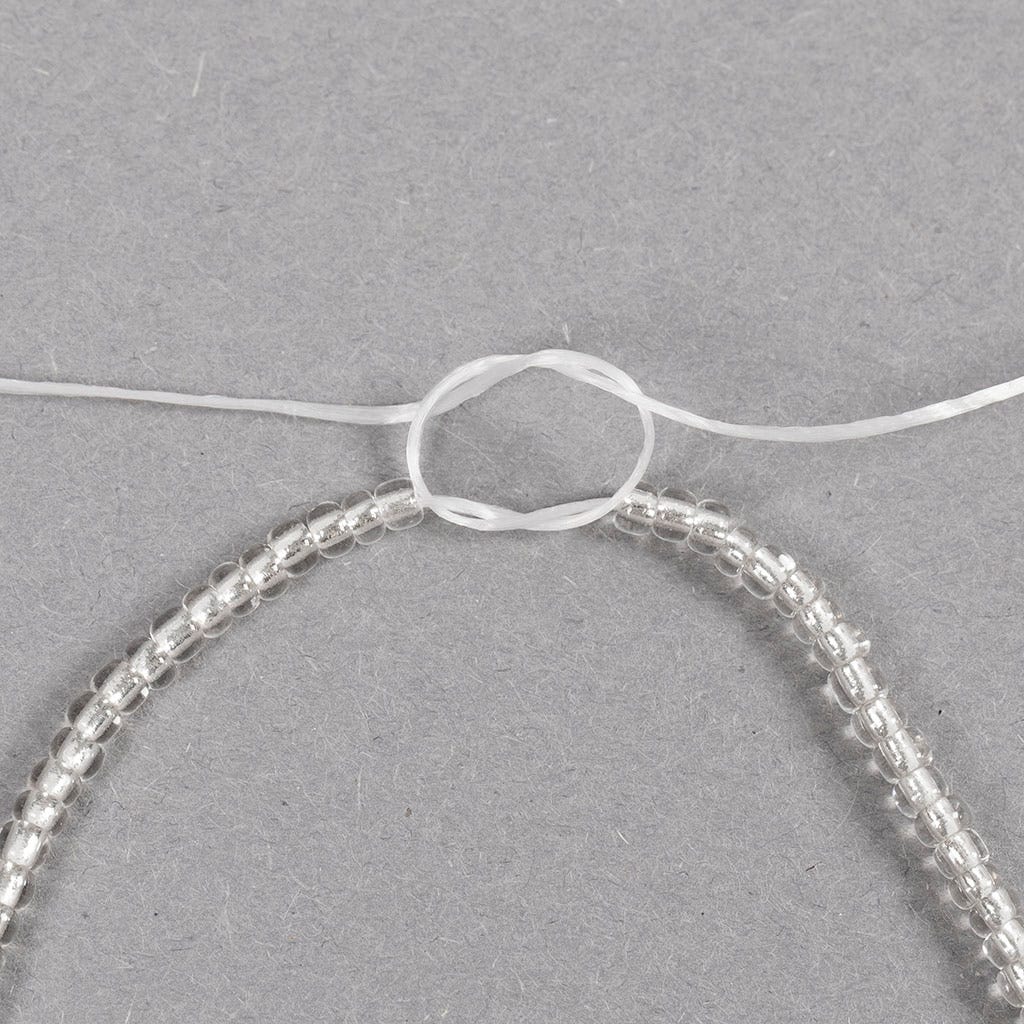
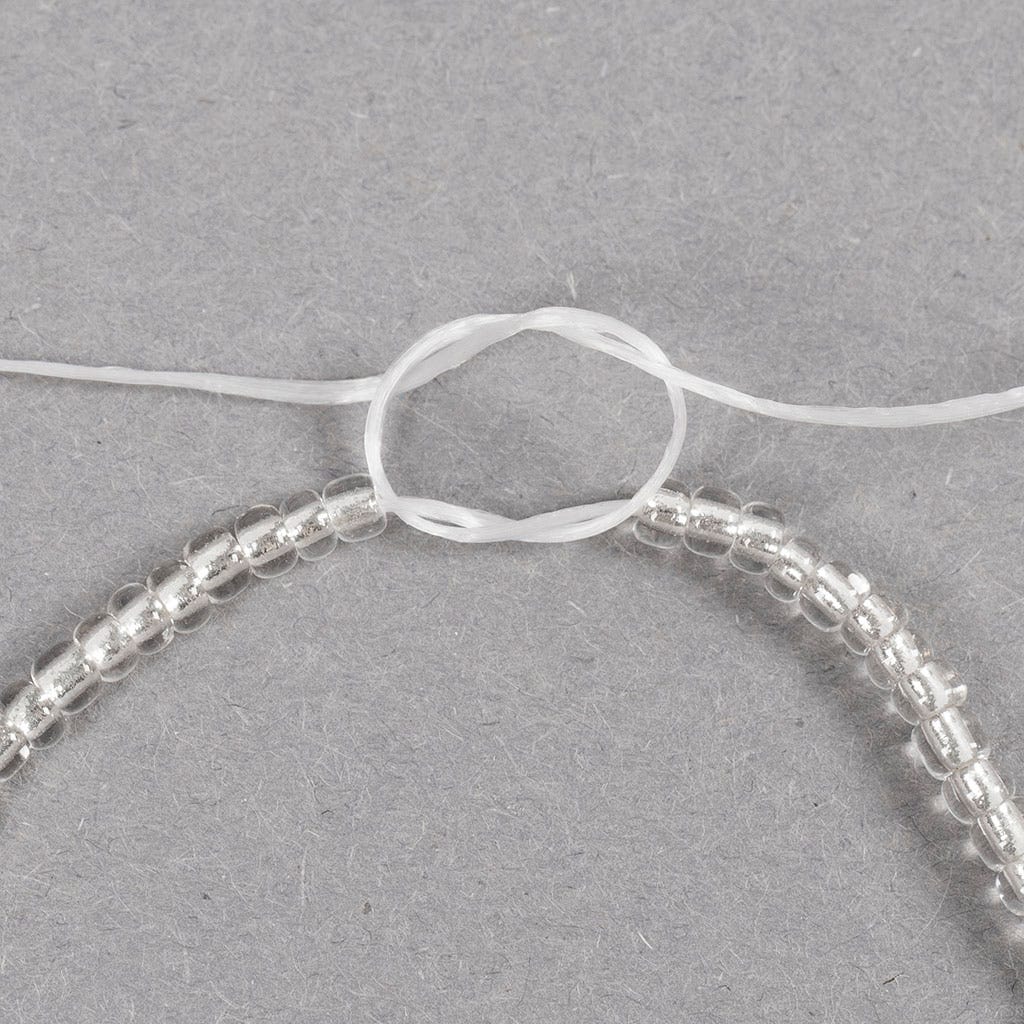
16 Tie a double knot.

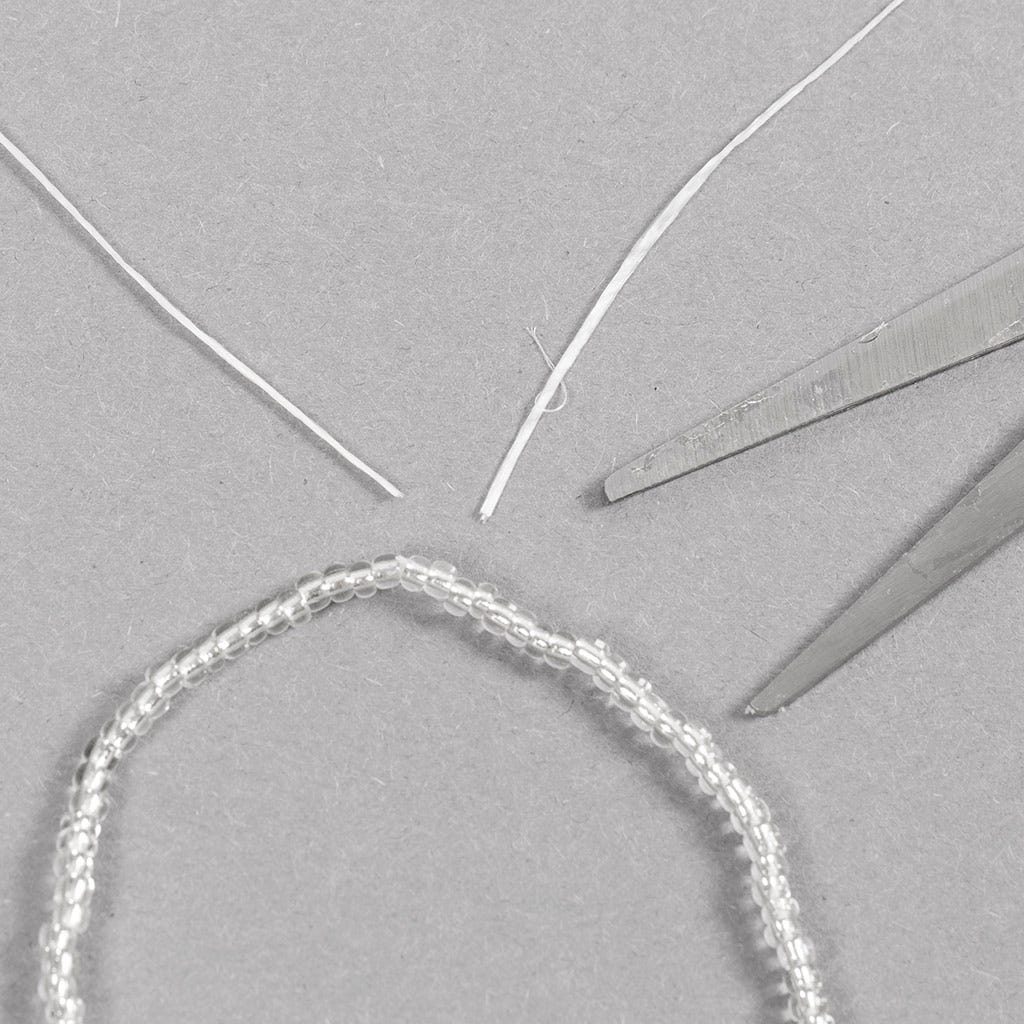
17 Once you are sure that the knot is tight enough, cut off the excess elastic cord.
18 Knead a piece of white jewellery clay for 4 minutes.
19 Press the clay for the three flowers for your bracelet into the mould.
20 Take a small bead and press it into the centre of each flower. This creates an indentation for the beads to be glued on after the jewellery clay is baked.
21 Now use the head pin to make a hole through each flower. Make sure that the hole is around 1.5 mm all around, so that the beading needle can fit through it after baking.
22 Bake the jewellery clay in a preheated oven at 120 degrees for 18 minutes.
23 Glue a small bead onto the centre of each flower and allow to dry.
24 Cut a piece of elastic cord to fit your wrist and thread rocaille seed beads and flowers onto it.
25 Tie a double knot.
26 Cut off the excess elastic cord.
27 Create a beige colour as follows:
Roll a white ball of around 1 cm in diameter.
Roll a brown ball of around 0.5 mm in diameter.
Knead the two balls together until beige.
28 Knead the jewellery clay for 4 minutes.
29 Use an appropriate amount of jewellery clay for the flower you want to make.
30 Press the jewellery clay firmly into the mould.
31 Carefully remove the flower.
32 Now take a small bead and press it down into the centre of the flower to make an indentation for the bead to be glued on after baking.
33 Make a hole in the outer edge of the flower with the head pin. Make sure that the hole is around 1.5 mm, so that the hoop can fit through it after the flower is baked. Repeat this step for the second flower.
34 Bake the jewellery clay in a preheated oven at 120 degrees for 18 minutes.
35 Once the jewellery clay is baked and has cooled, glue a small bead into the centre of each flower.
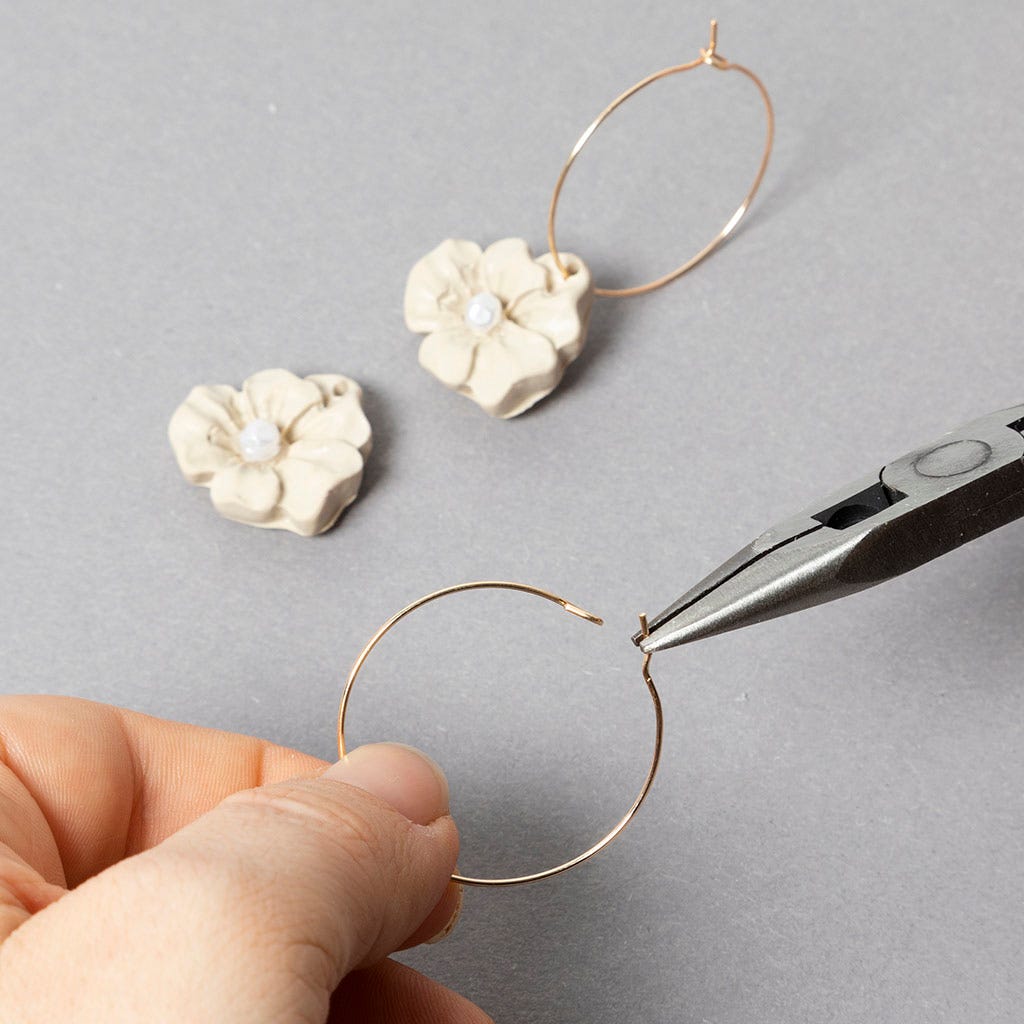
36 Open the hoop as shown in the picture.

37 Thread the beads onto the ribbon.
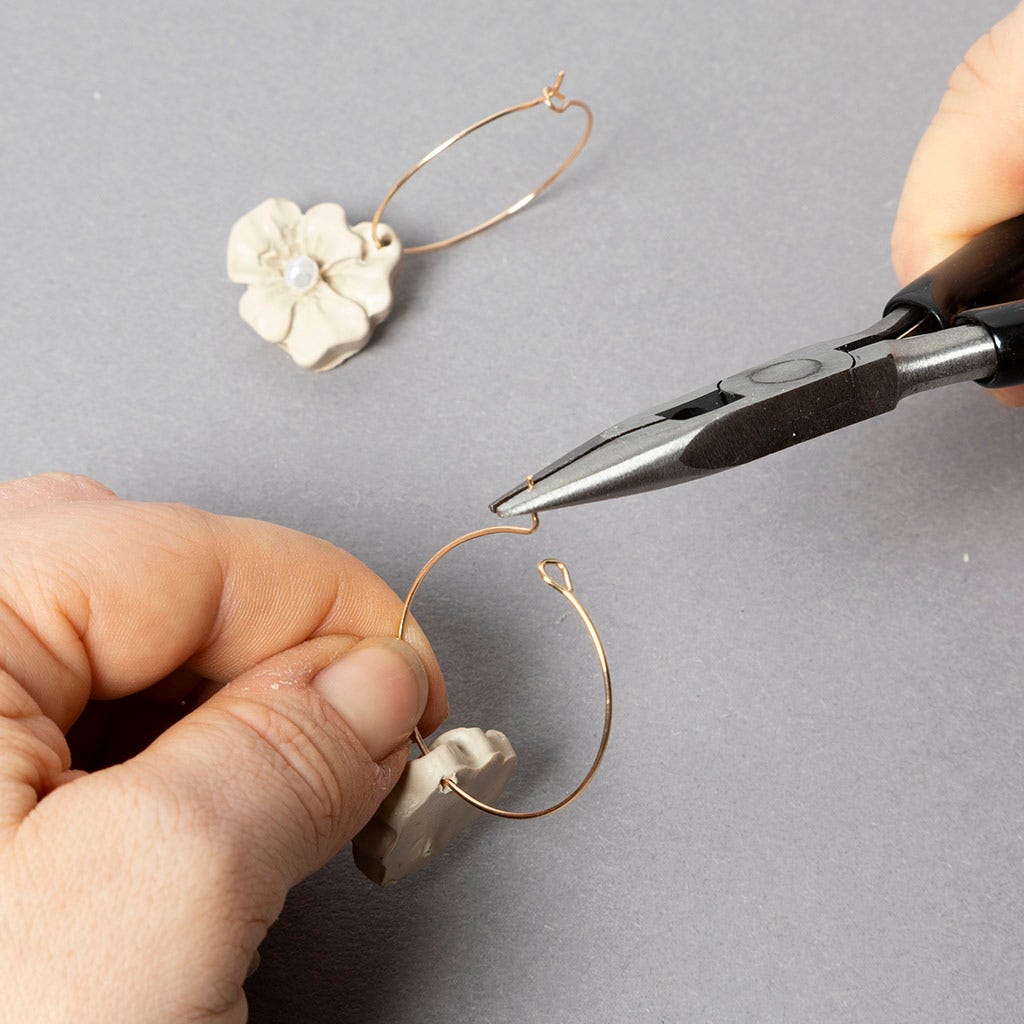
38 Close the hoop again.

39 Knead a piece of white jewellery clay for 4 minutes.
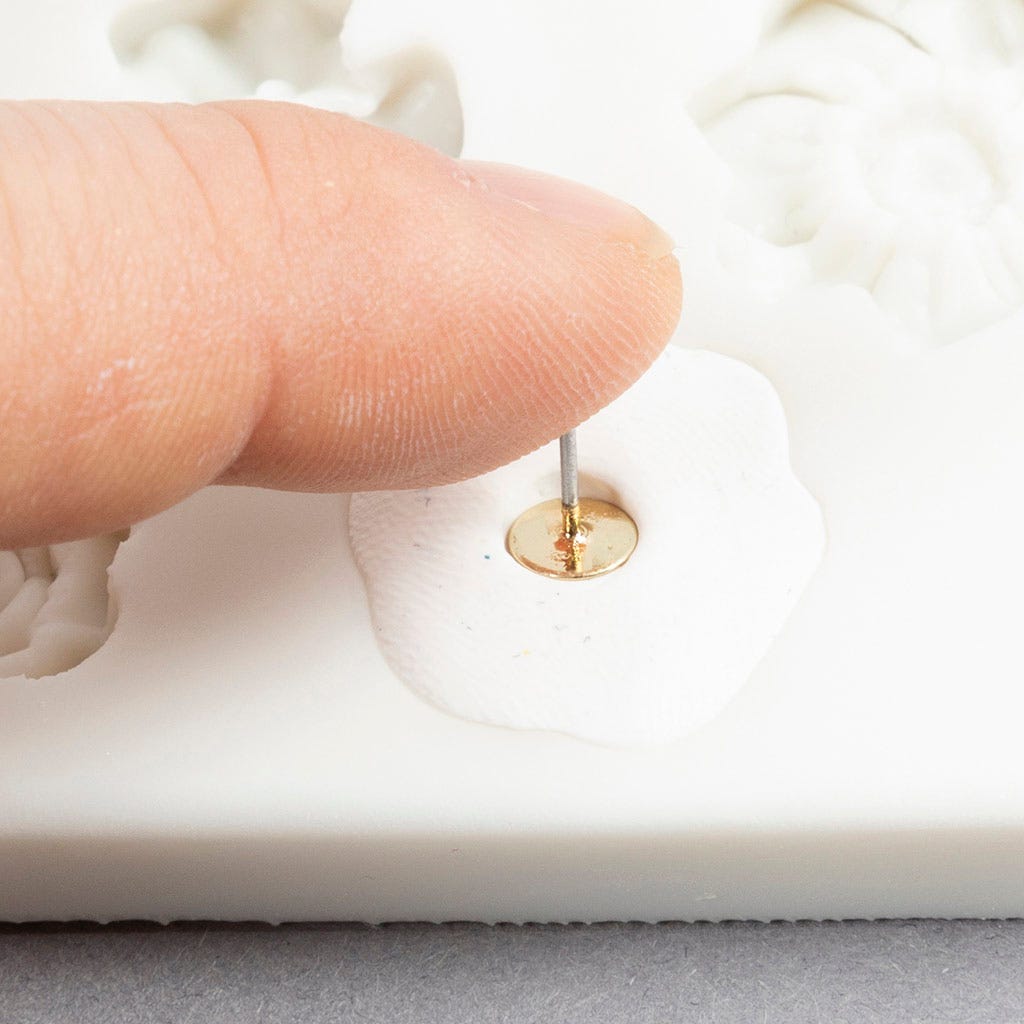
40 Press the clay firmly into the mould. Now press a stud earring down into the centre of the flower.
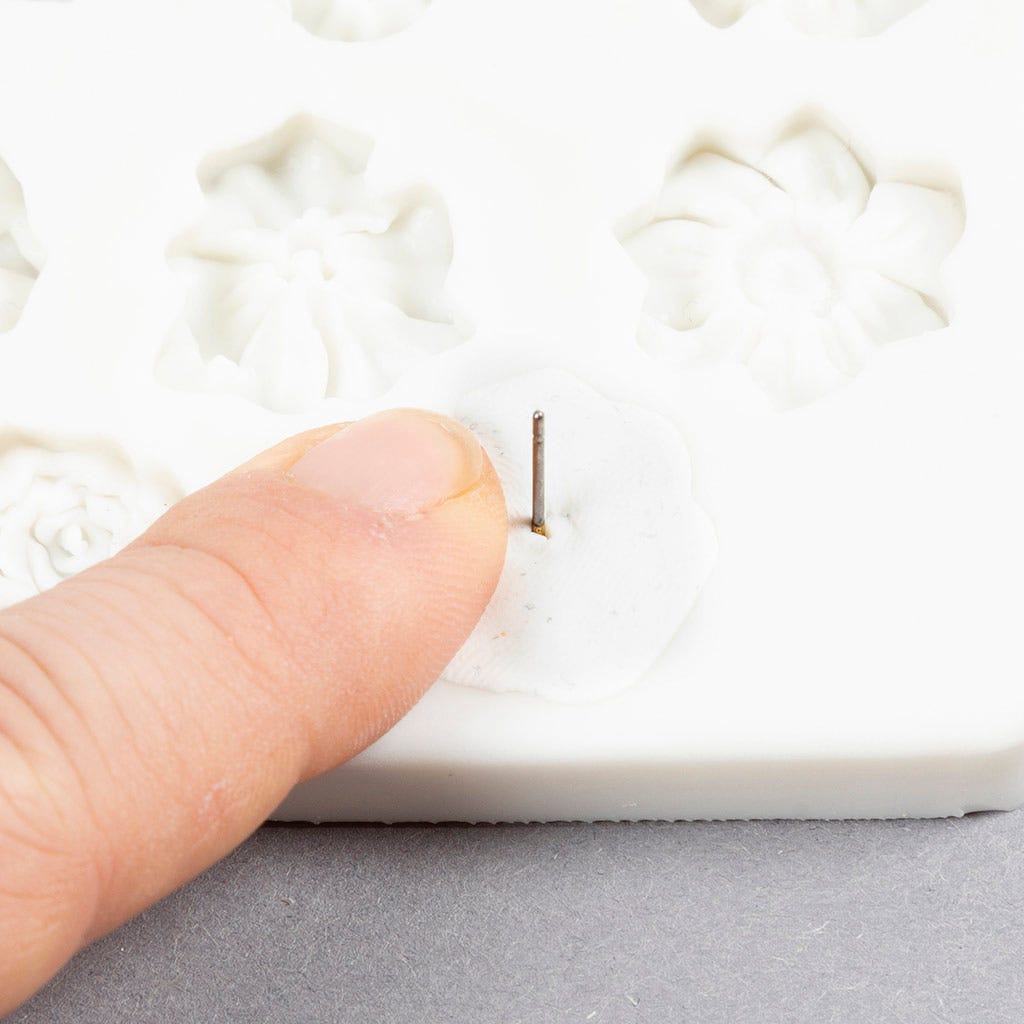
41 Cover the base of the stud earring with the clay. Carefully remove the flower and repeat the process with the other stud earring.
42 After baking, take a small bead and gently press down into the centre of each flower to make an indentation for gluing on the bead after baking.
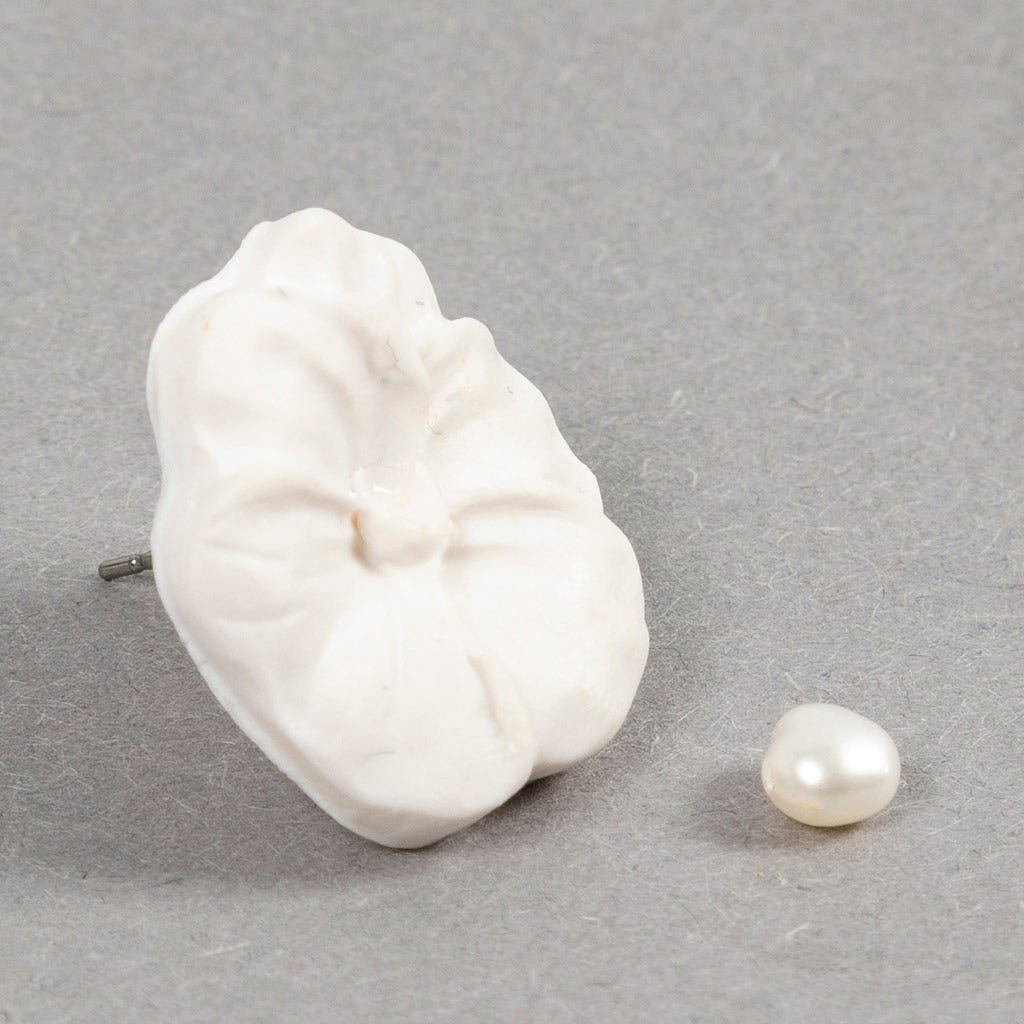
43 The flower should look like this.
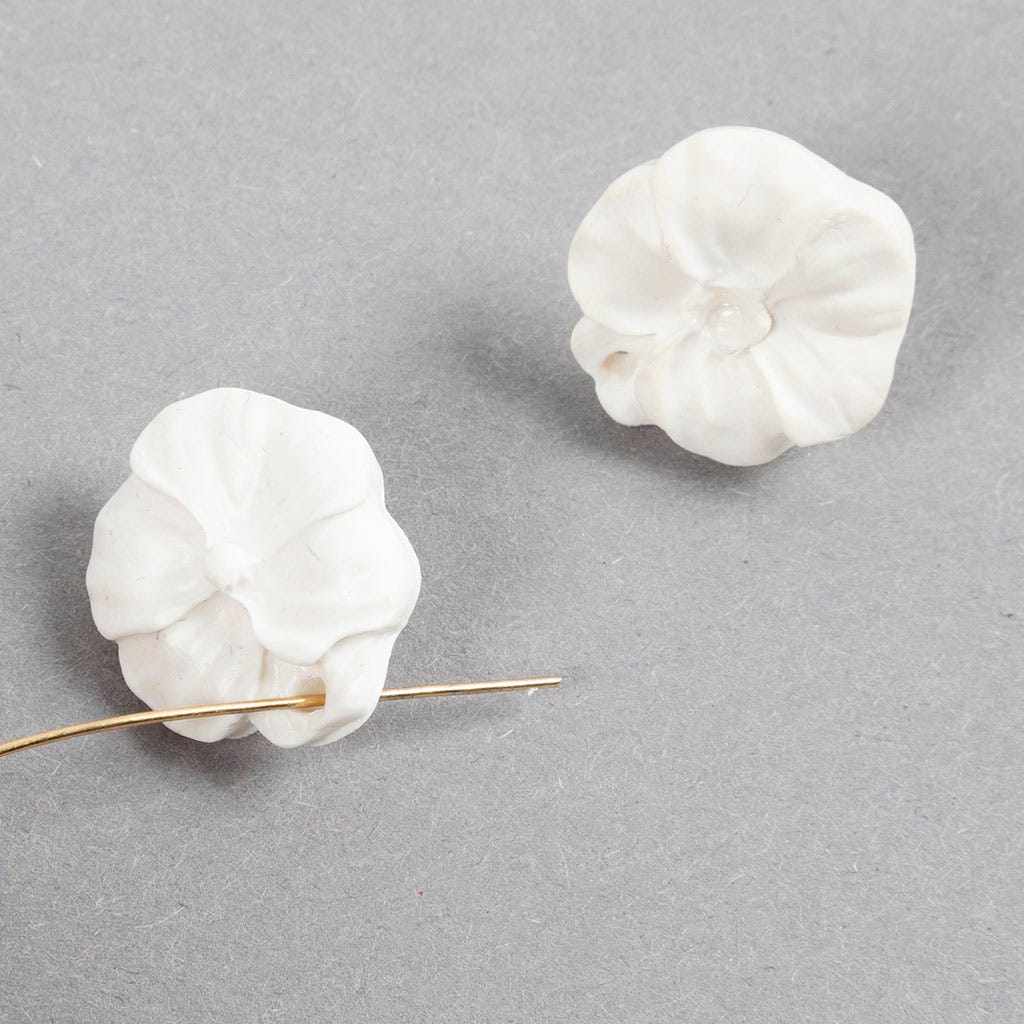
44 Use a head pin to pierce a hole in the bottom edge of the flower.
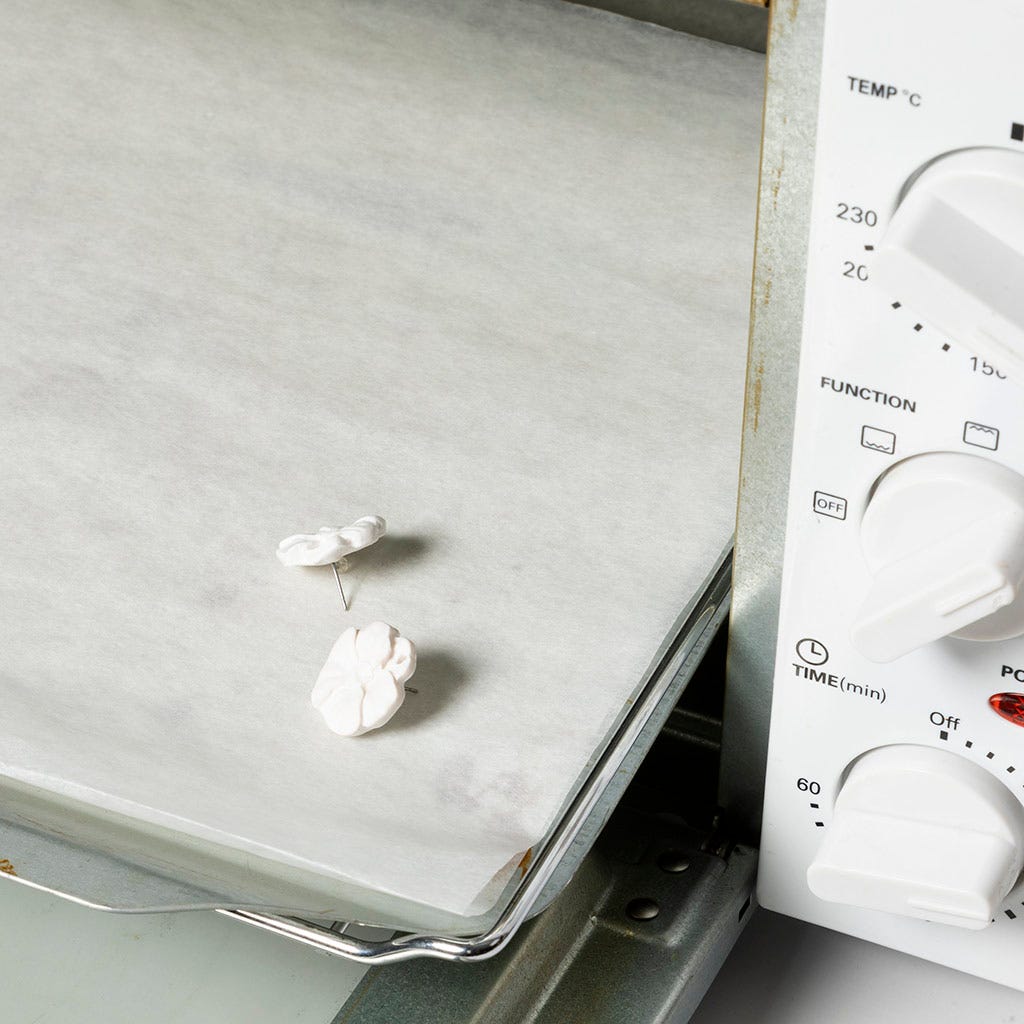
45 Bake the jewellery clay in a preheated oven at 120 degrees for 18 minutes.
46 Once the jewellery clay is baked and has cooled, glue a small bead into the centre of each flower.
47 Allow the glue to dry.

48 Thread one of the round flat beads onto the head pin.
49 Use round nose pliers to make a loop on the end of the head pin.
50 Use wire cutters to cut off the excess head pin. Finish by closing the oval ring.
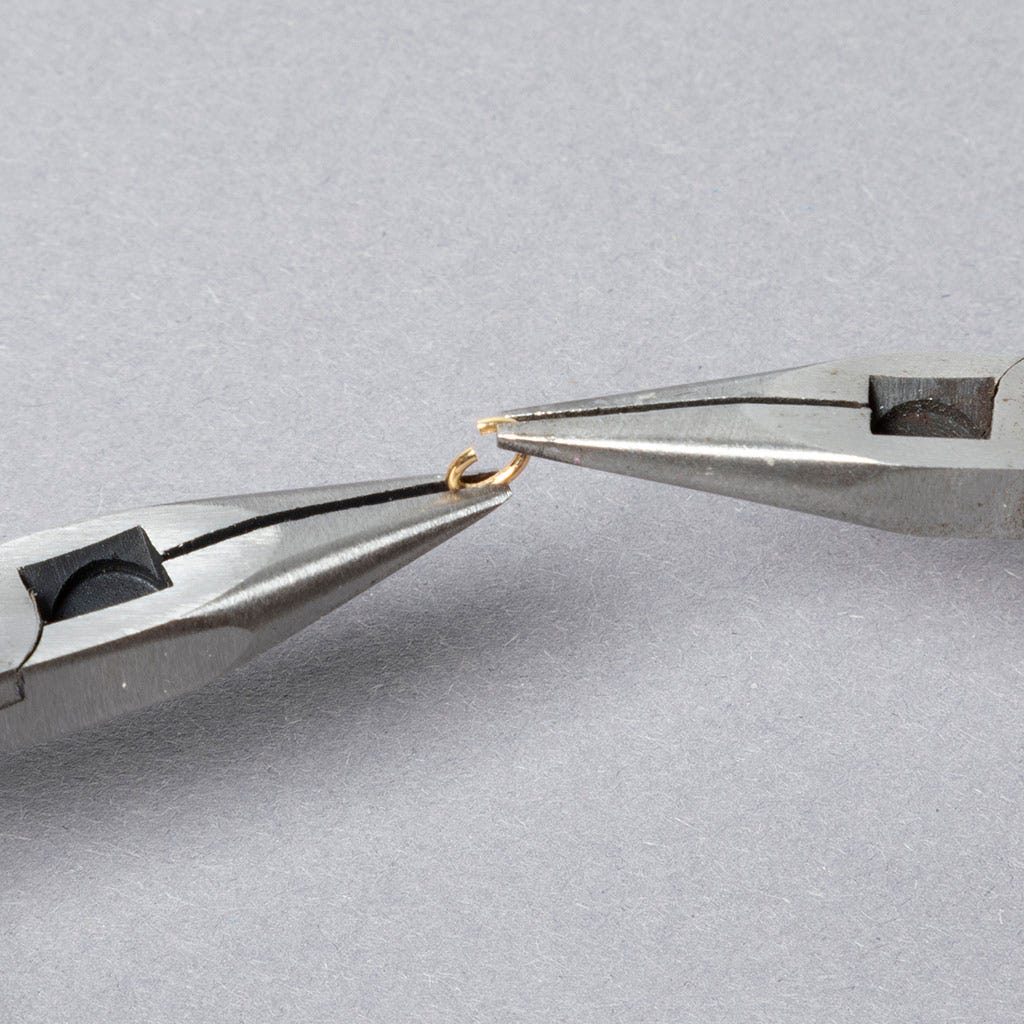
51 Twist open an oval jump ring as shown in the picture.
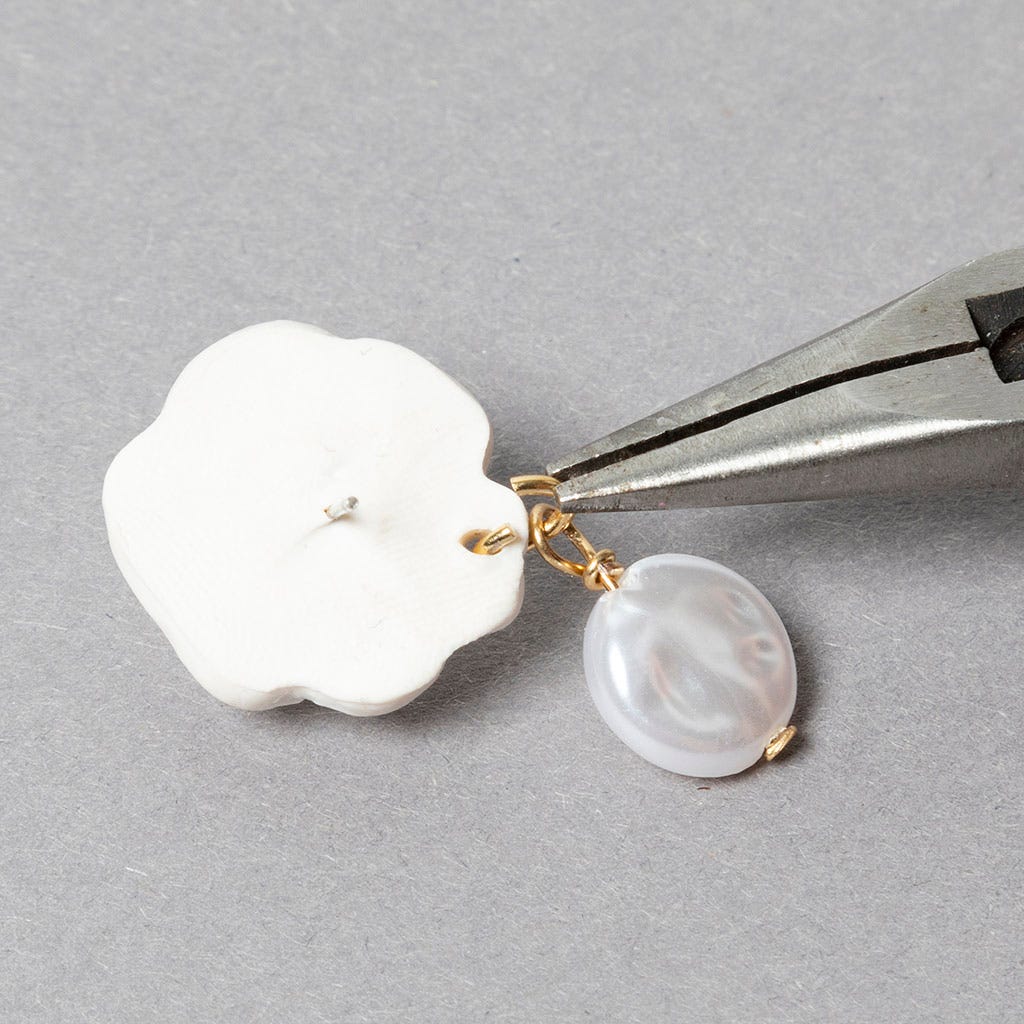
52 Thread the oval jump ring through the hole in the flower and attach the bead.
Already signed up? Download the template
Also go exploring in
