

New
Creative idea
Candle holder and jar with shells
#v17088
Create this beautiful interior inspired by the waves and shells of the sea. Both the jar and candle holder are made of self-hardening clay, while the detailed shells are shaped with silicone moulds.
#v17088
How to do it
1 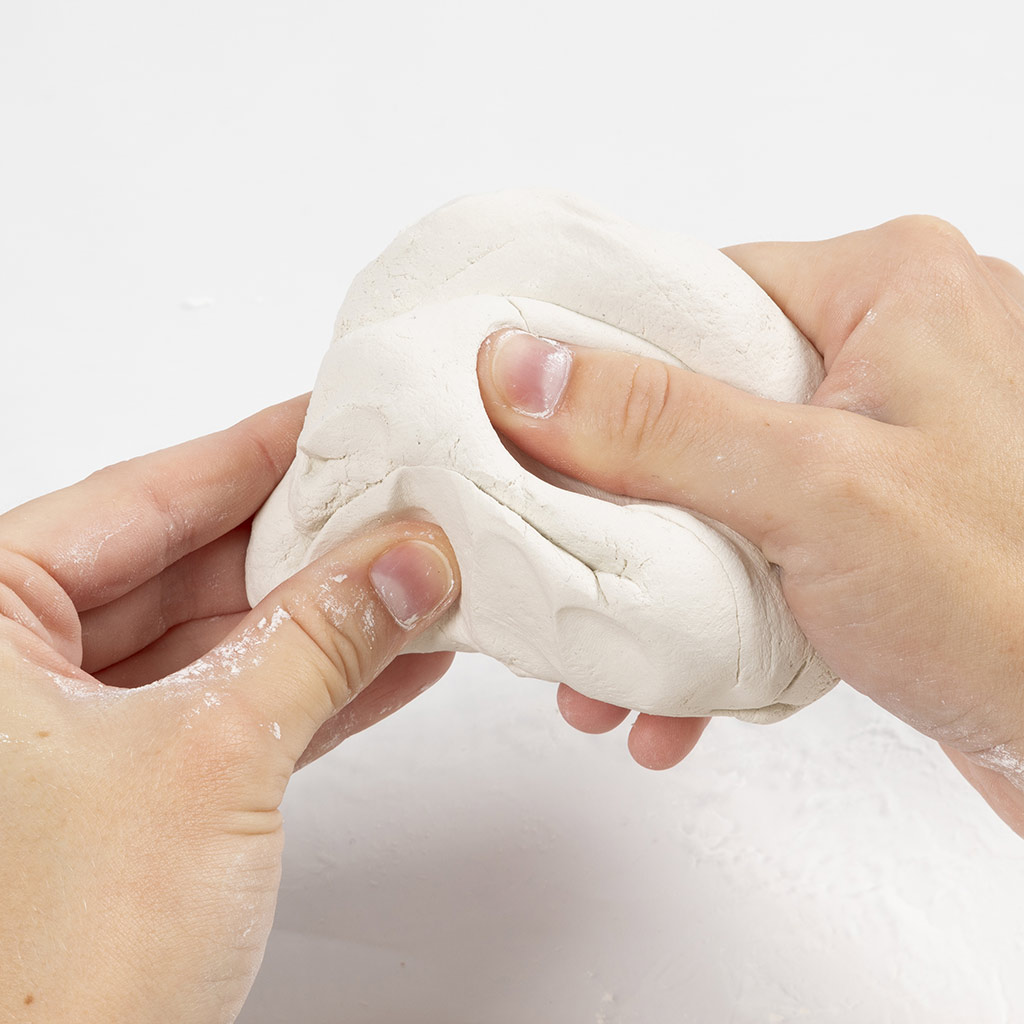 Knead the clay thoroughly.
Knead the clay thoroughly.2 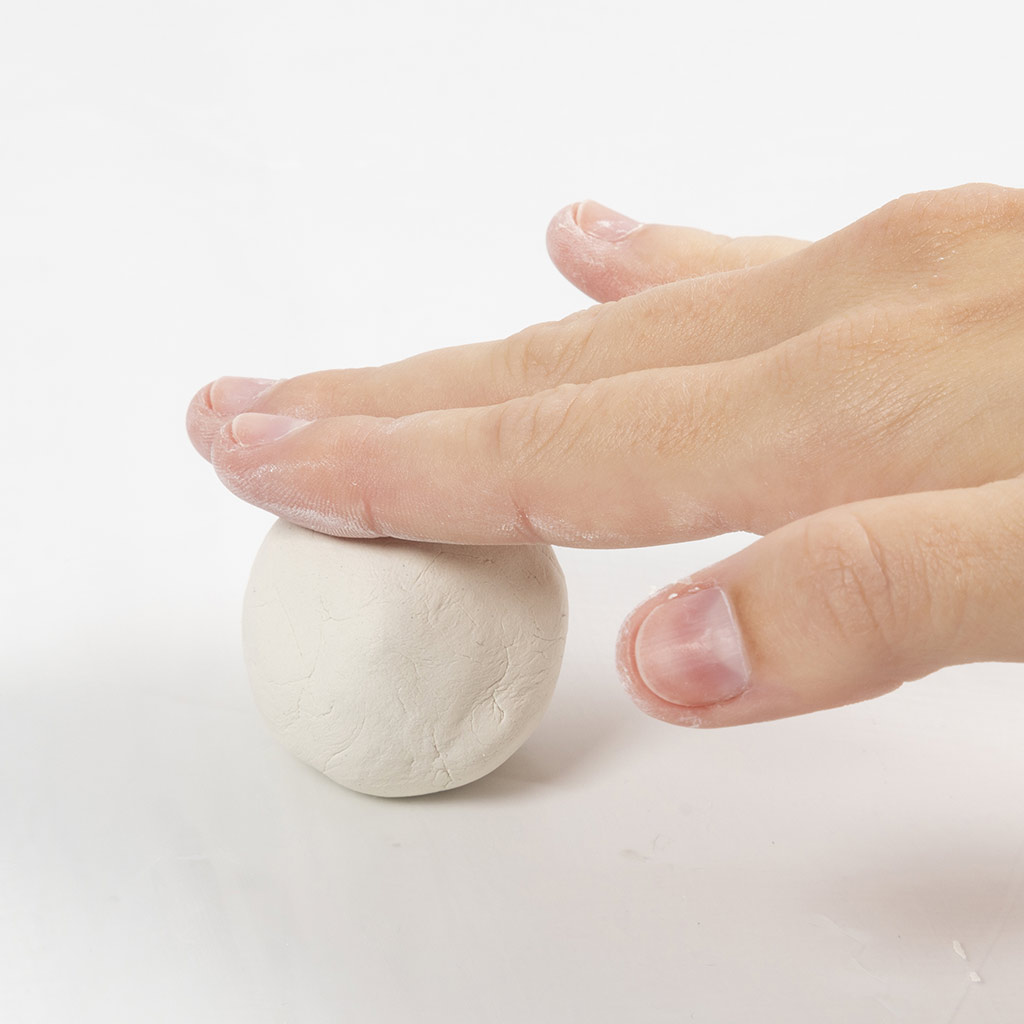 Roll out a ball with a diameter of around 3.5 cm.
Roll out a ball with a diameter of around 3.5 cm.3 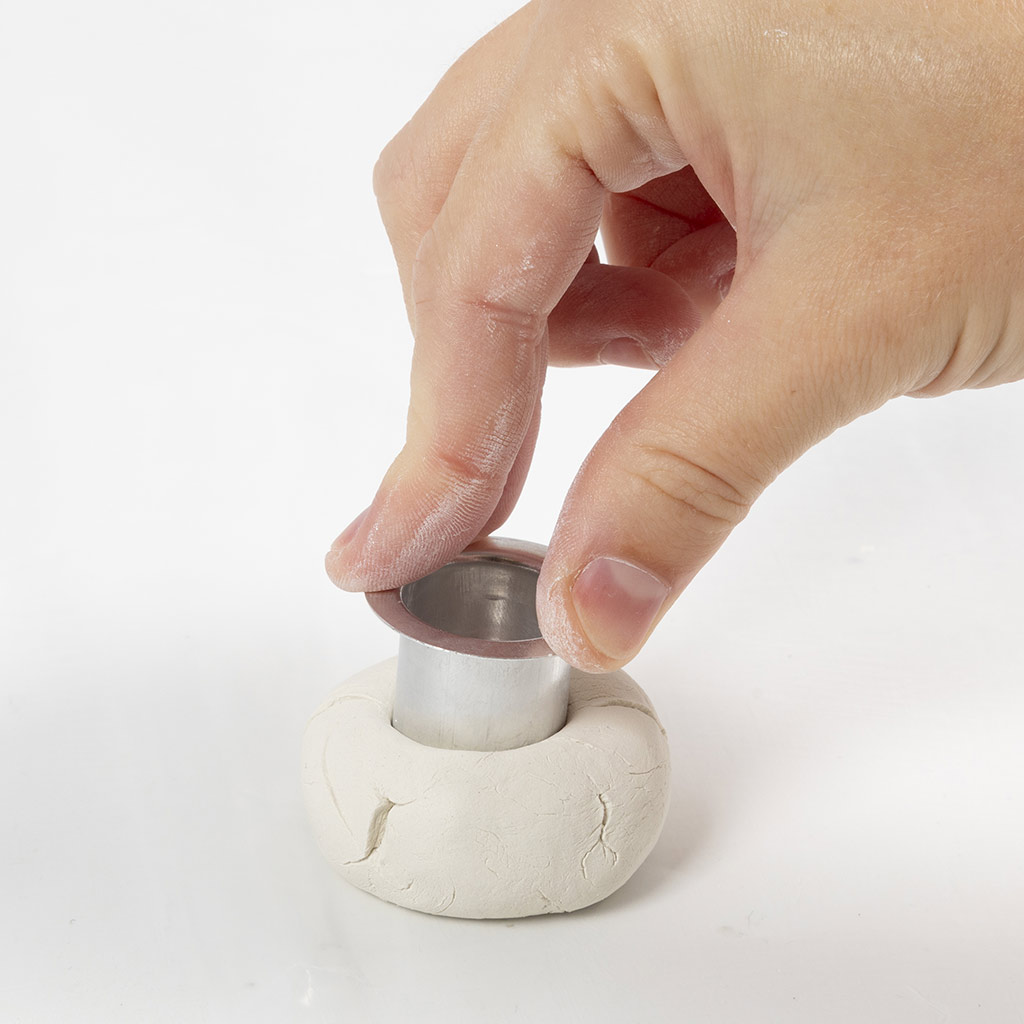 Press the candle ring into it.
Press the candle ring into it.4 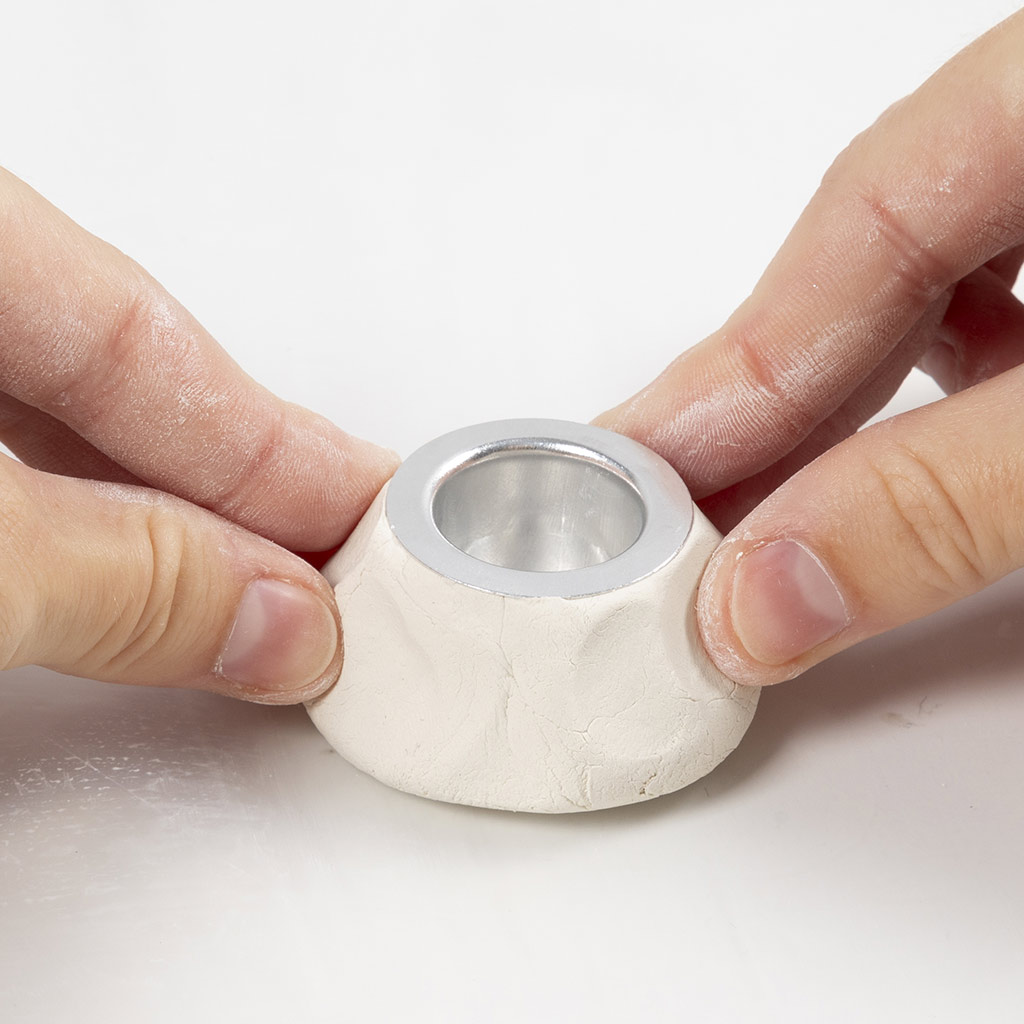 Press the clay against the candle ring so that it sticks to the edges.
Press the clay against the candle ring so that it sticks to the edges.5 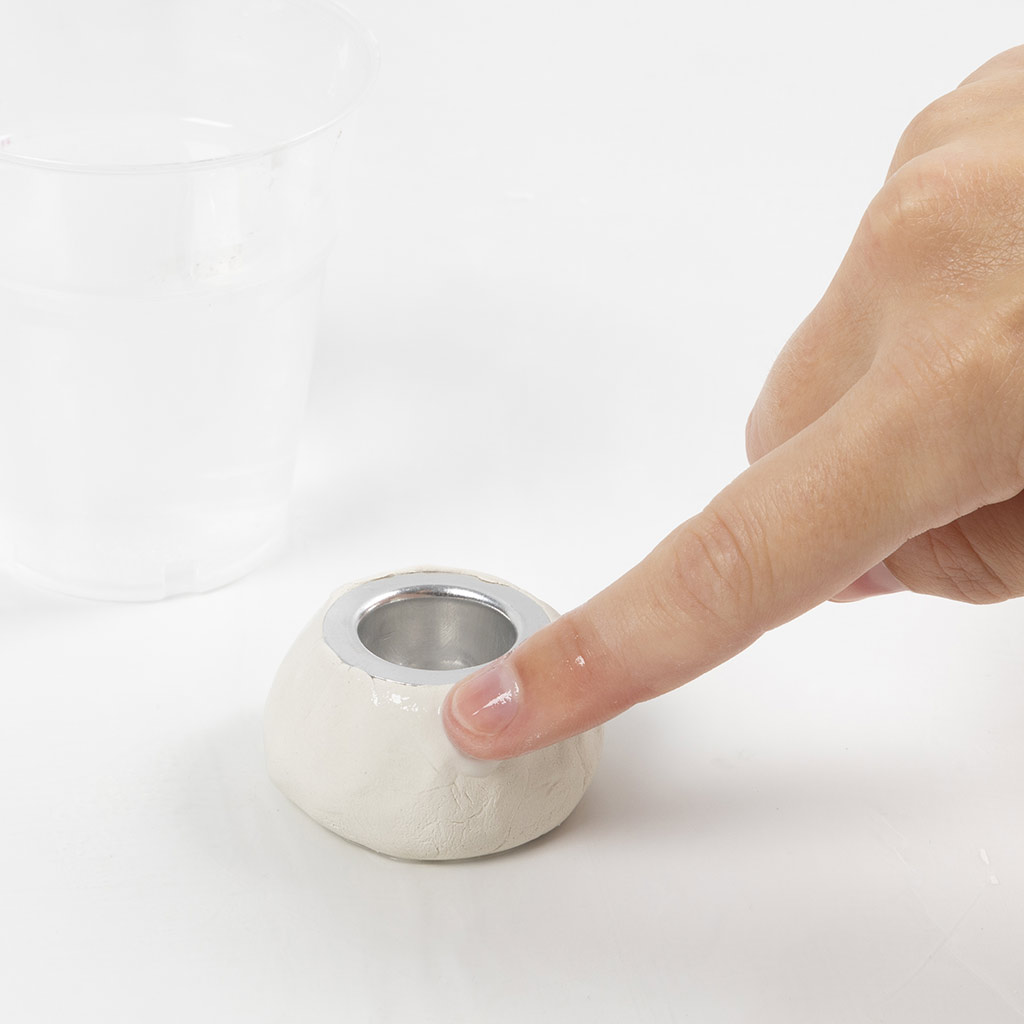 Smooth out any cracks or imperfections.
Smooth out any cracks or imperfections.6 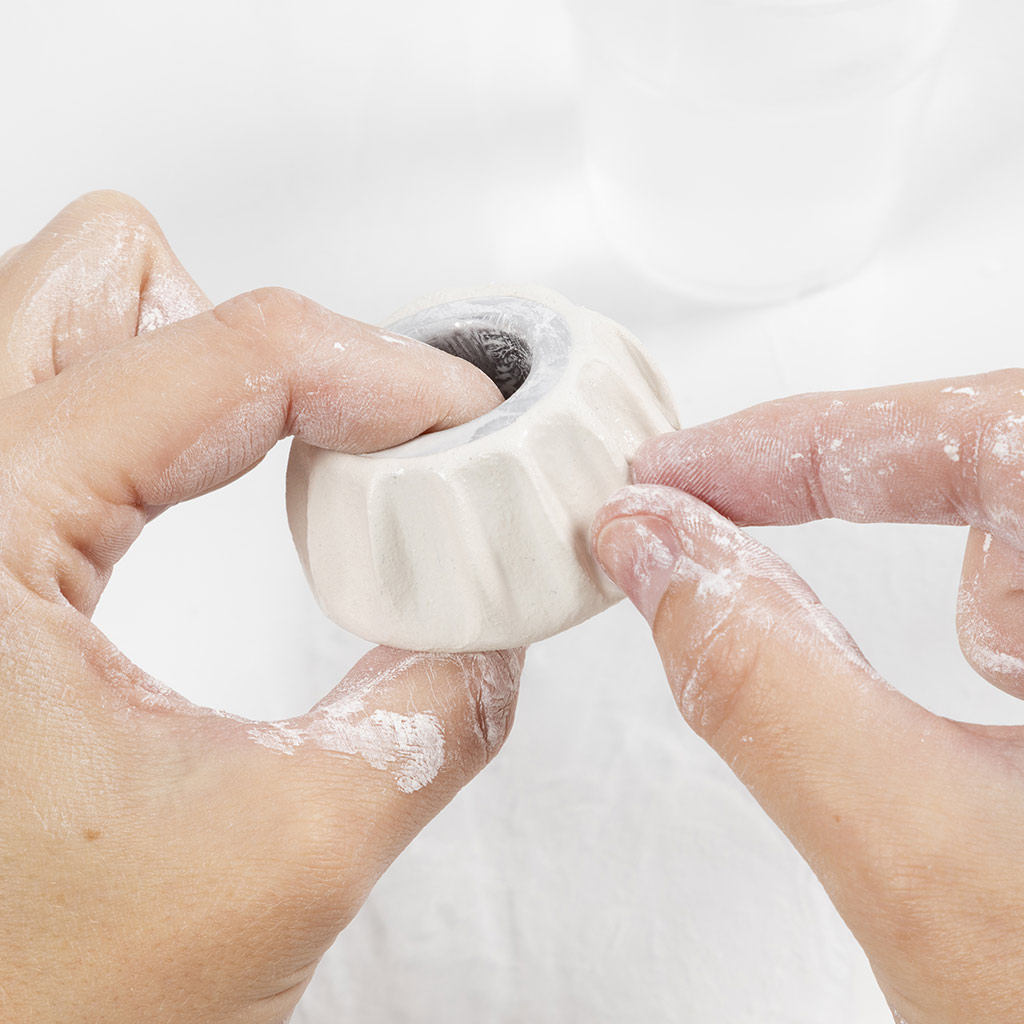 Pinch with your fingers to create a surface as shown in the picture.
Pinch with your fingers to create a surface as shown in the picture.7 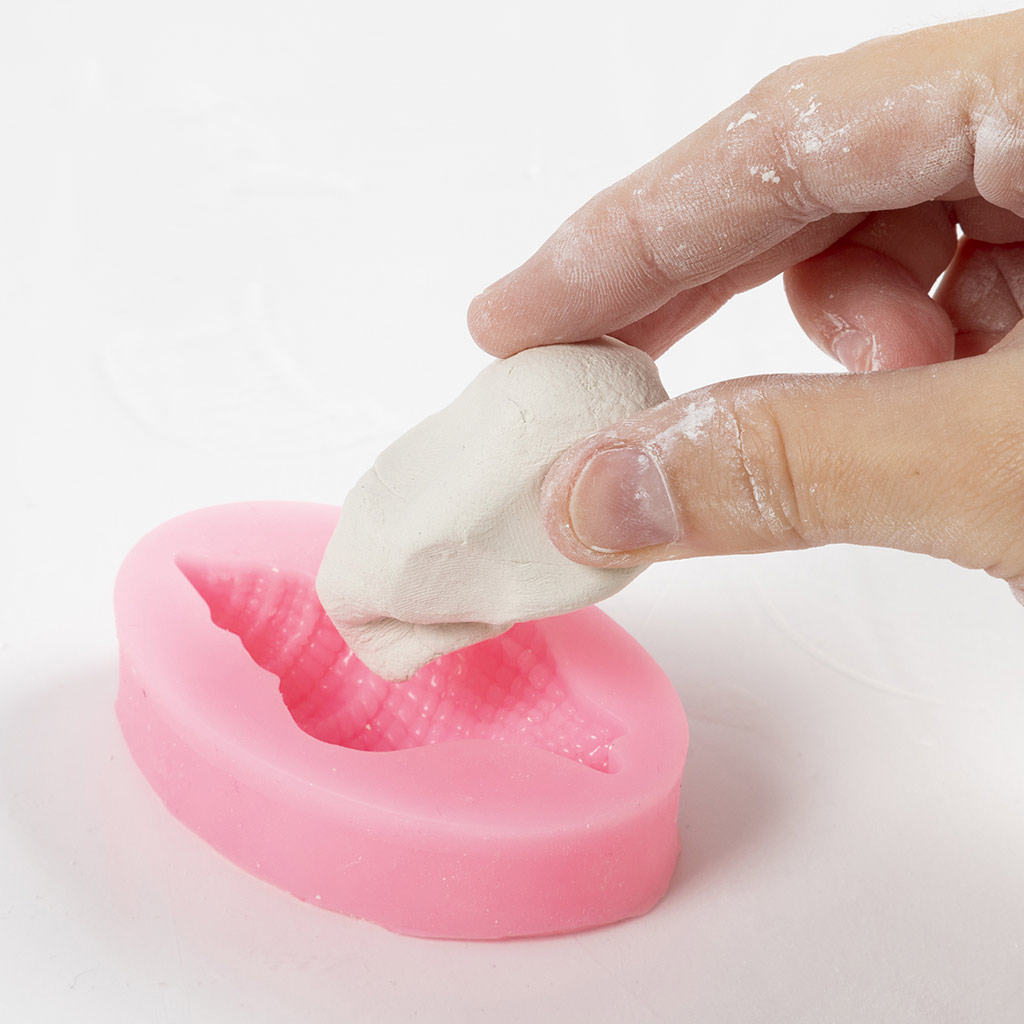 Now take a piece of clay around the same size as the shell.
Now take a piece of clay around the same size as the shell.8 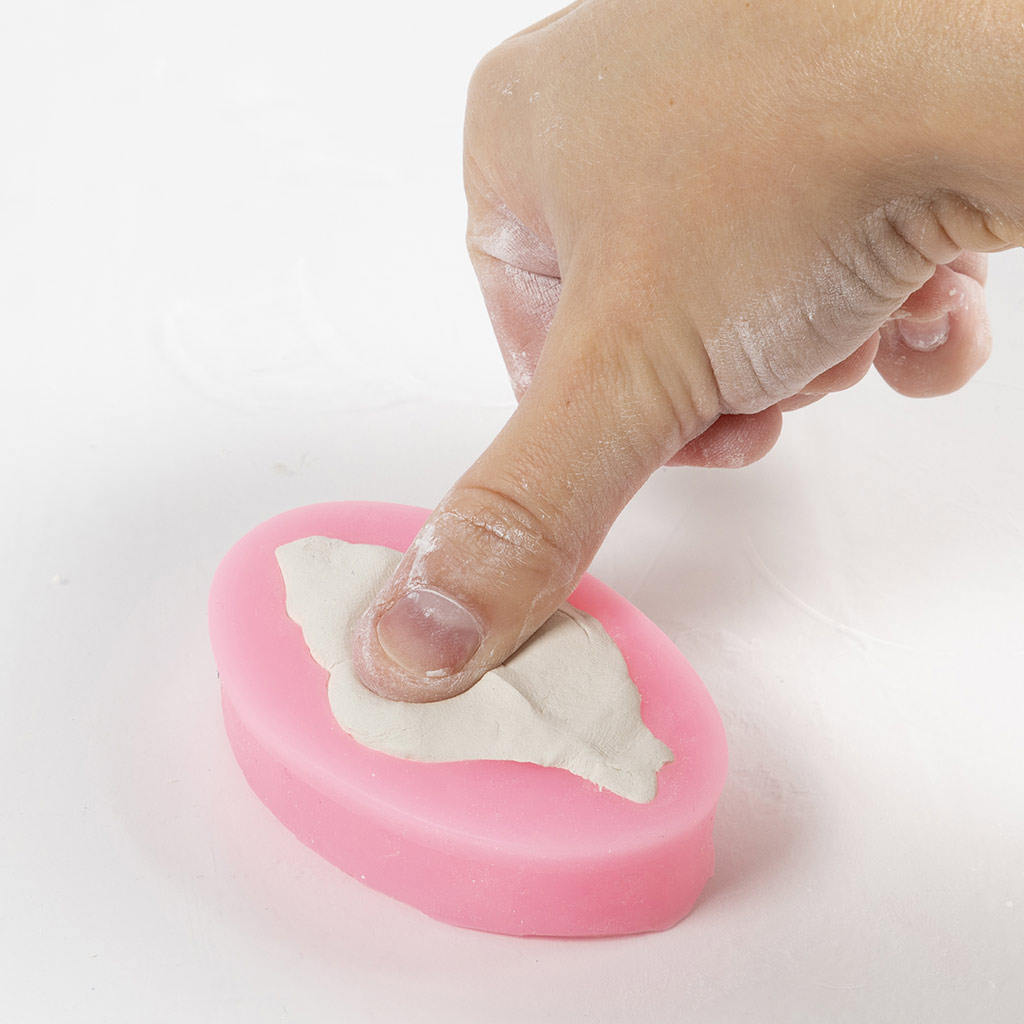 Press it firmly into the mould.
Press it firmly into the mould.9 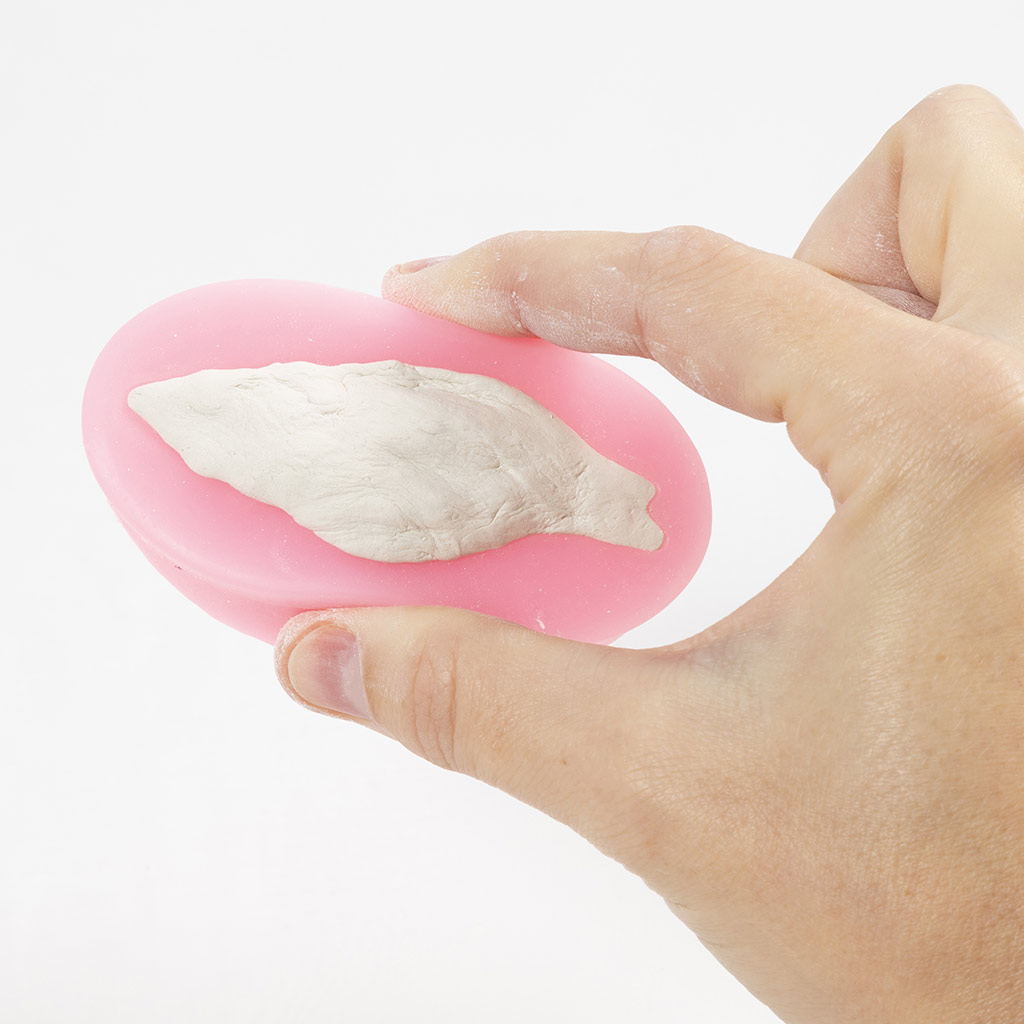 Squeeze the wide part of the mould as shown in the picture. This is done so that the shell does not become 'flat' on its surface.
Squeeze the wide part of the mould as shown in the picture. This is done so that the shell does not become 'flat' on its surface.10 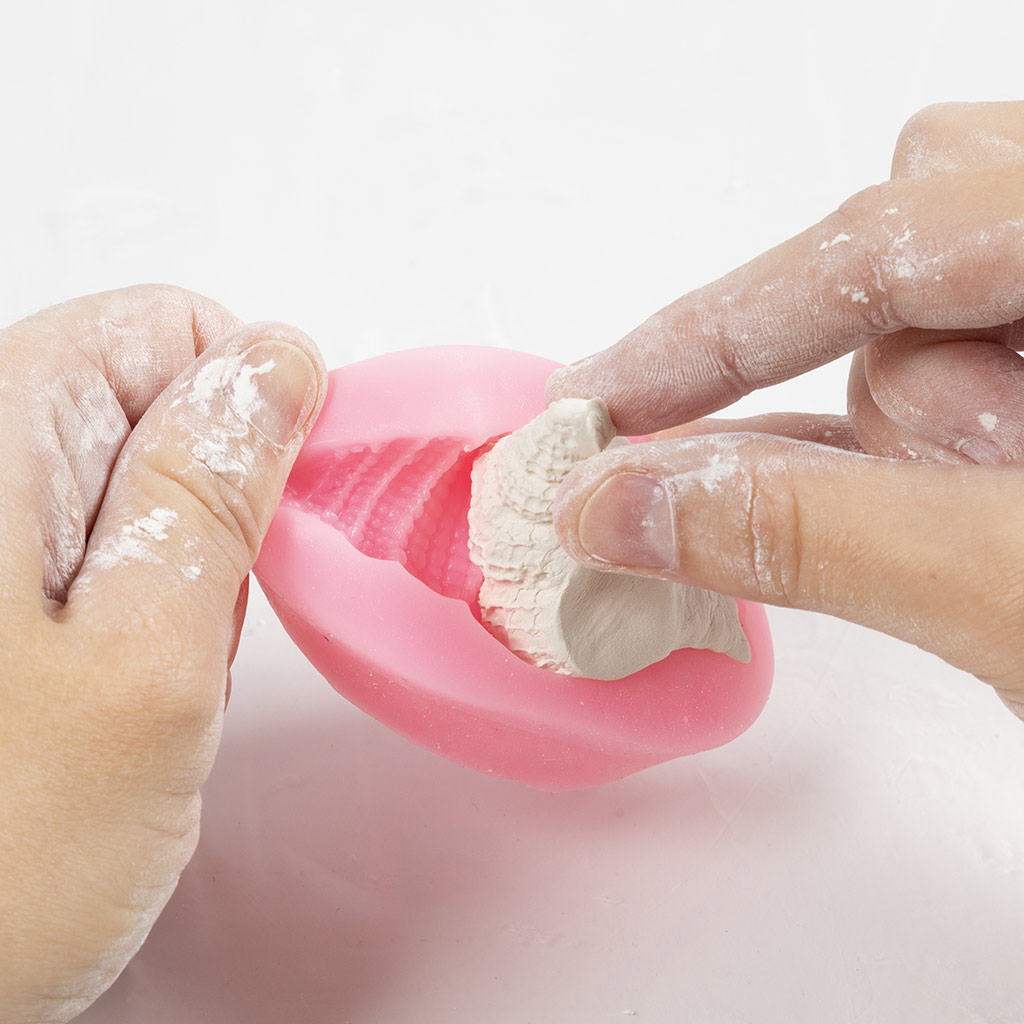 Gently remove the shell and repeat the process so you end up with two shells.
Gently remove the shell and repeat the process so you end up with two shells.11 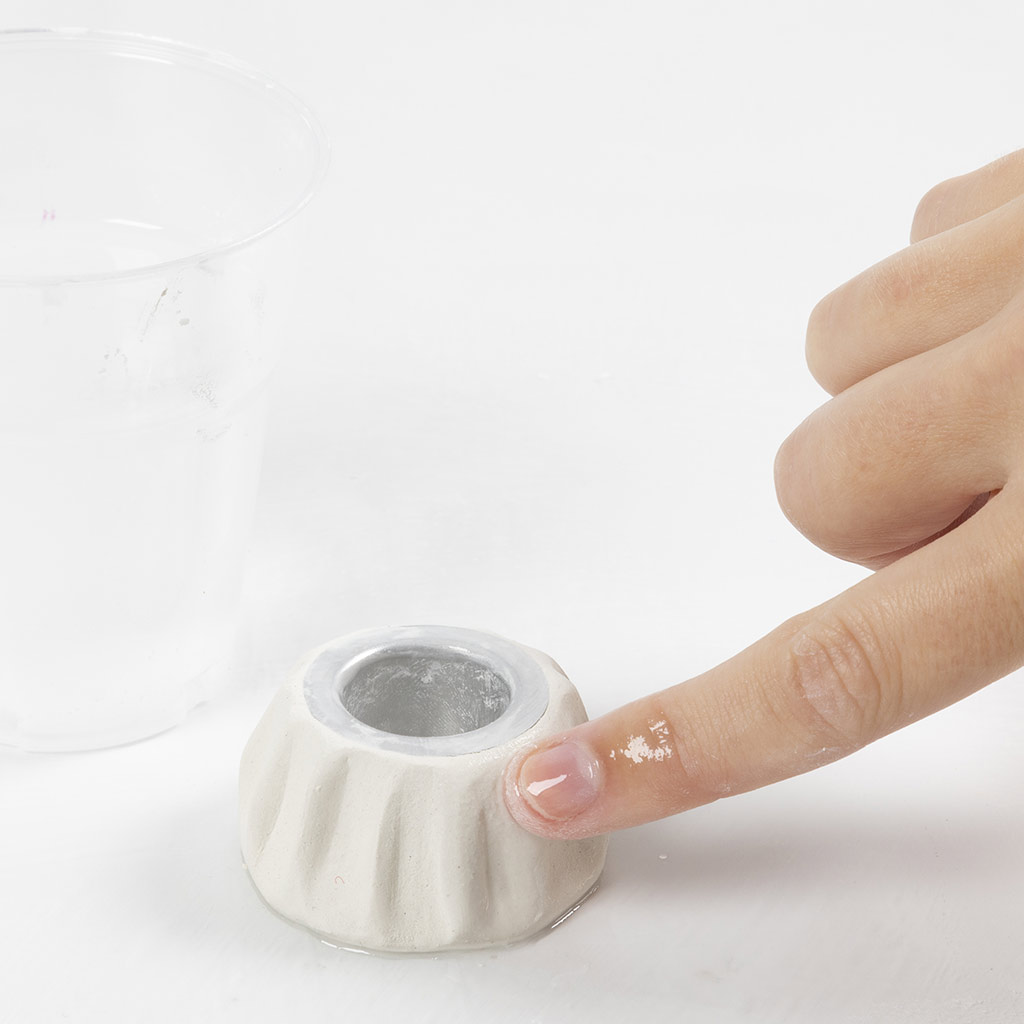 Add water where you want the shell to be placed.
Add water where you want the shell to be placed.12 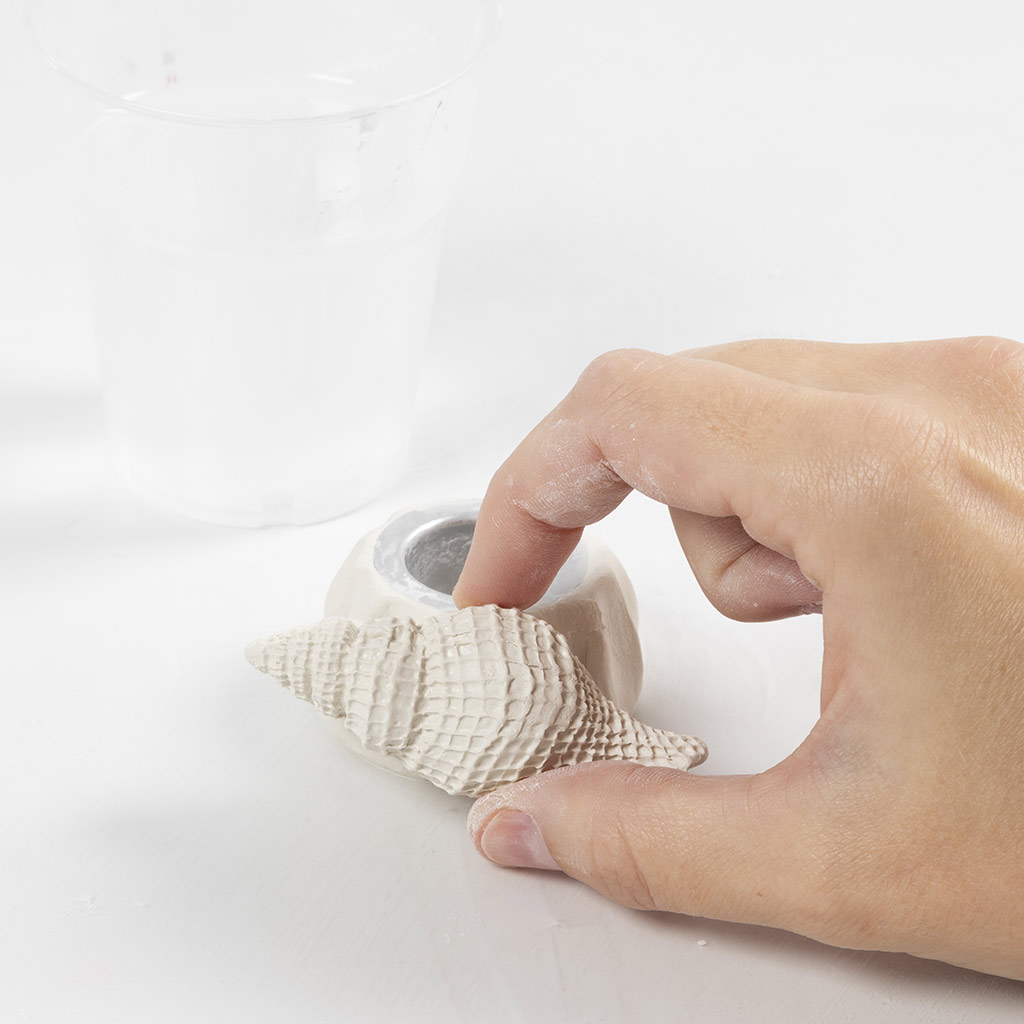 Attach the shell.
Attach the shell.13 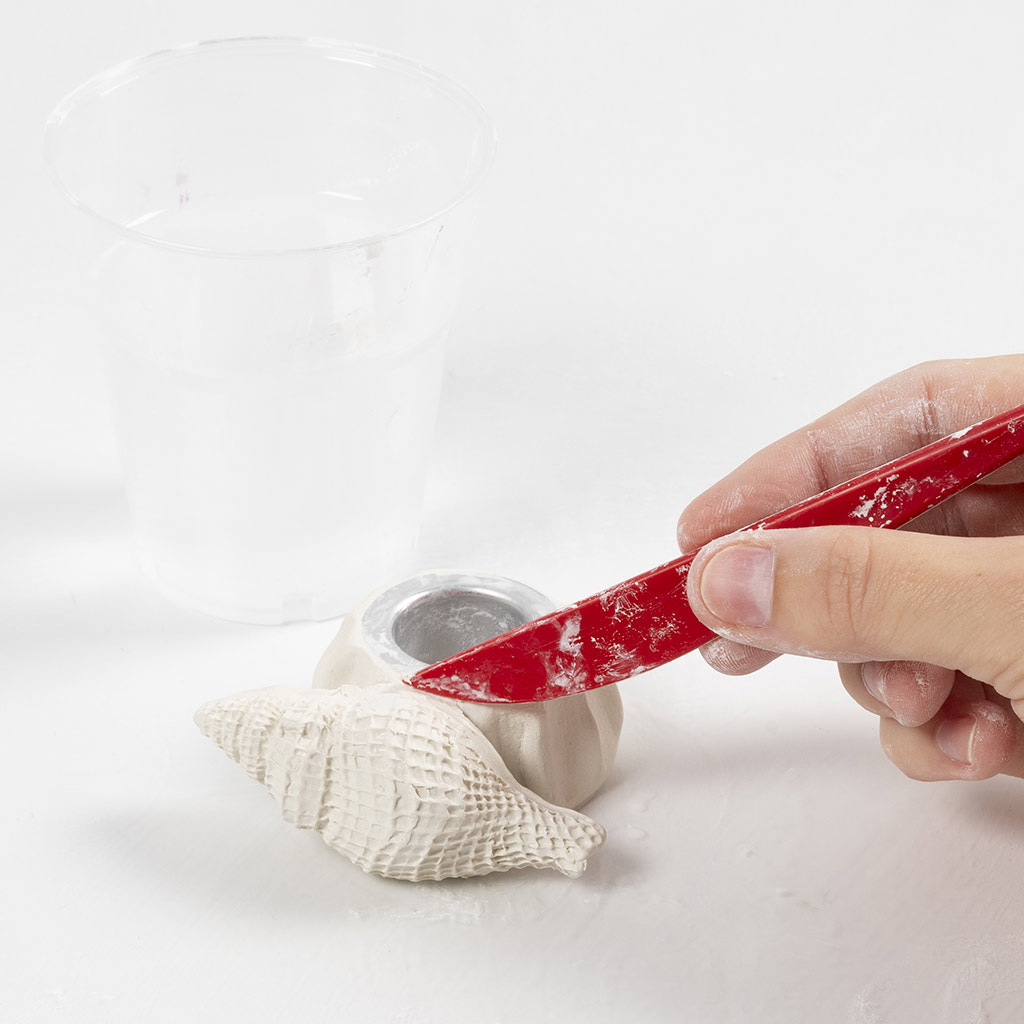 Secure the edges using the modelling tool. Repeat the process with the other shell.
Secure the edges using the modelling tool. Repeat the process with the other shell.14 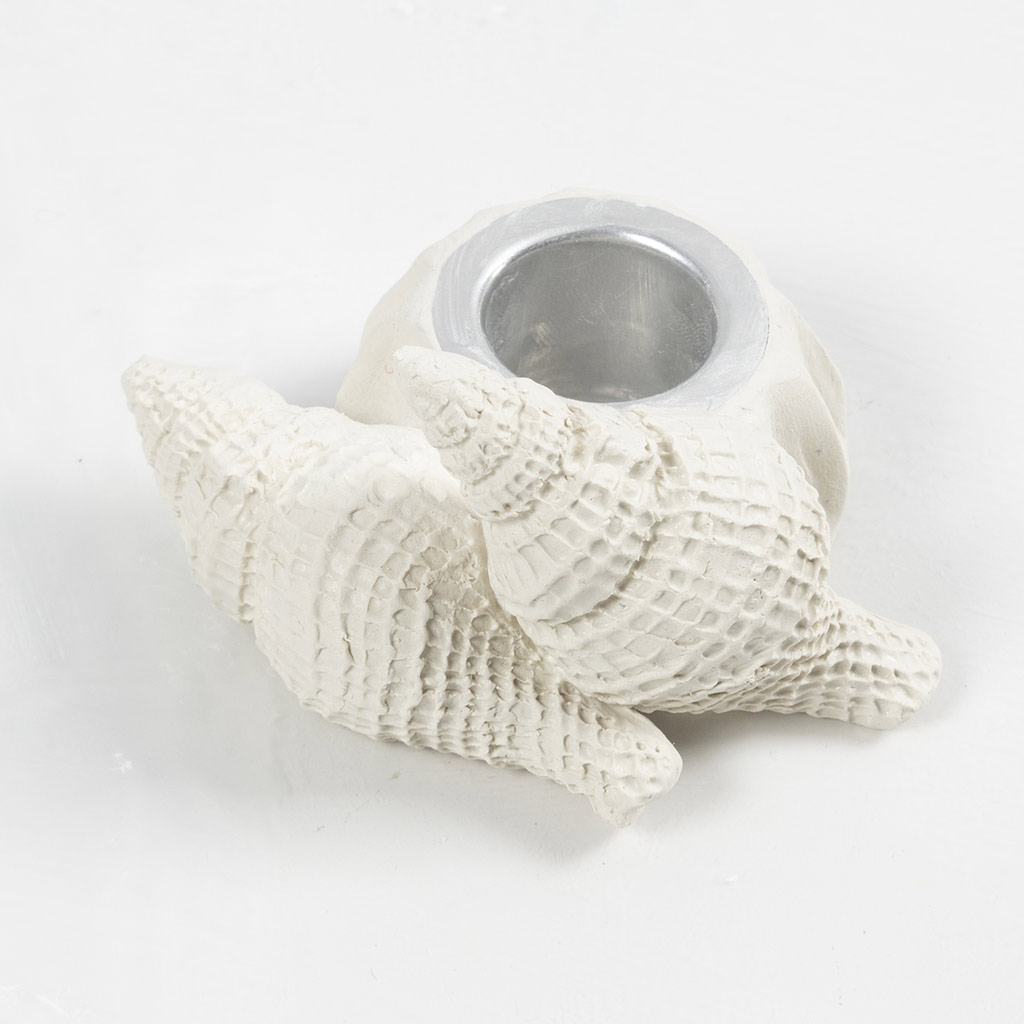 Allow to dry and the candle holder is ready to use.
Allow to dry and the candle holder is ready to use.15 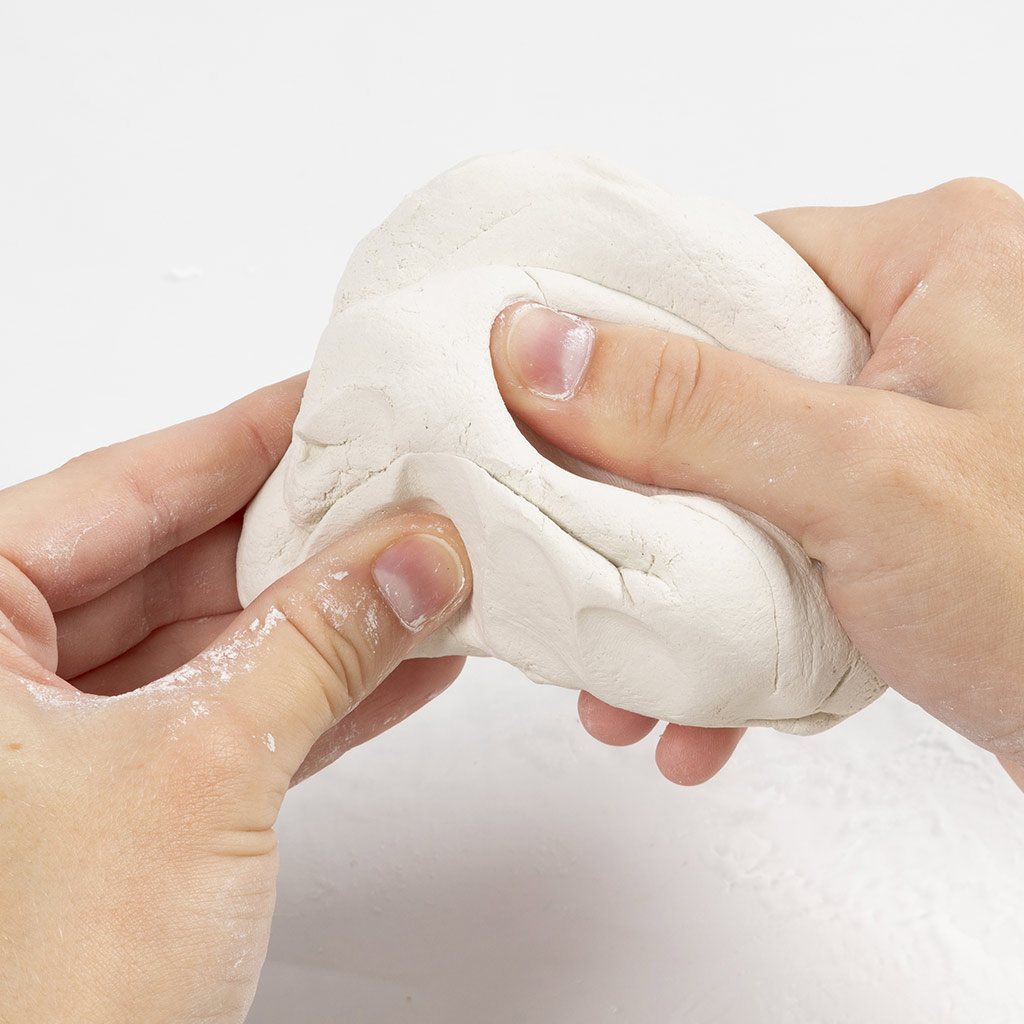 Knead the remaining clay thoroughly.
Knead the remaining clay thoroughly.16  Roll out the clay to a thickness of around 0.5 cm.
Roll out the clay to a thickness of around 0.5 cm.17  Press the round cutter into the clay.
Press the round cutter into the clay.18  You should end up with a circle like this.
You should end up with a circle like this.19 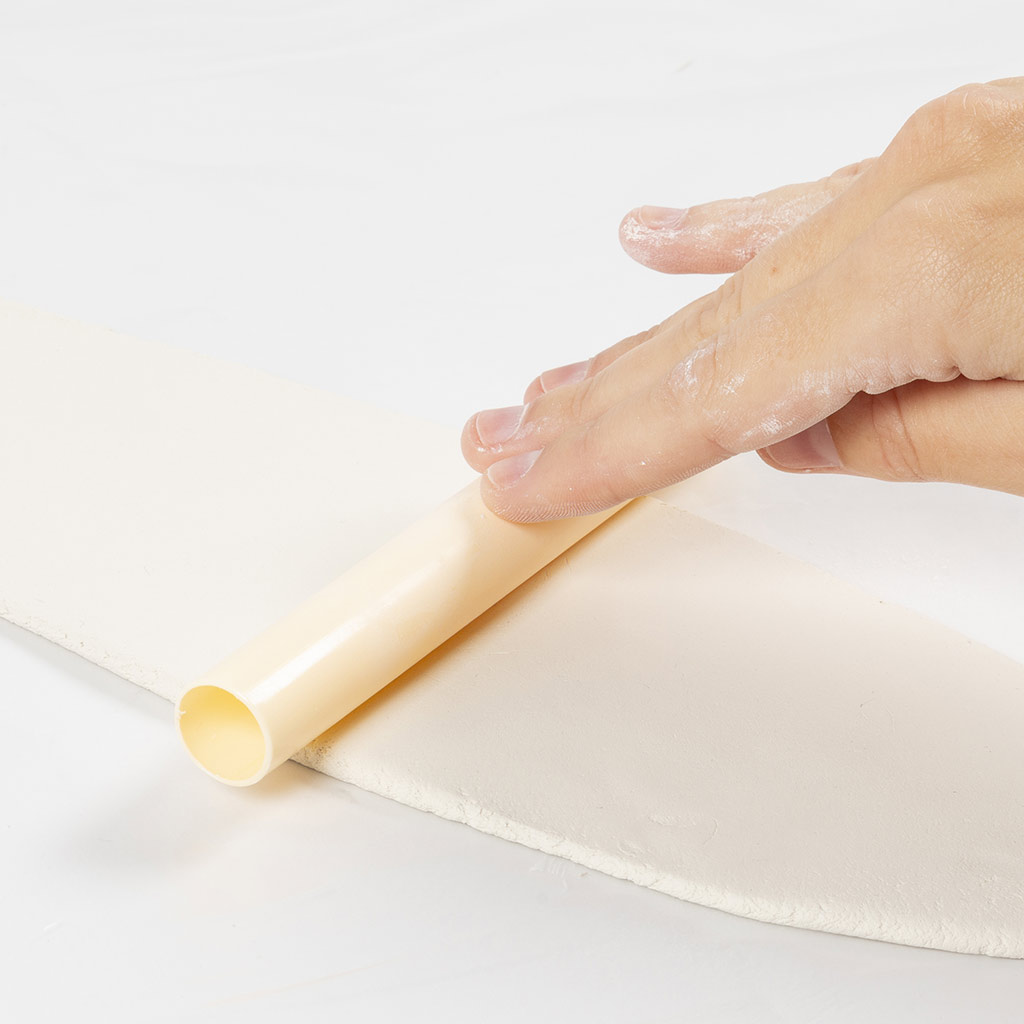 Now roll out the clay to a flat piece with a thickness of around 0.5 cm.
Now roll out the clay to a flat piece with a thickness of around 0.5 cm.20 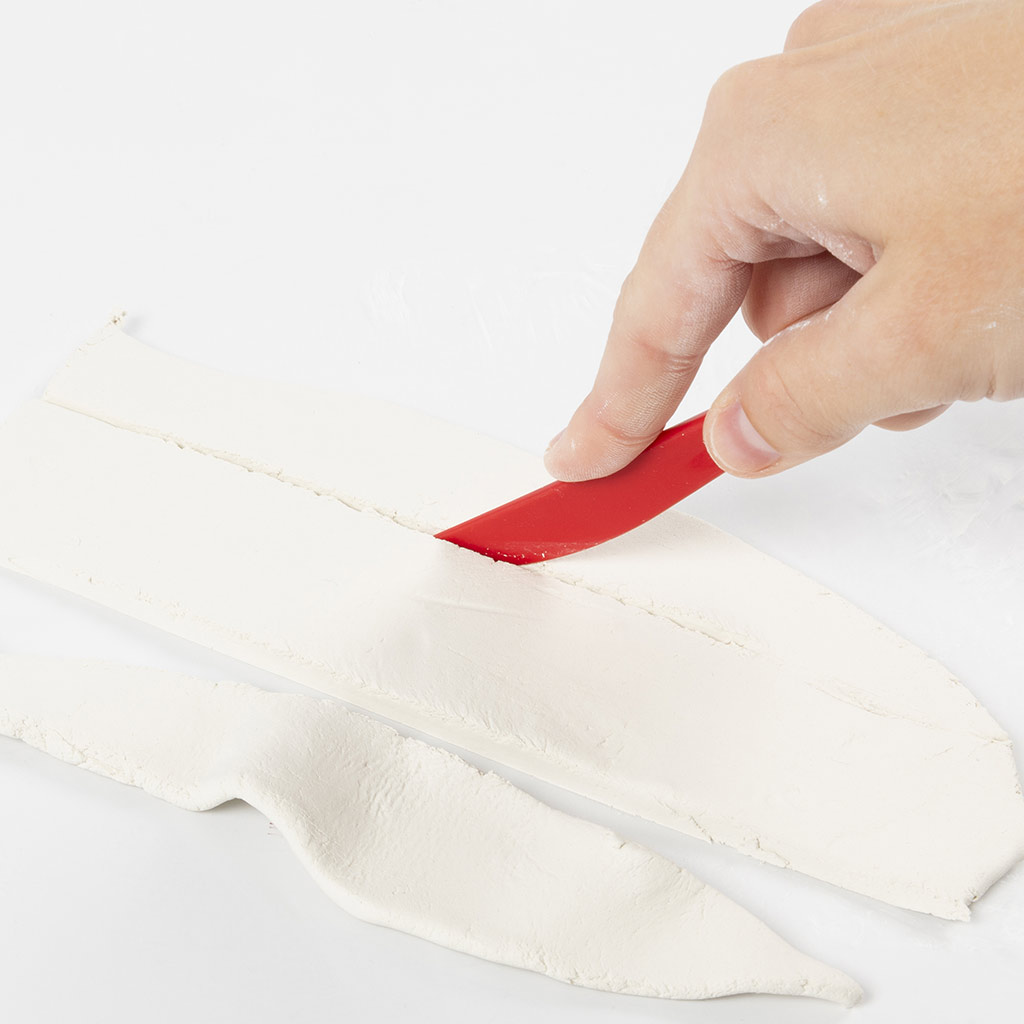 Cut the clay into a rectangle that is 5 cm wide and 18 cm long.
Cut the clay into a rectangle that is 5 cm wide and 18 cm long.21 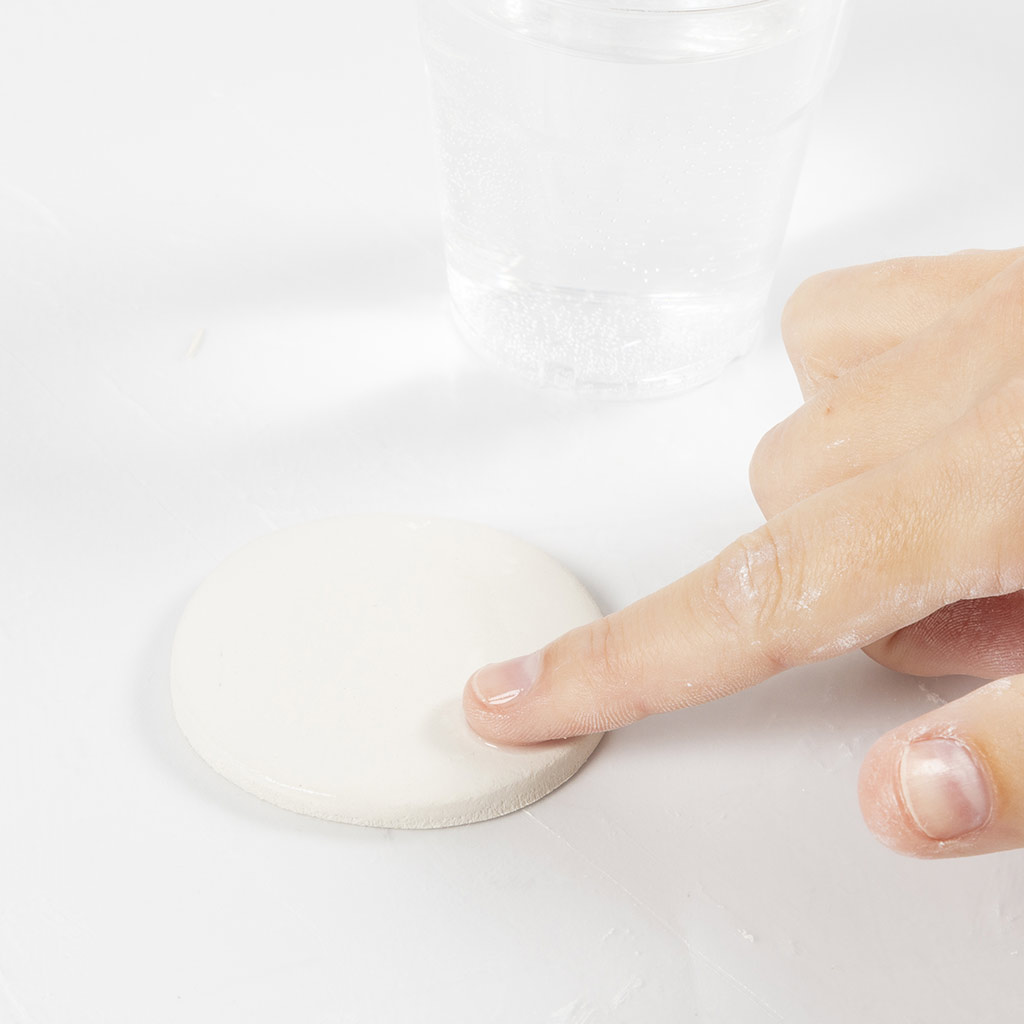 Now add water around the edge of the circle.
Now add water around the edge of the circle.22 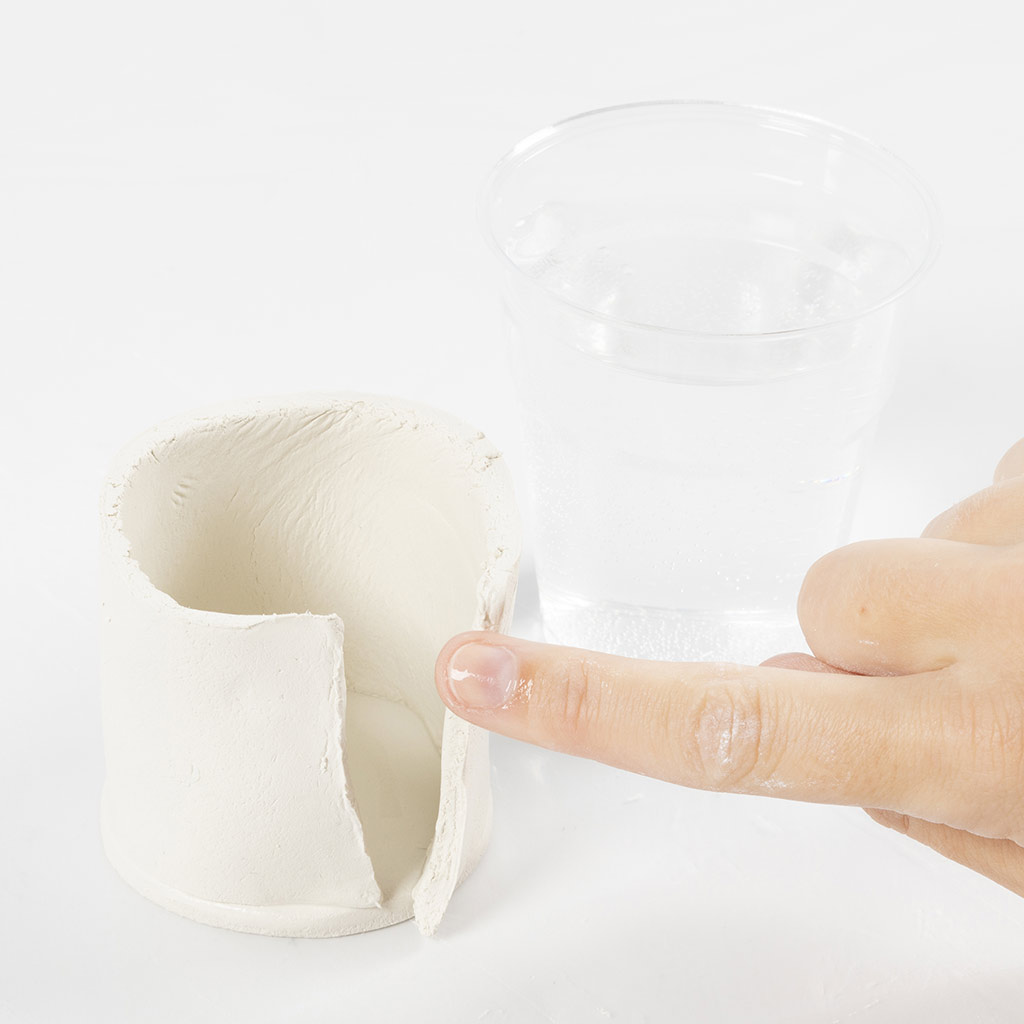 Attach the piece you just made and moisten along the edges as shown in the picture.
Attach the piece you just made and moisten along the edges as shown in the picture.23 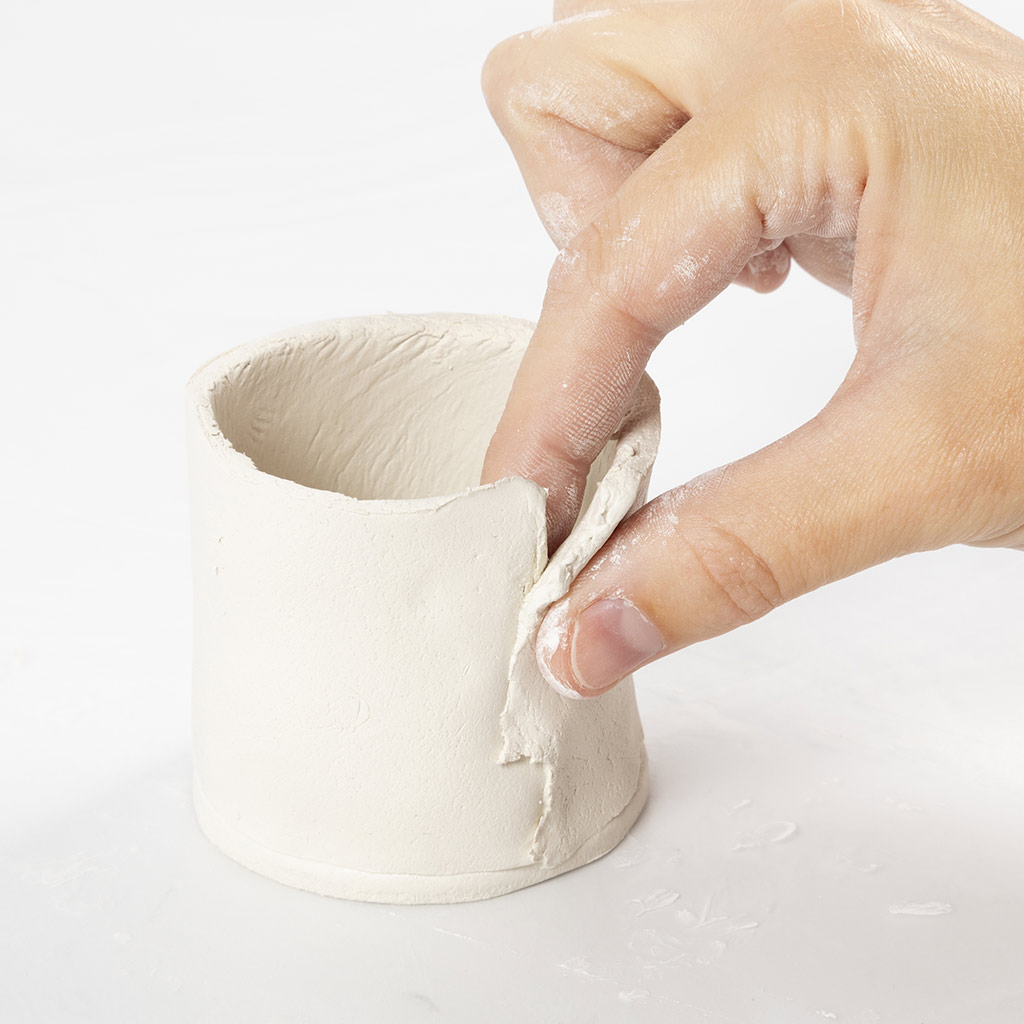 Squeeze the sides together.
Squeeze the sides together.24 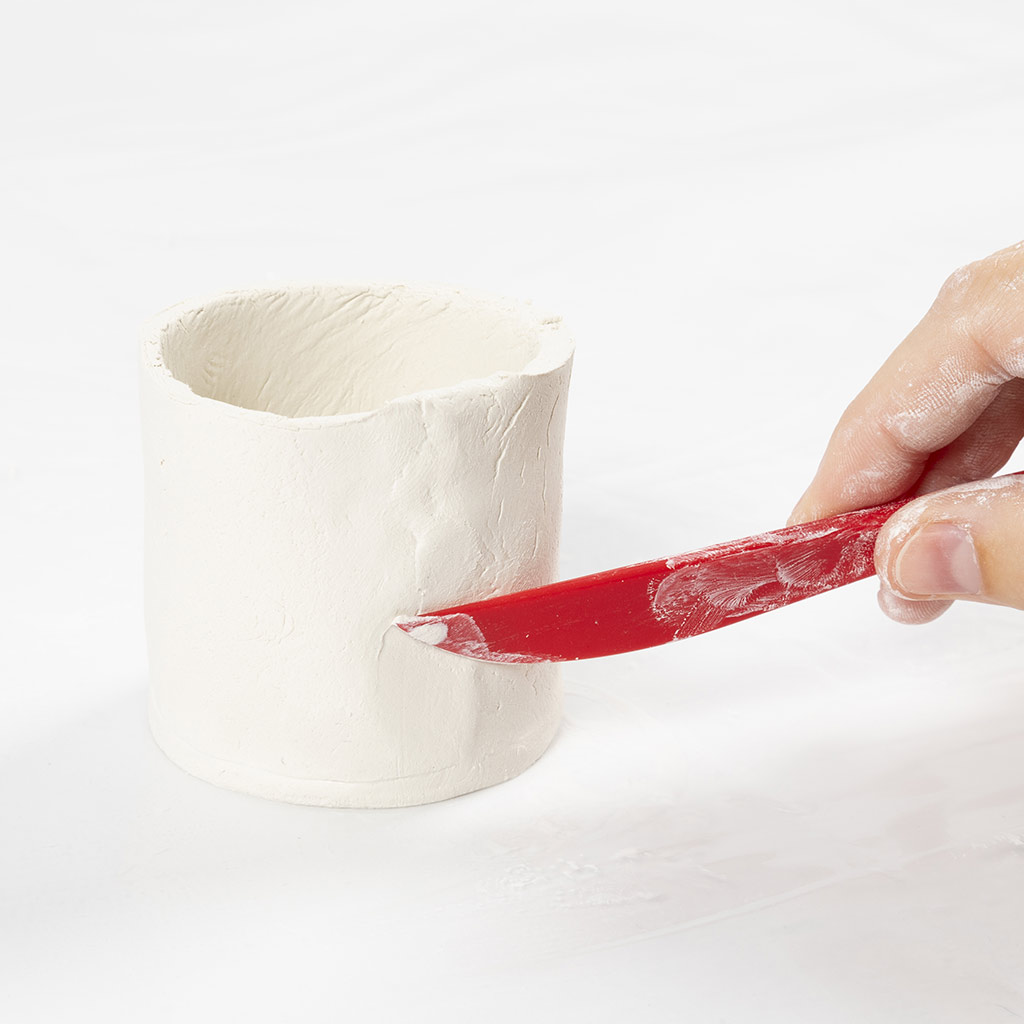 Smooth the edges with the modelling tool.
Smooth the edges with the modelling tool.25  Now use the modelling tool to attach and smooth the inner edge of the jar.
Now use the modelling tool to attach and smooth the inner edge of the jar.26  Make small 'waves' along the edge as shown in the picture.
Make small 'waves' along the edge as shown in the picture.27 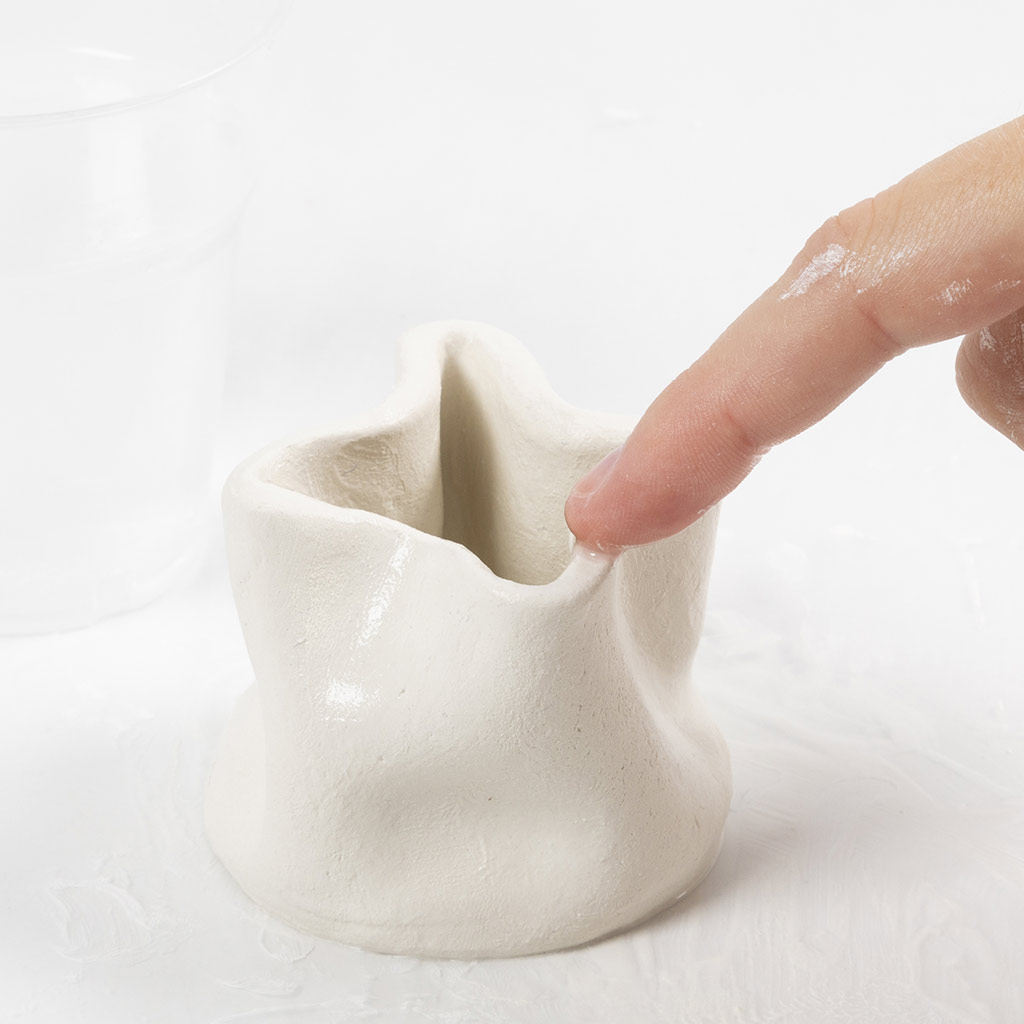 Smooth out any cracks and unevenness with water.
Smooth out any cracks and unevenness with water.28 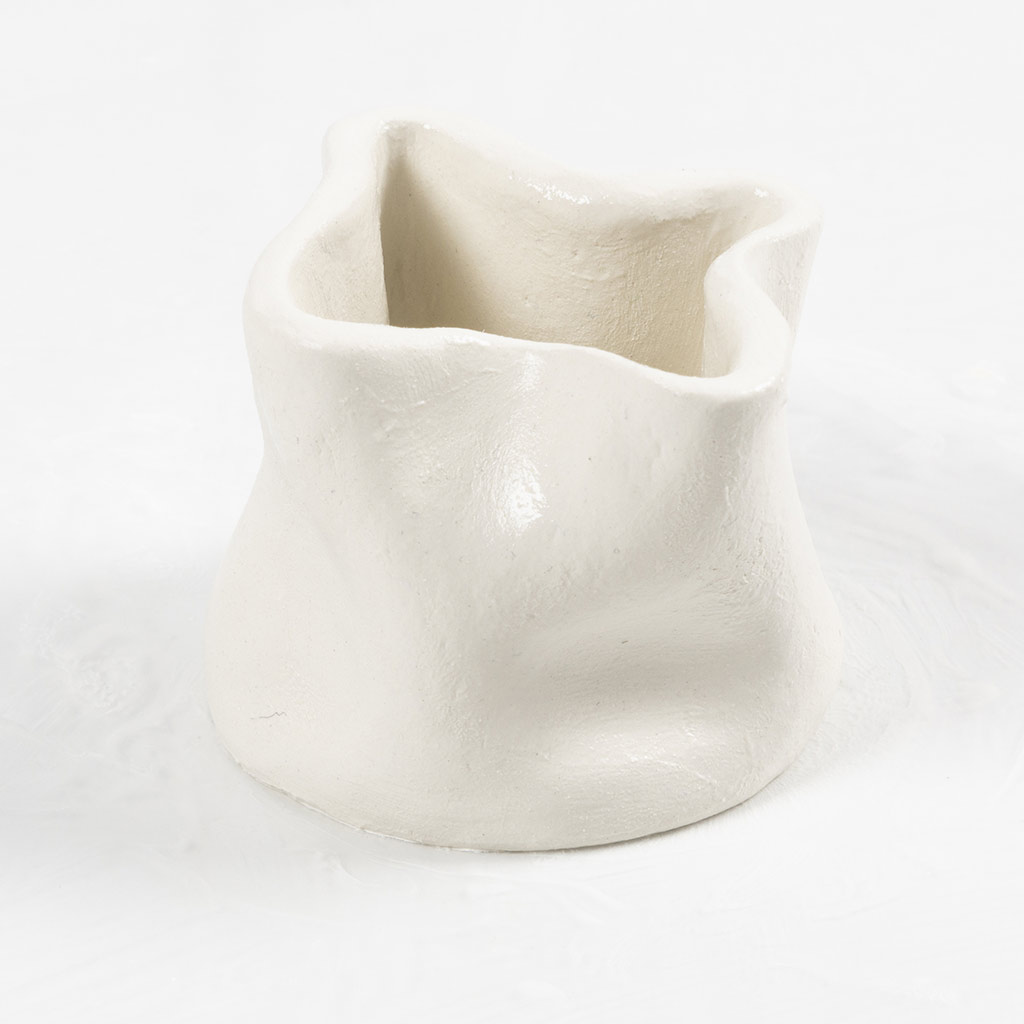 Allow to dry.
Allow to dry.29 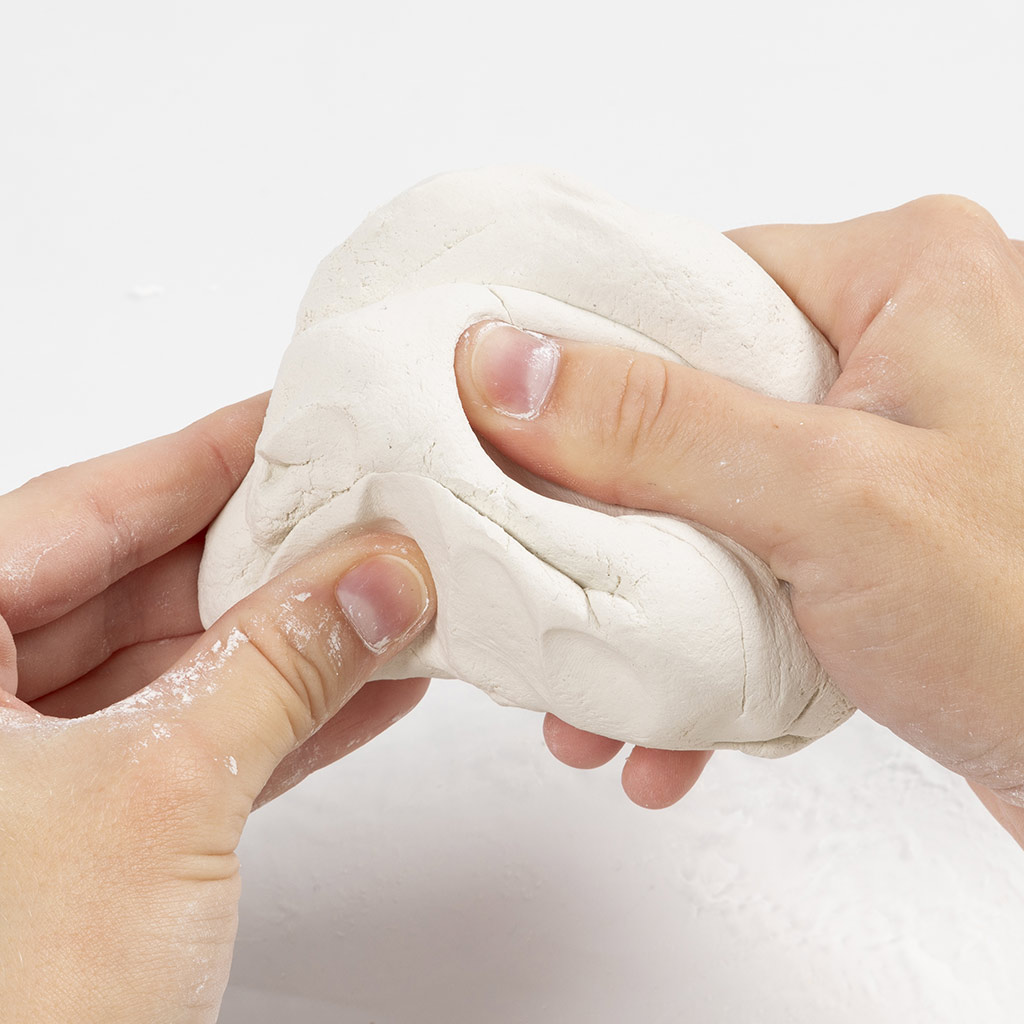 We are now going to make the lid. Knead the remaining clay thoroughly.
We are now going to make the lid. Knead the remaining clay thoroughly.30 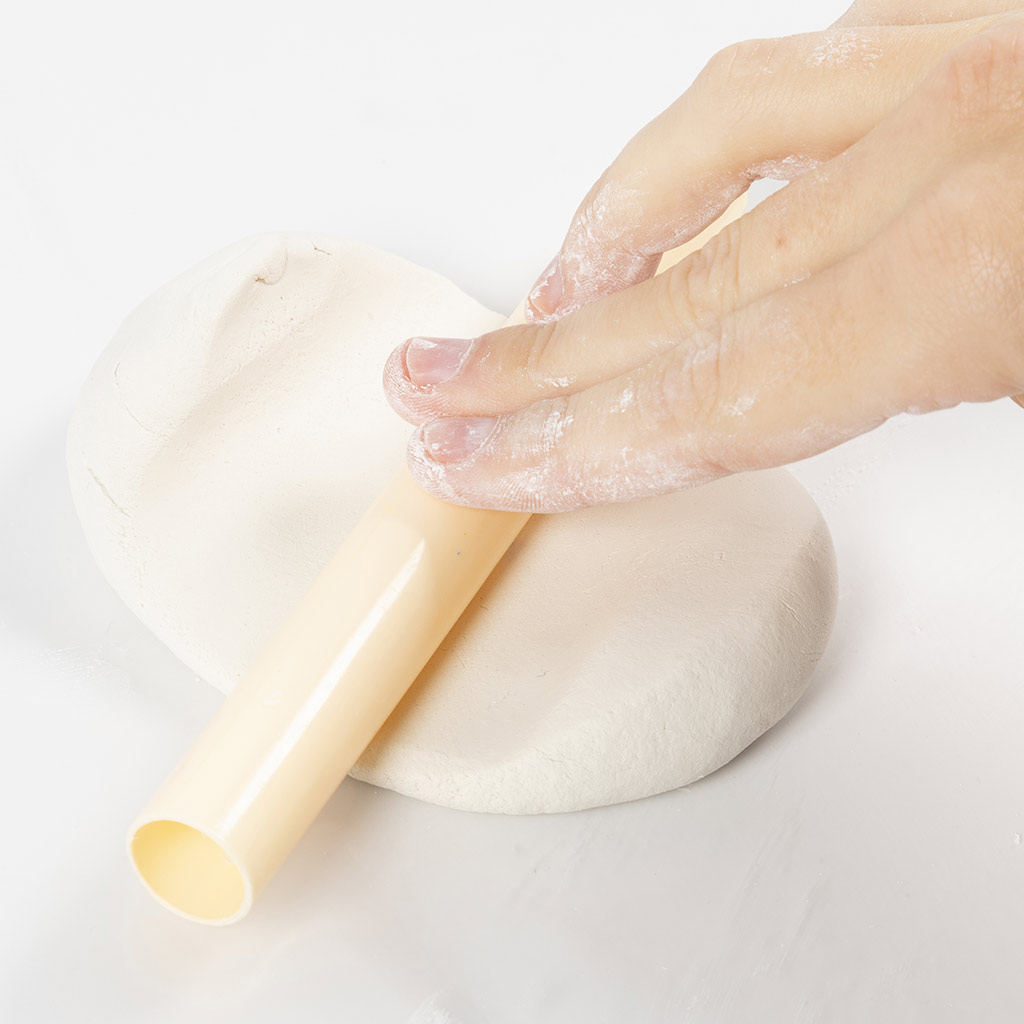 Roll out the clay to a thickness of around 0.5 cm.
Roll out the clay to a thickness of around 0.5 cm.31  Press the round cutter into the clay.
Press the round cutter into the clay.32 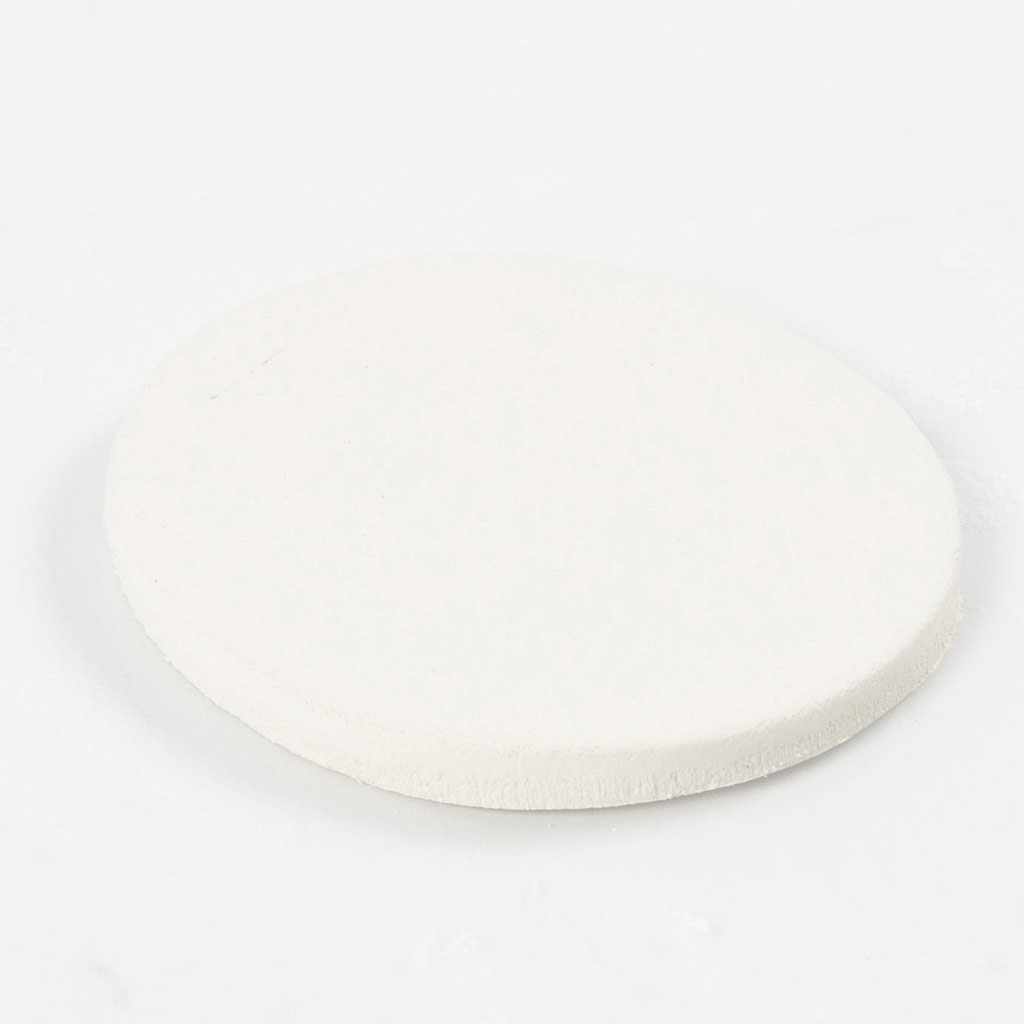 You should end up with a circle as shown in the picture.
You should end up with a circle as shown in the picture.33 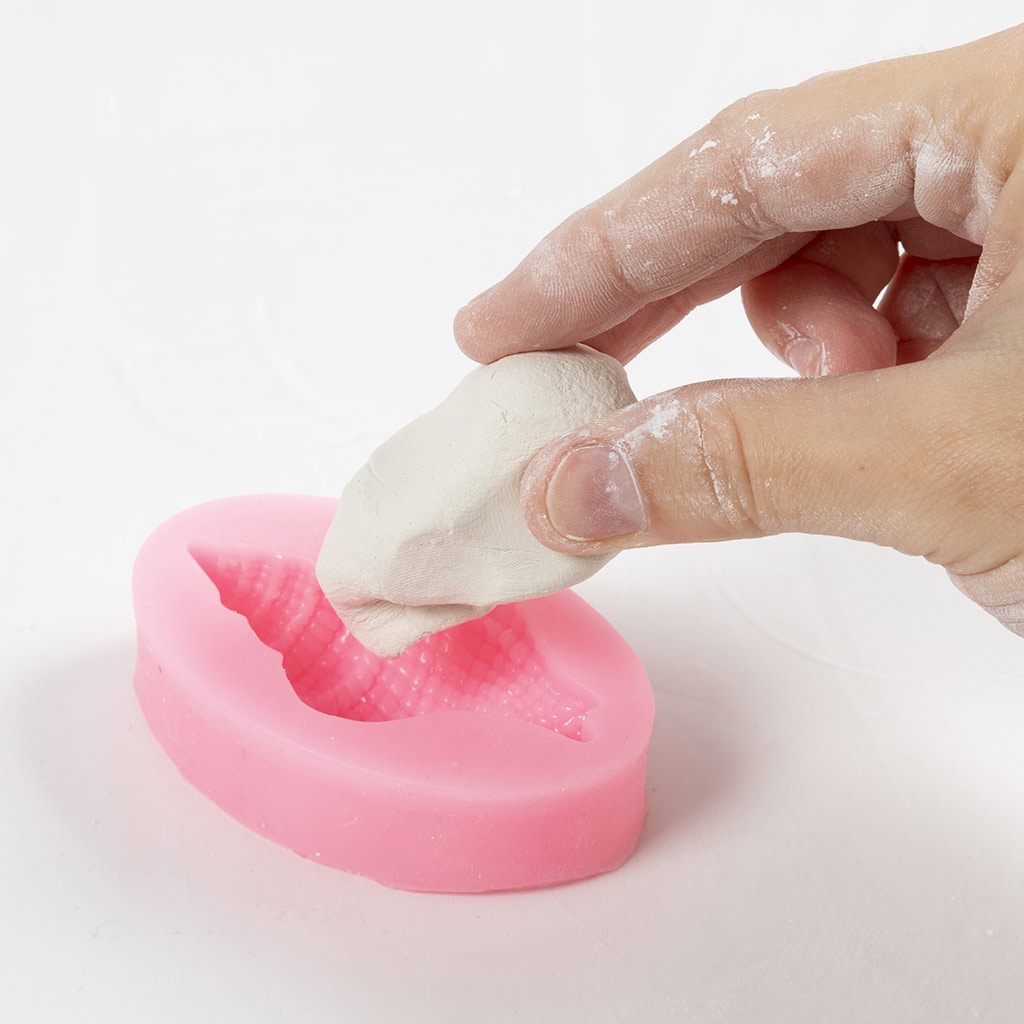 Now take a piece of clay around the same size as the shell.
Now take a piece of clay around the same size as the shell.34 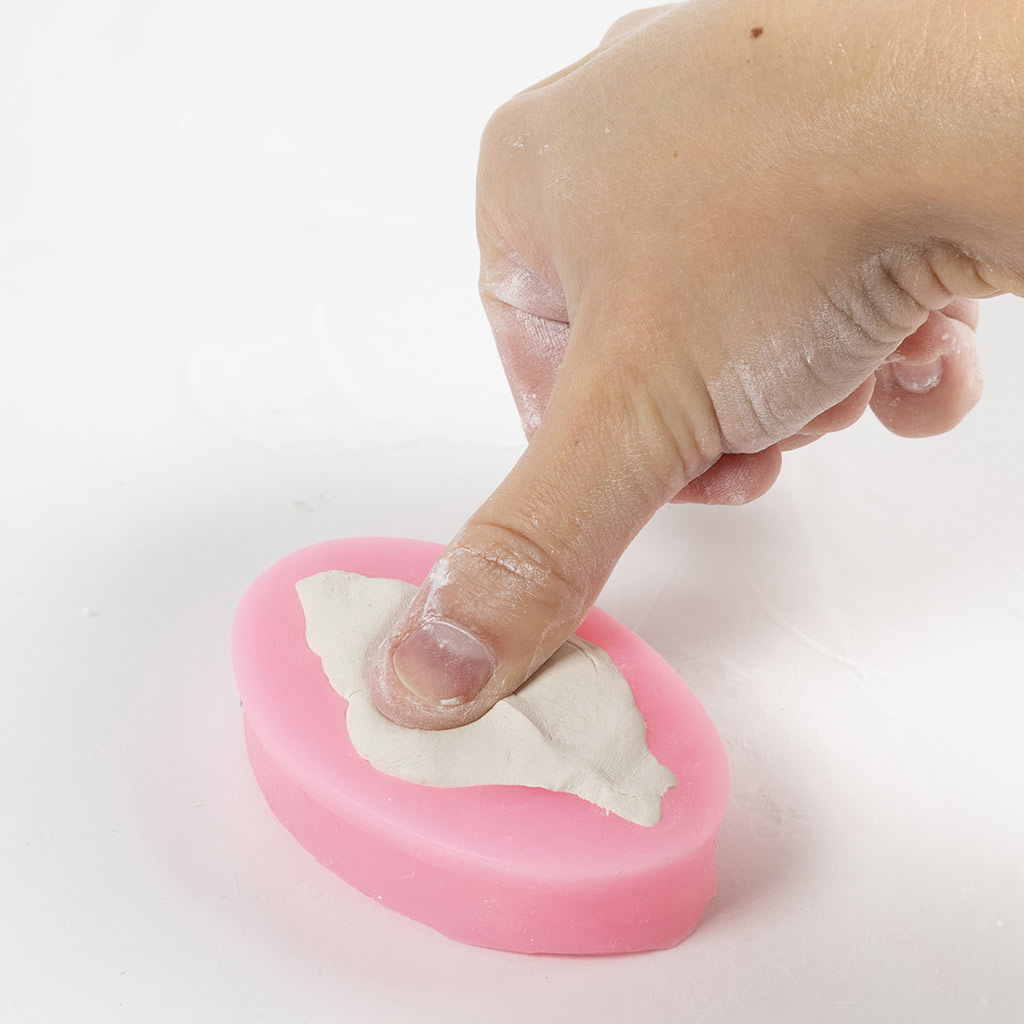 Press it firmly into the mould.
Press it firmly into the mould.35 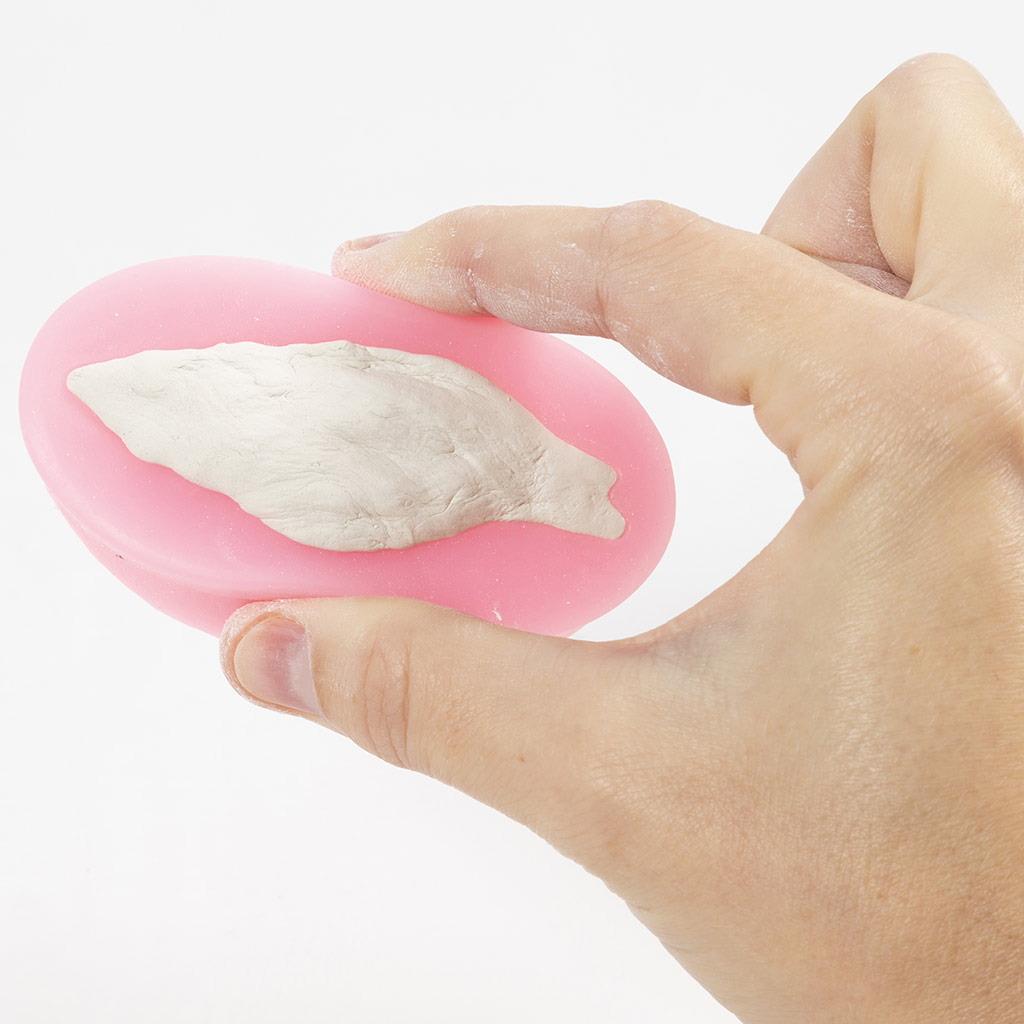 Squeeze the wide part of the mould as shown in the picture. This is done so that the shell does not become 'flat' on its surface.
Squeeze the wide part of the mould as shown in the picture. This is done so that the shell does not become 'flat' on its surface.36 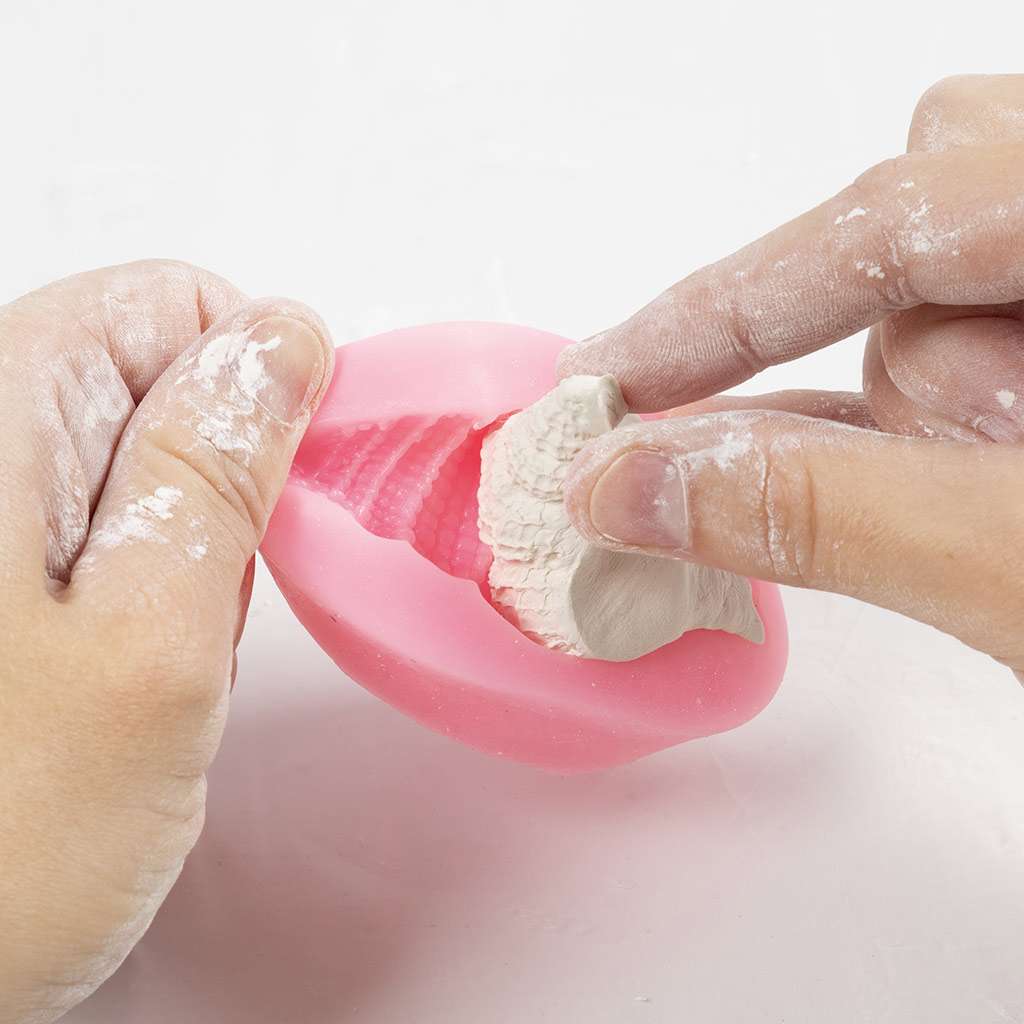 Now carefully remove the clay from the mould.
Now carefully remove the clay from the mould.37 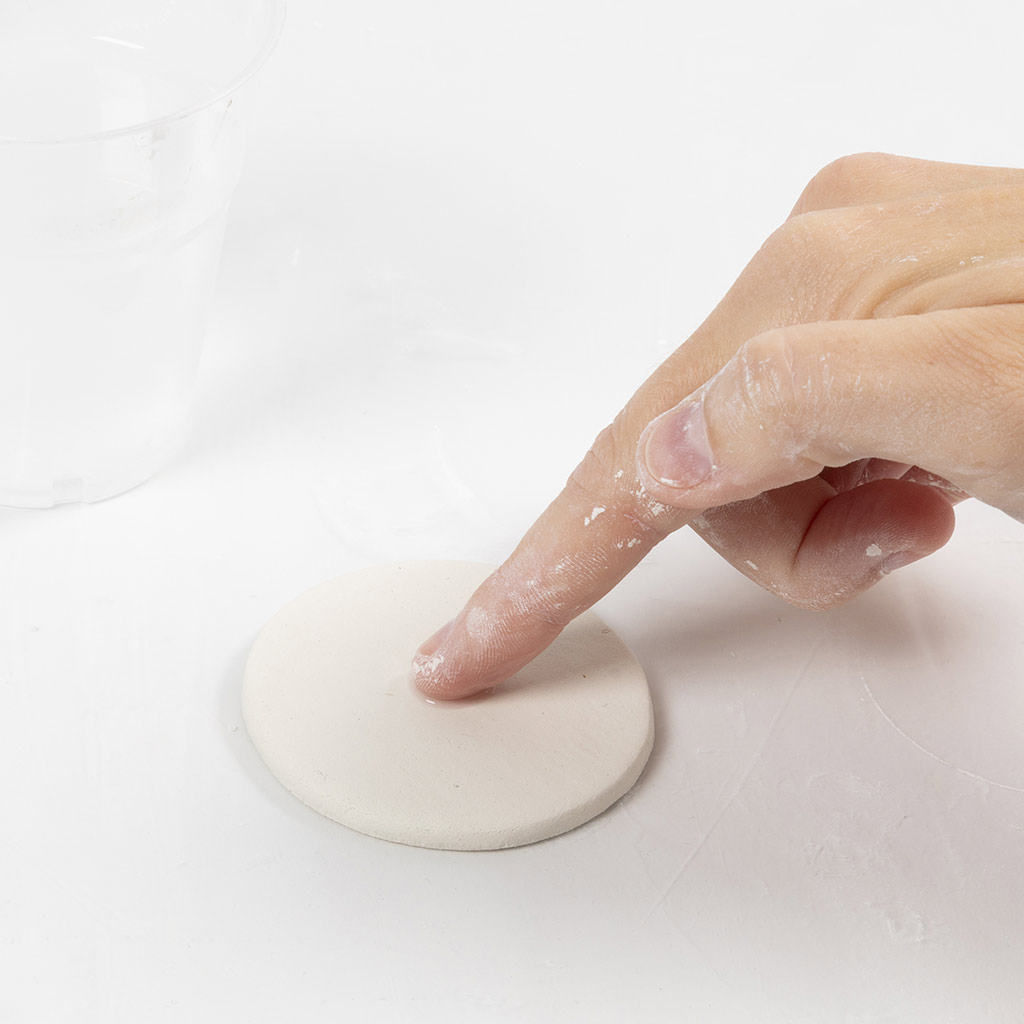 Moisten with water where you want the shell to be placed.
Moisten with water where you want the shell to be placed.38  Attach the shell.
Attach the shell.39 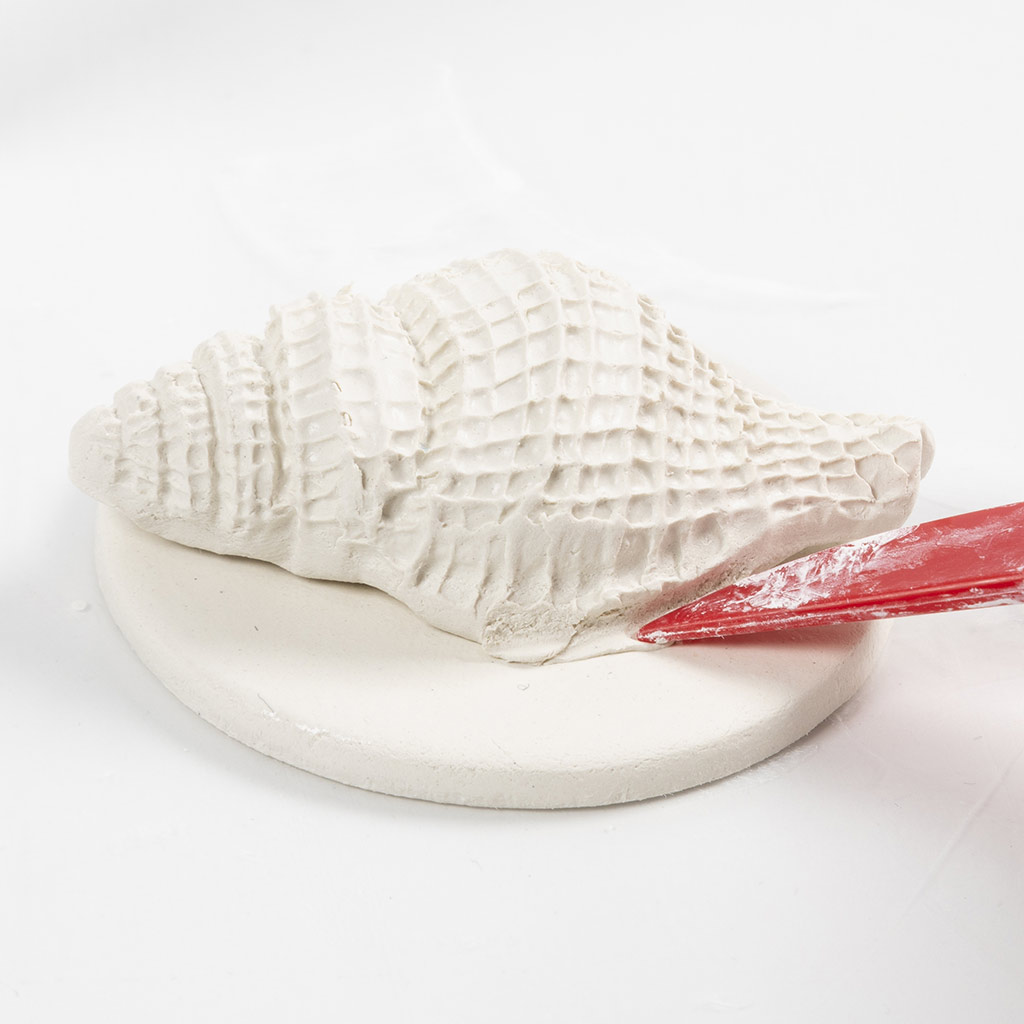 Attach the shell along the edges using the modelling tool.
Attach the shell along the edges using the modelling tool.40 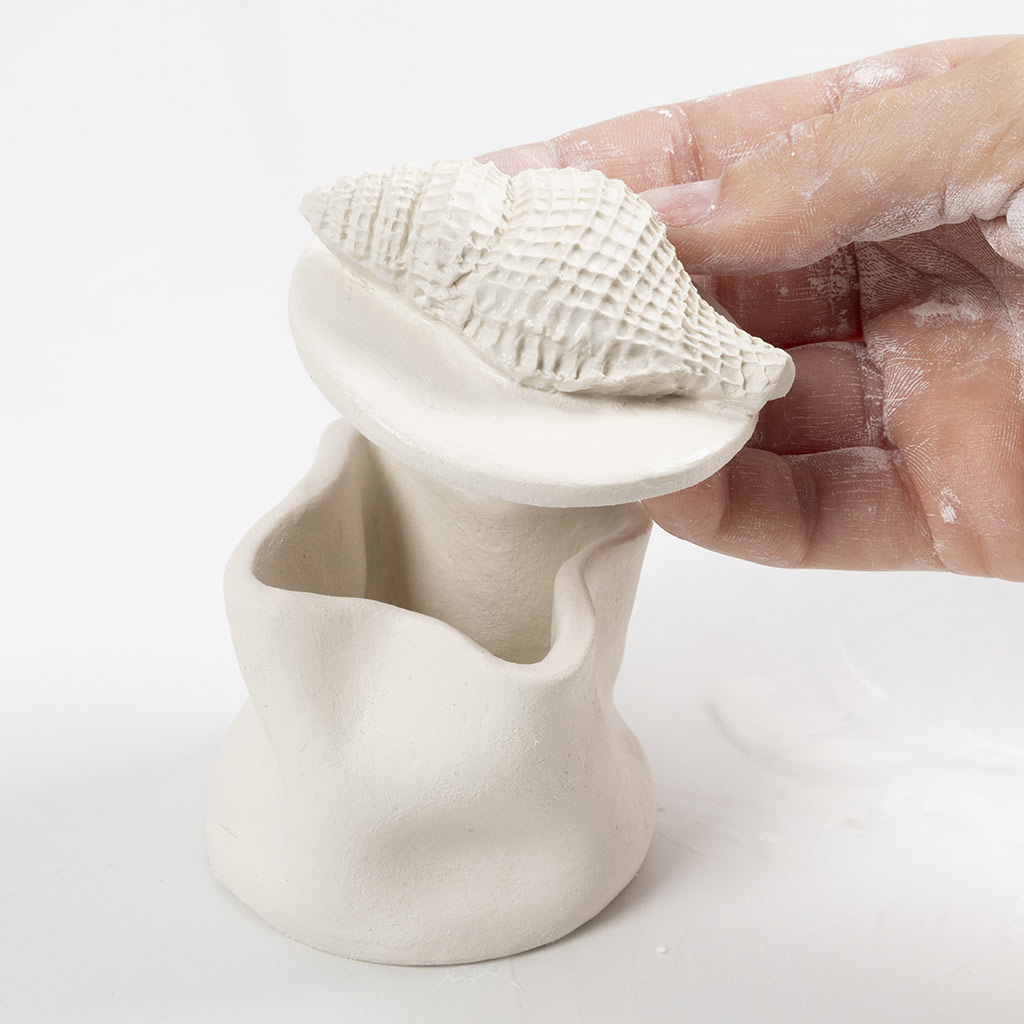 Put the lid on the jar and place a piece of plastic or baking paper between the jar and lid while the parts dry.
Put the lid on the jar and place a piece of plastic or baking paper between the jar and lid while the parts dry.41 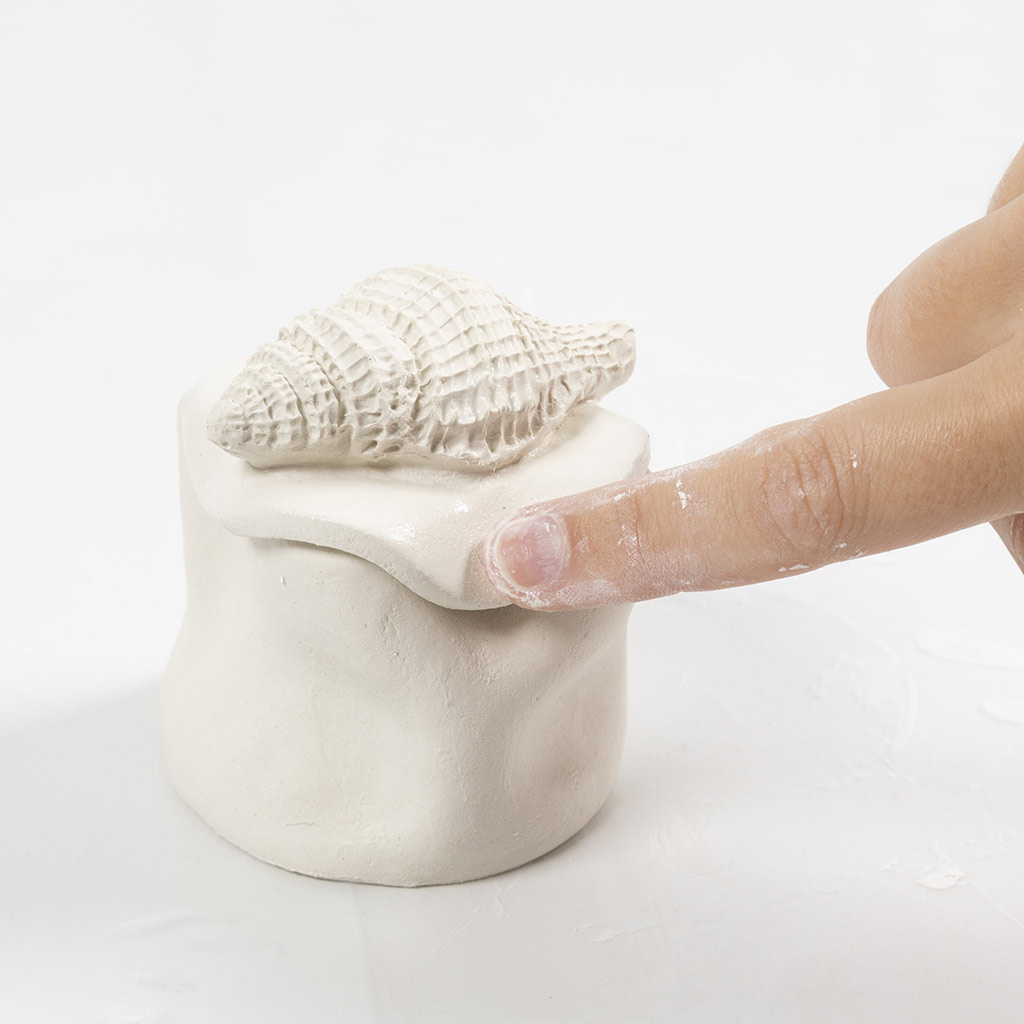 Gently shape the lid to fit the jar.
Gently shape the lid to fit the jar.42 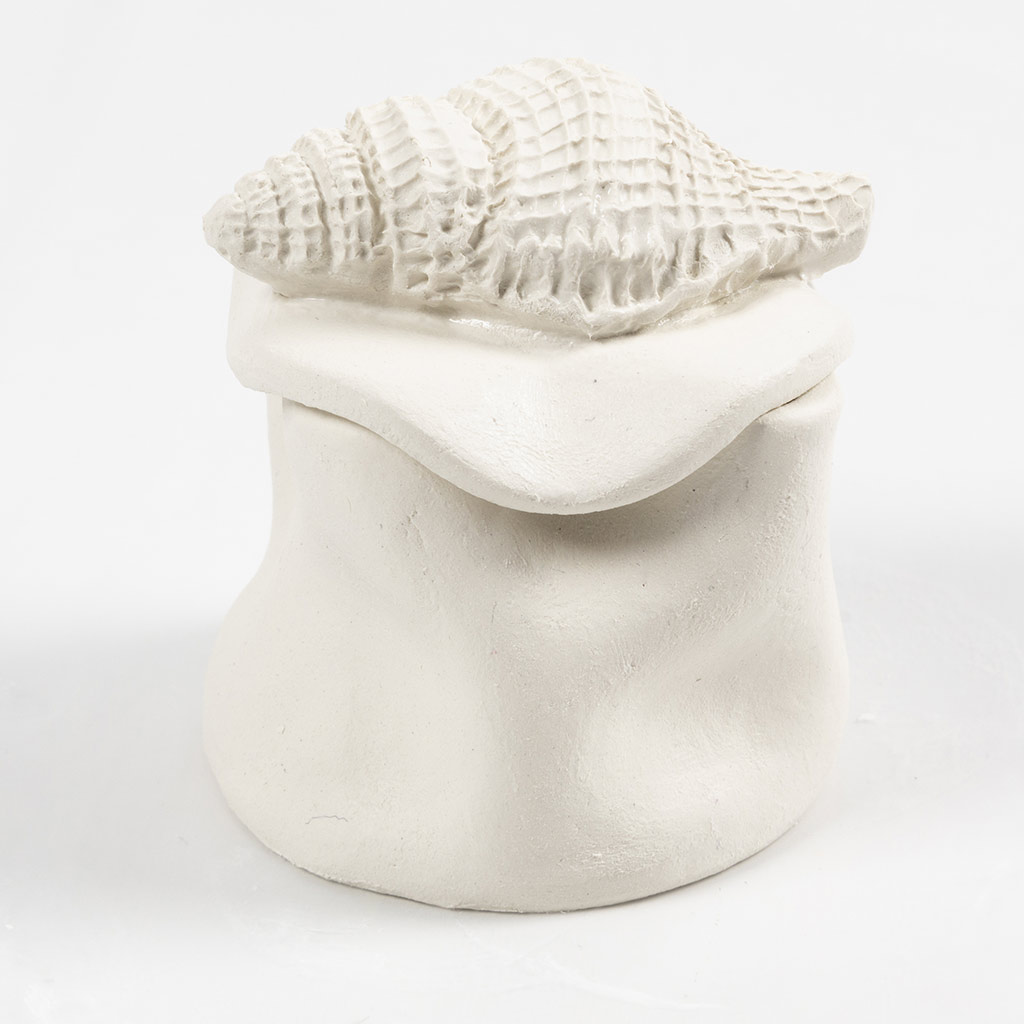 Allow the parts to dry.
Allow the parts to dry.Already signed up? Download the template
Also go exploring in
