
.jpg)
Cotton Fabric Pixies with a Beard made from Raw Silk
#v14259
These pixies with long pointy hats are made from cotton fabric. Each pixie is filled with polyester stuffing and decorated with a glued-on beard made from carded raw silk and a wooden bead for the nose.
#v14259
How to do it Download the templates/recipes
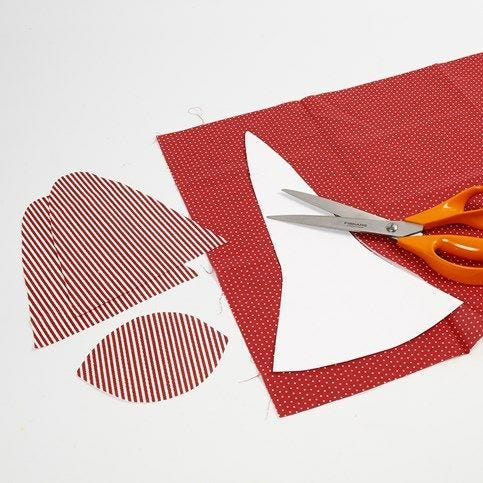
1. Print and cut out the template which is available as a separate PDF file for this idea. Draw and cut out from design fabric: 2 x body, 1 x bottom and 1 x hat.
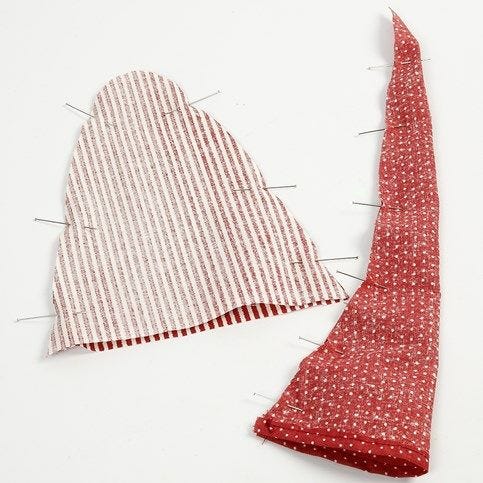
2. Sew the two pixie body parts together along the edge, outer side against outer side. Make a seam at the bottom of the hat and sew together, outer side against outer side.
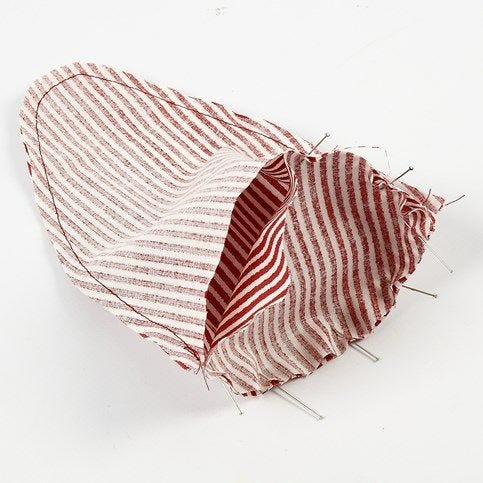
3. Sew the bottom onto the body, but leave an opening for inserting the stuffing. Turn outside in.

4. Fill the body first with polyester stuffing and then with plastic pellets to give it some weight/balance. A TIP: Use a funnel, for example made from card, for putting the pellets inside the pixie's body.

5. Close the opening with a needle and thread.
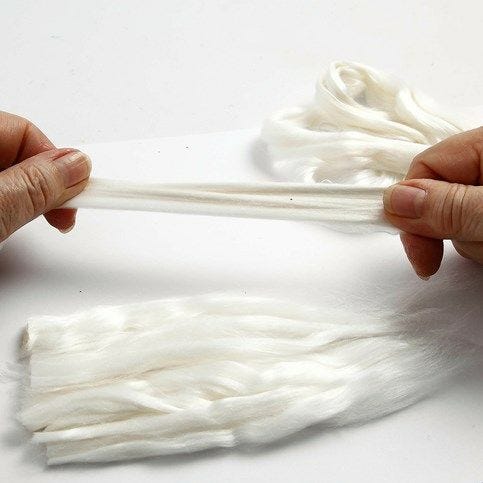
6. A beard: tear short pieces of the carded raw silk and gather in a bundle. Trim at the end and gather the bundle with tape.
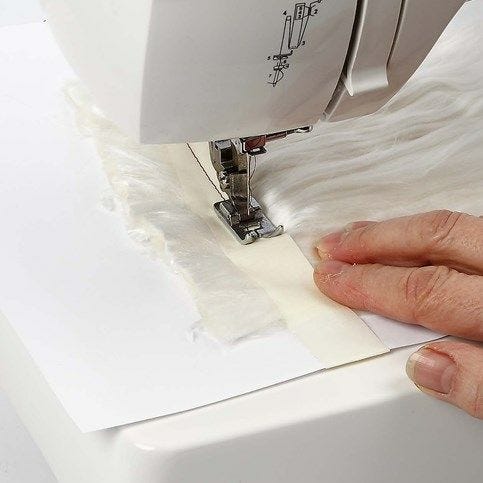
7. Sew the taped bundle together on the sewing machine and then remove the tape.
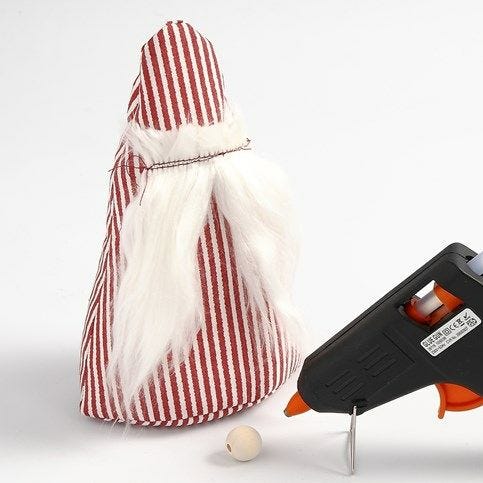
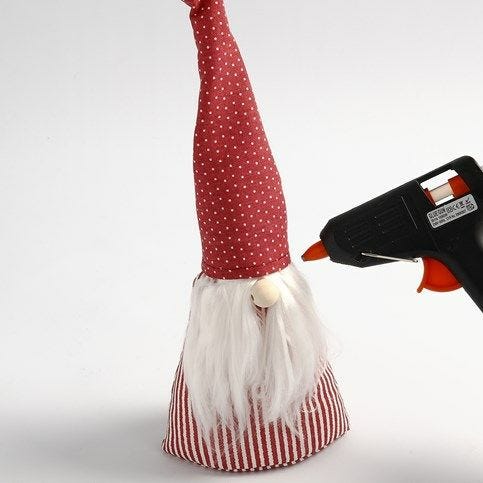
8. Glue the beard and the wooden bead for the nose onto the pixie. NB: Place the nose right under the stitching of the beard. The stitching will be covered by the hat.
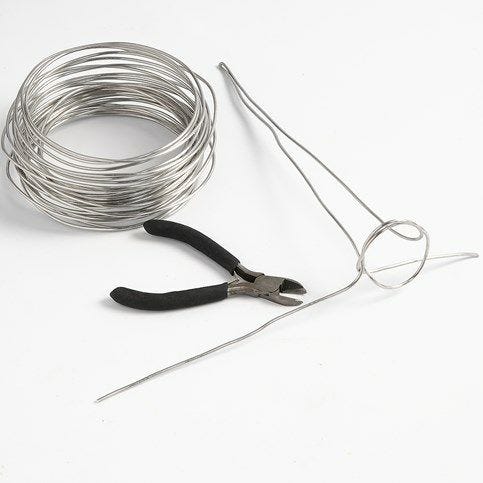
9. A pointy hat: Insert a frame made from aluminium wire (shaped according to the measurement of the hat). Now the hat can be shaped how you want it.
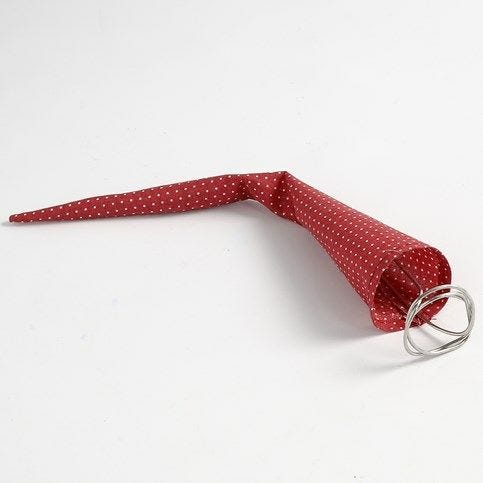
10. Place the aluminium wire frame inside the hat.
11. Glue the pointy hat onto the body and shape the hat according to your own taste.

Already signed up? Download the template
Also go exploring in
