
15576b620cae13.jpg)
A Party Invitation Card, Congratulations Card Girl
#v12920
This blank greeting card has been decorated with self-adhesive rhinestone half-pearls , Vivi Gade Design paper and card from the Color Bar series attached with self-adhesive double-sided tape. The folded gift bag functions as a place card.
How to do it Download the templates/recipes
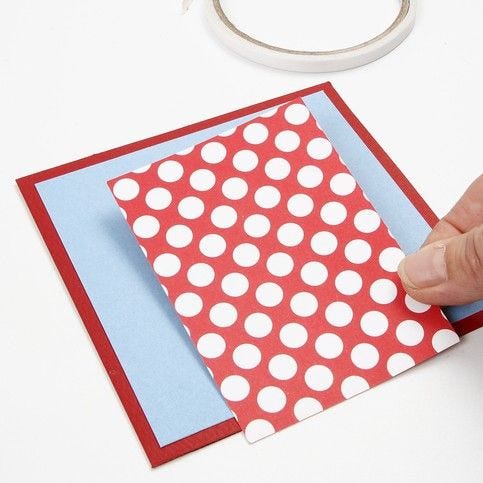
1. Cut a piece of blue Color Bar card slightly smaller than the greeting card and attach it to the blank greeting card. Then attach an approx. 7.5 x 10cm piece of dotted Color Bar paper to the card using double-sided adhesive tape.

2. Cut a piece of white Color Bar card, write text and attach a printed photo.

3. Decorate with self-adhesive rhinestone half-pearls.
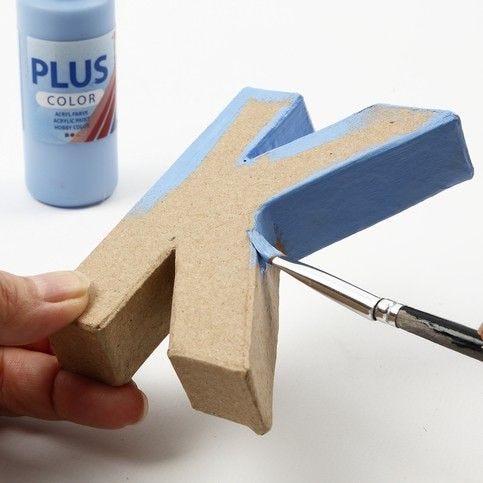
4. Table decorations: paint the sides of the papier-mâché letters using Plus Color craft paint.
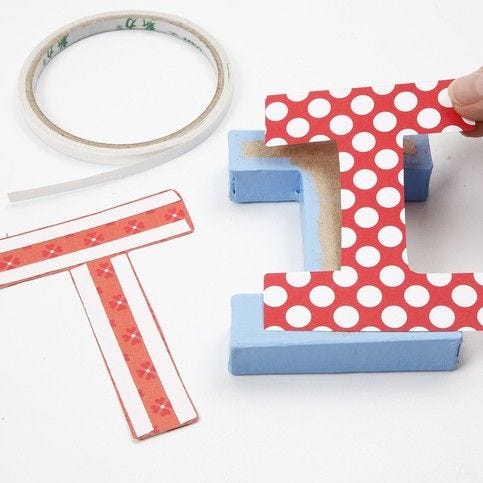
5. Using the letter as a template, draw on the paper and cut out and attach the paper onto the letters using double-sided adhesive tape.
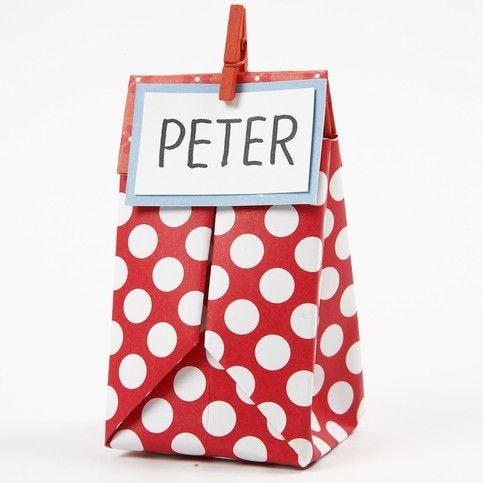
6. Place cards: fold a bag from a piece of dotted paper cut to A4 size and use it as a place card.
1.jpg)
7. Fold a piece of A4 paper lengthwise and unfold again.
1.jpg)
8. Then fold the paper in half across the width.
1.jpg)
9. Fold the top corners toward the center and unfold again.
1.jpg)
10. Fold the sides to the center line.
1.jpg)
11. It now resembles a "paper hat".
1.jpg)
12. The upper sides of the "hat" are folded into the center.
1.jpg)
13. ... and then folded into the center once more. Turn and repeat this procedure from the other side.
1.jpg)
14. Fold the "flaps" down along both sides.
1.jpg)
15. Open the bag and push up the base.
1.jpg)
16. Punch holes in the flaps. Tie a piece of ribbon with beads and the end of a peacock feather through the holes of the bag – and the bag is now finished!
Already signed up? Download the template
Also go exploring in
