

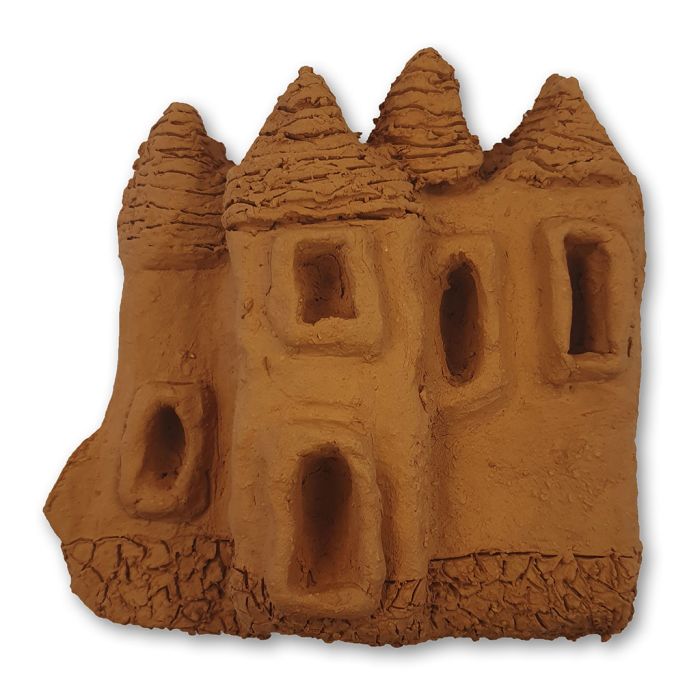
A wall hanging from red earth clay
#v16590
Let Y3-Y6 school children create flat castles from red earth clay containing chamotte. Make the reliefs, which consist of layered sheets of clay, and add details and cut-outs using modelling tools.
#v16590
1  Let each pupil choose a castle (photo) that they want to work on. First draw the castle on paper with an unbroken line using a black marker, which forces the pupil to fewer details and larger, coarser lines etc. Then select a section of the castle, draw it with a pencil and cut it out. Use the drawing and the photo as a template for the relief work.
2  Roll out the clay into 1 cm thick sheets. Place a piece of fabric over and under the clay to make rolling out the clay easier. The first layer/sheet can be up to 2 cm thick.
3  Cut the first layer/sheet into shape using the cut out template. At this point, the pupil must decide whether he/she wants a feature to stand out more in the relief. If this is the case, the pupil should add more cut out sheets of clay. You may add a bit of the decoration on the first sheet/layer of clay.
4  Assemble the layers. Scratch the surfaces and use slip (clay dissolved in water). Press evenly to avoid air pockets between the layers. Continue working on the decoration with modelling tools, ribbon cutters or thin wooden flower sticks. Use the tools to scratch, press or emboss the surface of the clay.
5  You may arrange for a feature to stand out from the background, as shown in the picture.
 6  Hollow out the castle at the back with a ribbon cutter if the pupil makes the castle very thick. Remember to make a hanging gutter or a hole for hanging for later.
7  Leave the relief to dry. Fire the work in a pottery kiln at approx. 1,000°C for better durability.
Free Step-by-Step Guide
Sign up to our newsletter and get access to this creative idea – plus plenty of inspiration, news and great offers delivered straight to your inbox. You can unsubscribe at any time.
Already subscribed? View the guide
Read our Privacy Policy
Also go exploring in
